2.0 Recommended Configuration
This will help you quickly set up an efficient AI coding environment. Please make sure you have already installed Claude Code.
1. Install Plugins
Advanced\02-ai-tuning-guide\03-mcp-and-skills.md This section provides a detailed introduction to plugin components.
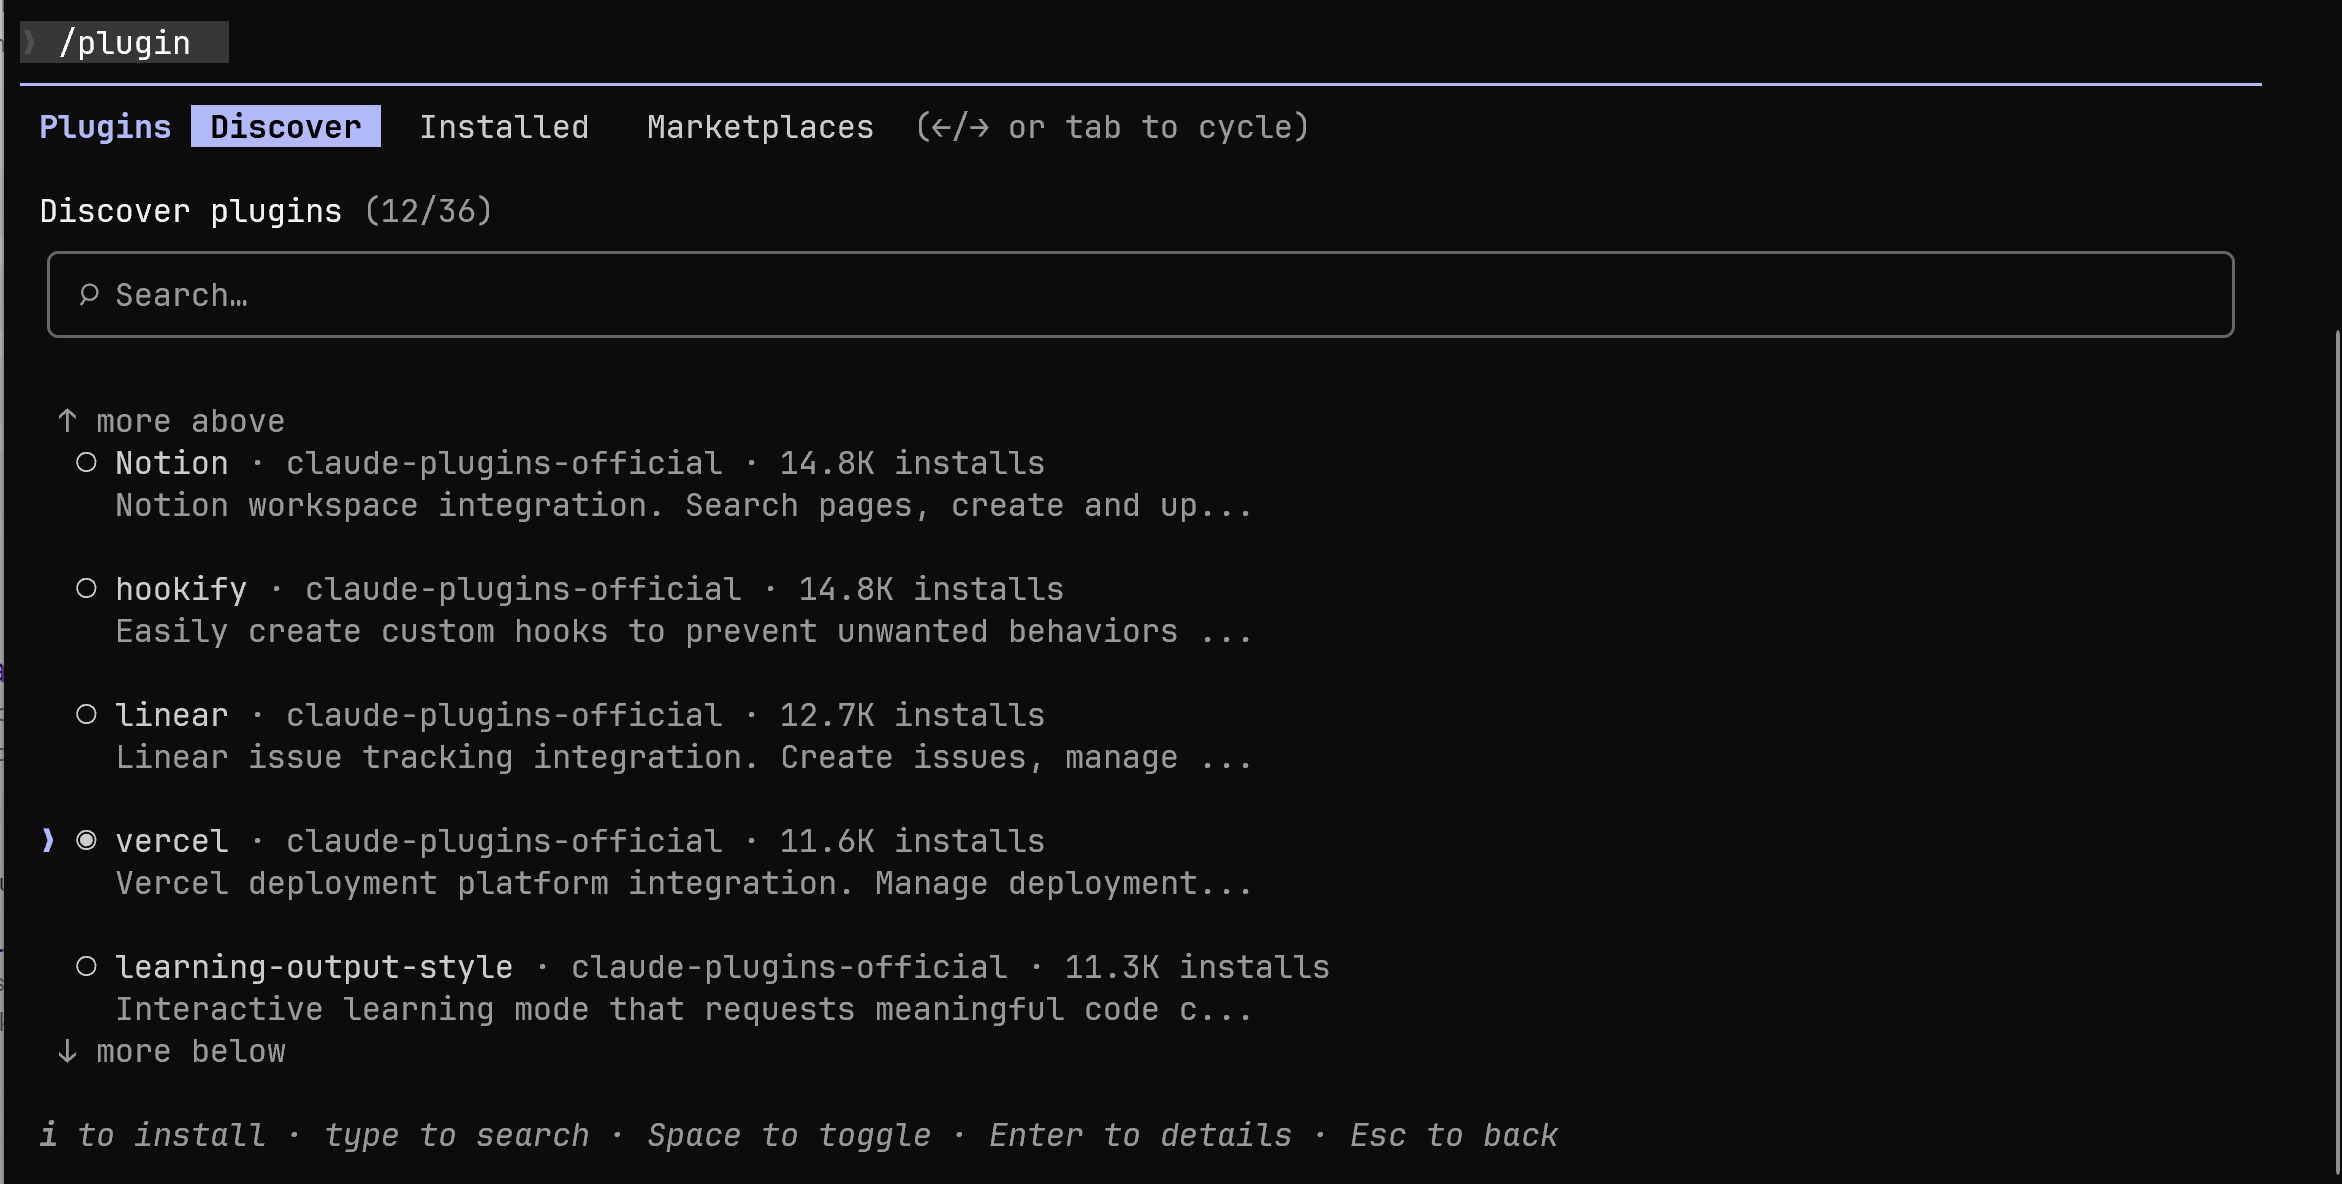
Open Claude and enter /plugin to open the plugin store.
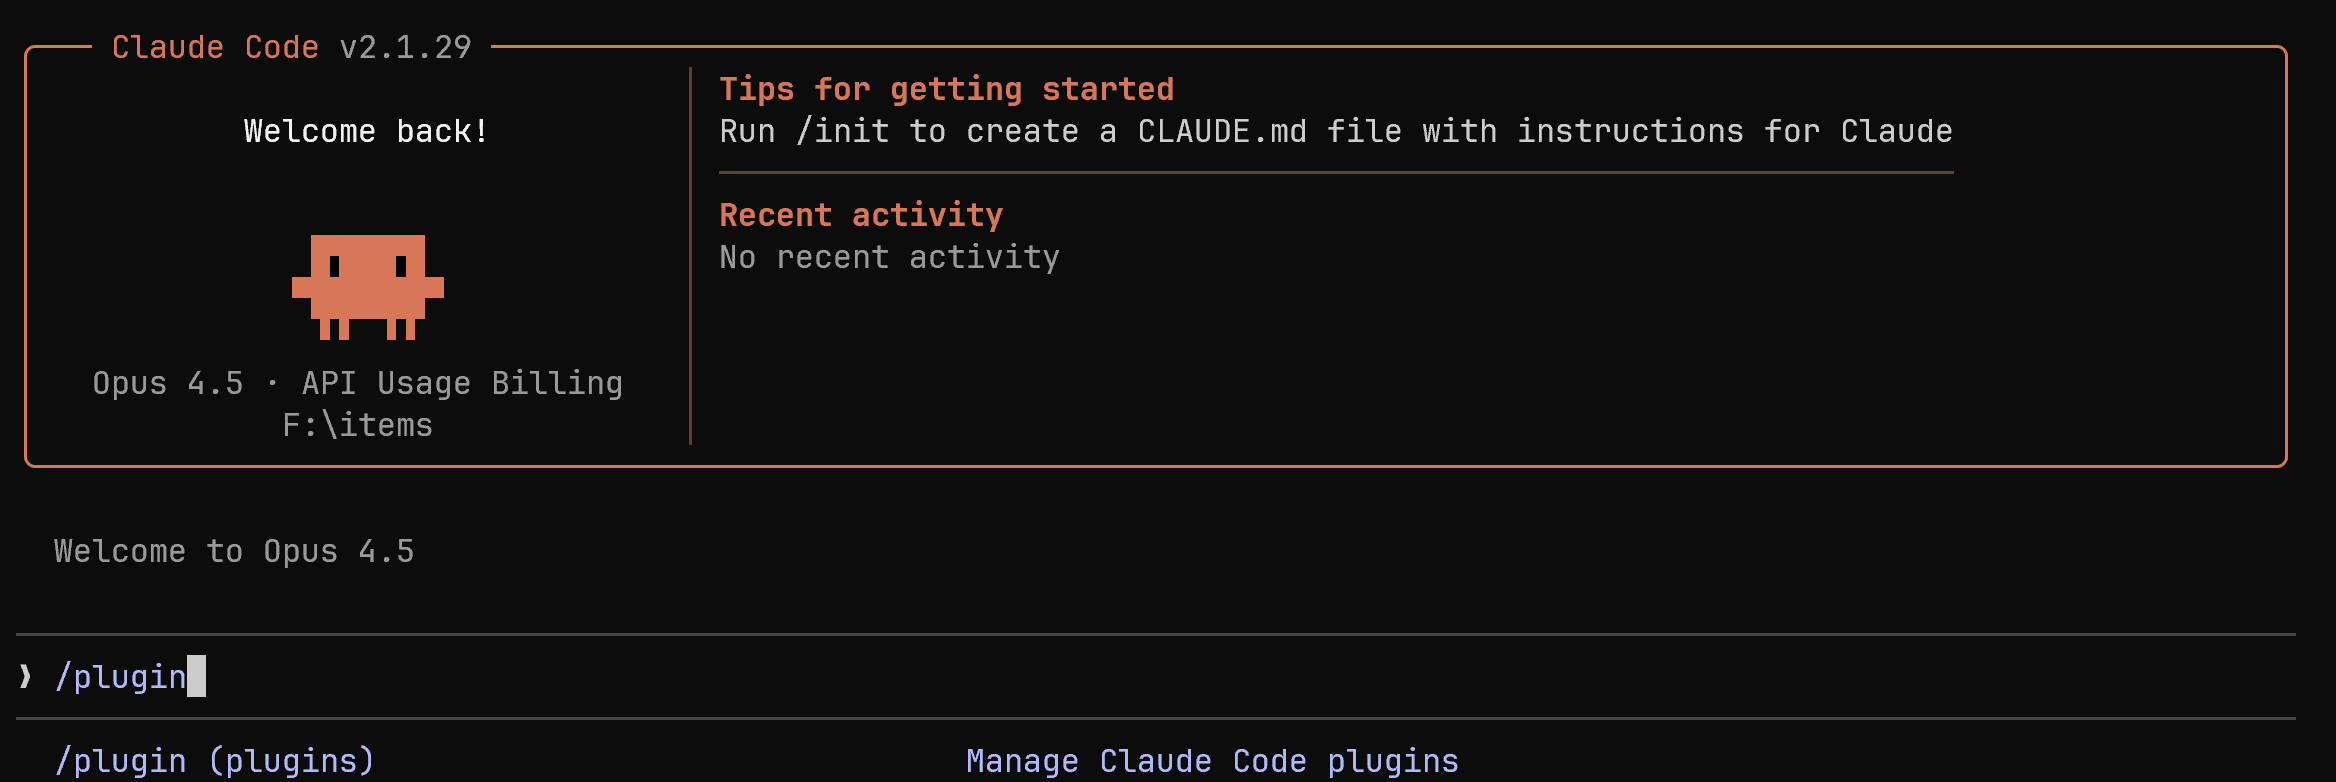
Use the up and down arrow keys on your keyboard to switch between plugins for installation, press Space to select, and press i to install. Some plugins will open a browser page during installation for sign-in; just follow the prompts.
Recommended Plugins
We recommend installing the following official plugins. You can also choose the plugins you need based on their descriptions:
| Plugin Name | Description |
|---|---|
| code-review | Code review |
| code-simplifier | Code simplification |
| commit-commands | Commit commands |
| context7 | Library documentation lookup |
| feature-dev | Feature development wizard |
| frontend-design | Frontend UI design |
| github | GitHub operations |
| playwright | Browser automation |
| pr-review-toolkit | PR review toolkit |
| pyright-lsp | Python language server |
| supabase | Supabase database |
| TypeScript-lsp | TypeScript language server |
2. Install CC-SWITCH
Install CC-SWITCH to manage multiple AI model providers, MCP, and Skills.
For Windows Users
Download the latest version from the official Releases page, or quickly download the installer through the link below:
For macOS Users
Open Terminal and install it with Homebrew:
brew tap farion1231/ccswitch
brew install --cask cc-switch
For Linux Users
Please refer to cc-switch/README_ZH.md for installation.
3. Basic Configuration
After downloading and installing, open CC-SWITCH. Click the plus sign in the upper-right corner to manage providers. After importing different models, select a provider and enter the corresponding API Key to start using it.
| Main Interface | Add Provider |
|---|---|
 |  |
Switch Providers
- Main Interface: Select a provider → Click "Enable"
- System Tray: Click the provider name directly (takes effect immediately)
Restart the Application
Restart your terminal or the Claude Code / Codex / Gemini client to apply the changes.
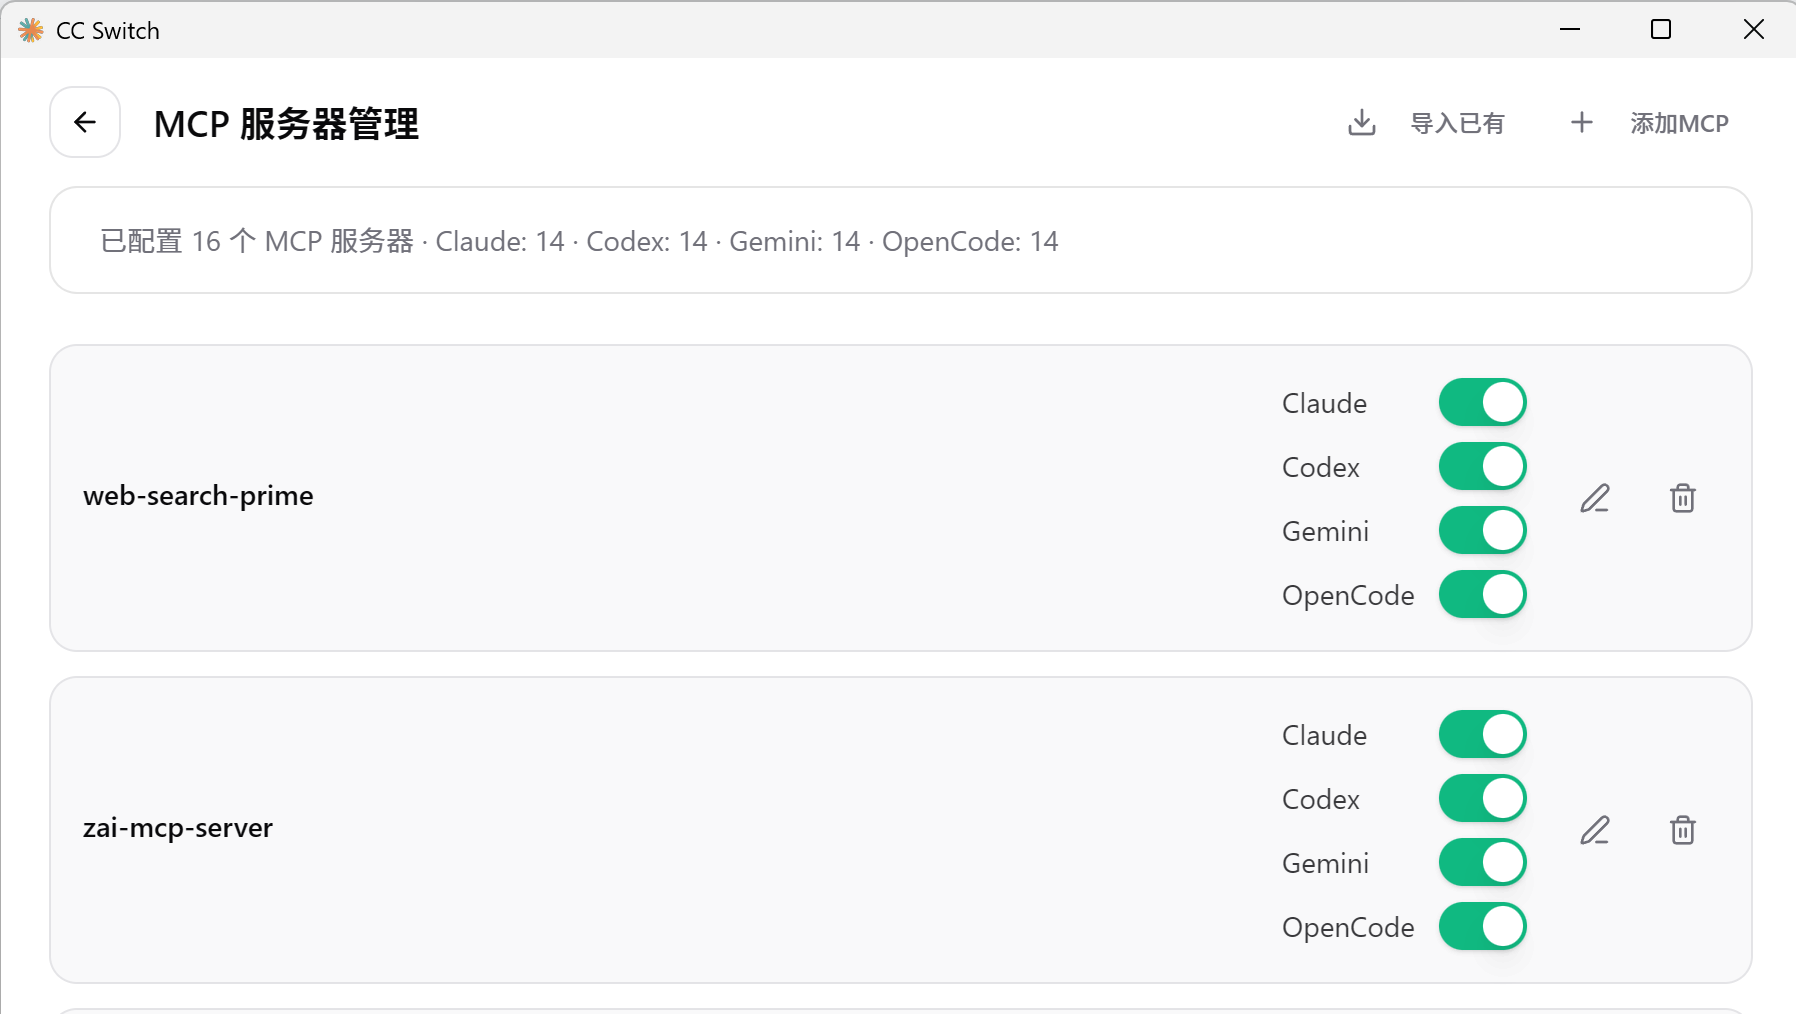
4. MCP Management
Click the "MCP" button in the upper-right corner to enter the MCP management interface. You can click the Import Existing button to import and view the MCPs installed through plugins:

If you have not installed the context7 plugin, you can click the upper-right corner here to add the context7 MCP server.
After installation, enter usecontext7 during a conversation, and the AI will call the context7 plugin to look up official documentation, improving the accuracy of the code it writes.
5. Skills Management
Click the "Skills" button in the upper-right corner to enter the skills management interface:
- Discover Skills: Automatically scan preconfigured GitHub repositories (Anthropic official, ComposioHQ, community, etc.)
- Custom Repositories: Supports adding custom repositories (including subdirectory scanning)
- Install Skills: Click "Install" to install with one click to
~/.claude/skills/ - Uninstall Skills: Click "Uninstall" to safely remove and clean up state
- Manage Repositories: Add/remove custom GitHub repositories
For this tutorial, we recommend the following skills. Readers can use them as needed.