11.2 Push to the Cloud, Start Collaborating
Goal for this section: Understand the value of remote repositories, push code to GitHub, let friends clone it, and resolve conflicts and security issues in collaboration.
All Eggs in One Basket
Xiaoming's code only exists on his computer. This means: hard drive fails, code is gone; computer stolen, code is gone; system crashes and needs reinstall, code is gone. In technical terms, this is called a Single Point of Failure — the entire system depends on one node, and when that node goes down, everything resets to zero.
You've surely felt similar anxiety — losing your phone and all your photos with it. Or at least heard someone else's horror story. Nowadays people sync photos to cloud albums, and the logic is the same: important things shouldn't exist in only one place. You wouldn't keep all your money in one pocket, you wouldn't hide your only key under the doormat, and your code shouldn't live on just one hard drive.
Remember Chapter 6? You put your database on Neon's cloud instead of running it locally. The reasoning was: a local database disappears when you reinstall your system, but a cloud database remains unaffected. Code follows the same logic — push it to the cloud, don't depend on a single device. The "cloud album" for code is called a code hosting platform, with GitHub being the most mainstream option, and Gitee and CNB offering faster access from China.
Beyond backup, remote repositories solve another problem: collaboration. Xiaoming's friend wants to contribute, but the code is on Xiaoming's computer — the friend can't access it. Send a zip file? The preface already showed how that goes: two people edit the same file, then painstakingly compare line by line over WeChat messages. With GitHub, Xiaoming pushes his code up, the friend pulls it down from GitHub, and both can develop independently while staying in sync. GitHub acts as a "transfer station" in the middle, ensuring both parties see the same version of the same codebase.
Platform Selection and Registration
GitHub is the international standard with the richest ecosystem, the first choice for open source projects. Gitee offers faster access from China with a Chinese interface. CNB is a newer domestic platform with good access speeds. Any of these works fine — this chapter uses GitHub as the example, but other platforms work similarly. If GitHub is slow from your location in China, you can start with Gitee or CNB and migrate later.
If you don't have a GitHub account yet, go to github.com and register one. The process is like any other website — email, username, password. Your username appears in your repository URL (like github.com/your-username/project-name), so pick one you won't regret.
SSH Authentication: Configure Once, Password-Free Forever
After registering your GitHub account, you need to establish trust between your computer and GitHub. GitHub has disabled password login for terminal access, so you can't push code by typing your username and password like you would on the website. Instead, you use SSH key authentication.
SSH keys are essentially a lock and a key. The public key is the lock cylinder, placed on GitHub to tell it "the person holding this key is me." The private key is the key itself, kept on your computer to prove "I am who I say I am."
Every time you push code to GitHub, GitHub verifies your private key against the public key, confirms your identity, and lets you through. The entire process happens automatically — you don't feel it, just like unlocking your phone with your fingerprint without entering a password each time.
The configuration is one-time. Tell Claude Code you want to configure SSH for GitHub, and it will generate a key pair for you (if you don't have one), then display the public key content. You copy this public key to GitHub's Settings → SSH and GPG keys page, test the connection, and you're done.
From then on, every push and pull requires no credentials. Like the lock on your front door — once installed, you just carry the key when you go out, no need to reinstall the lock each time. The whole setup may require switching between the GitHub website and terminal a few times, but you only do it once.
If you encounter SSH configuration difficulties (such as company networks blocking SSH ports), you can use HTTPS + Personal Access Token as a fallback. In GitHub Settings → Developer settings → Personal access tokens, generate a Token — it's not a password you set yourself, but a temporary pass issued by the platform. Use this Token instead of a password when pushing. However, SSH is the recommended long-term solution — Tokens expire, SSH keys don't. And Tokens need to be saved somewhere; forget where and you must regenerate. SSH keys live in a fixed location on your computer, nothing to remember.
First Push
SSH is configured, now push your code to GitHub.
Xiaoming tells Claude Code: "Create a repository on GitHub and push my project up." Claude Code helps him complete creating the remote repository, linking the local repository, and pushing the code. On the first push, it executes commands similar to these (you don't need to memorize them, just understand):
git remote add origin git@github.com:xiaoming/personal-douban.git
git push -u origin main
origin is the nickname you give your remote repository — like saving GitHub's address in your phone contacts as "origin", so you can push and pull using the nickname instead of typing the full address every time. -u sets this nickname as the default contact, so you can just hit "dial" directly next time. You don't need to memorize these commands — Claude Code handles them. But knowing they exist helps you understand what's happening in the terminal, so you're not baffled by a stream of command output.
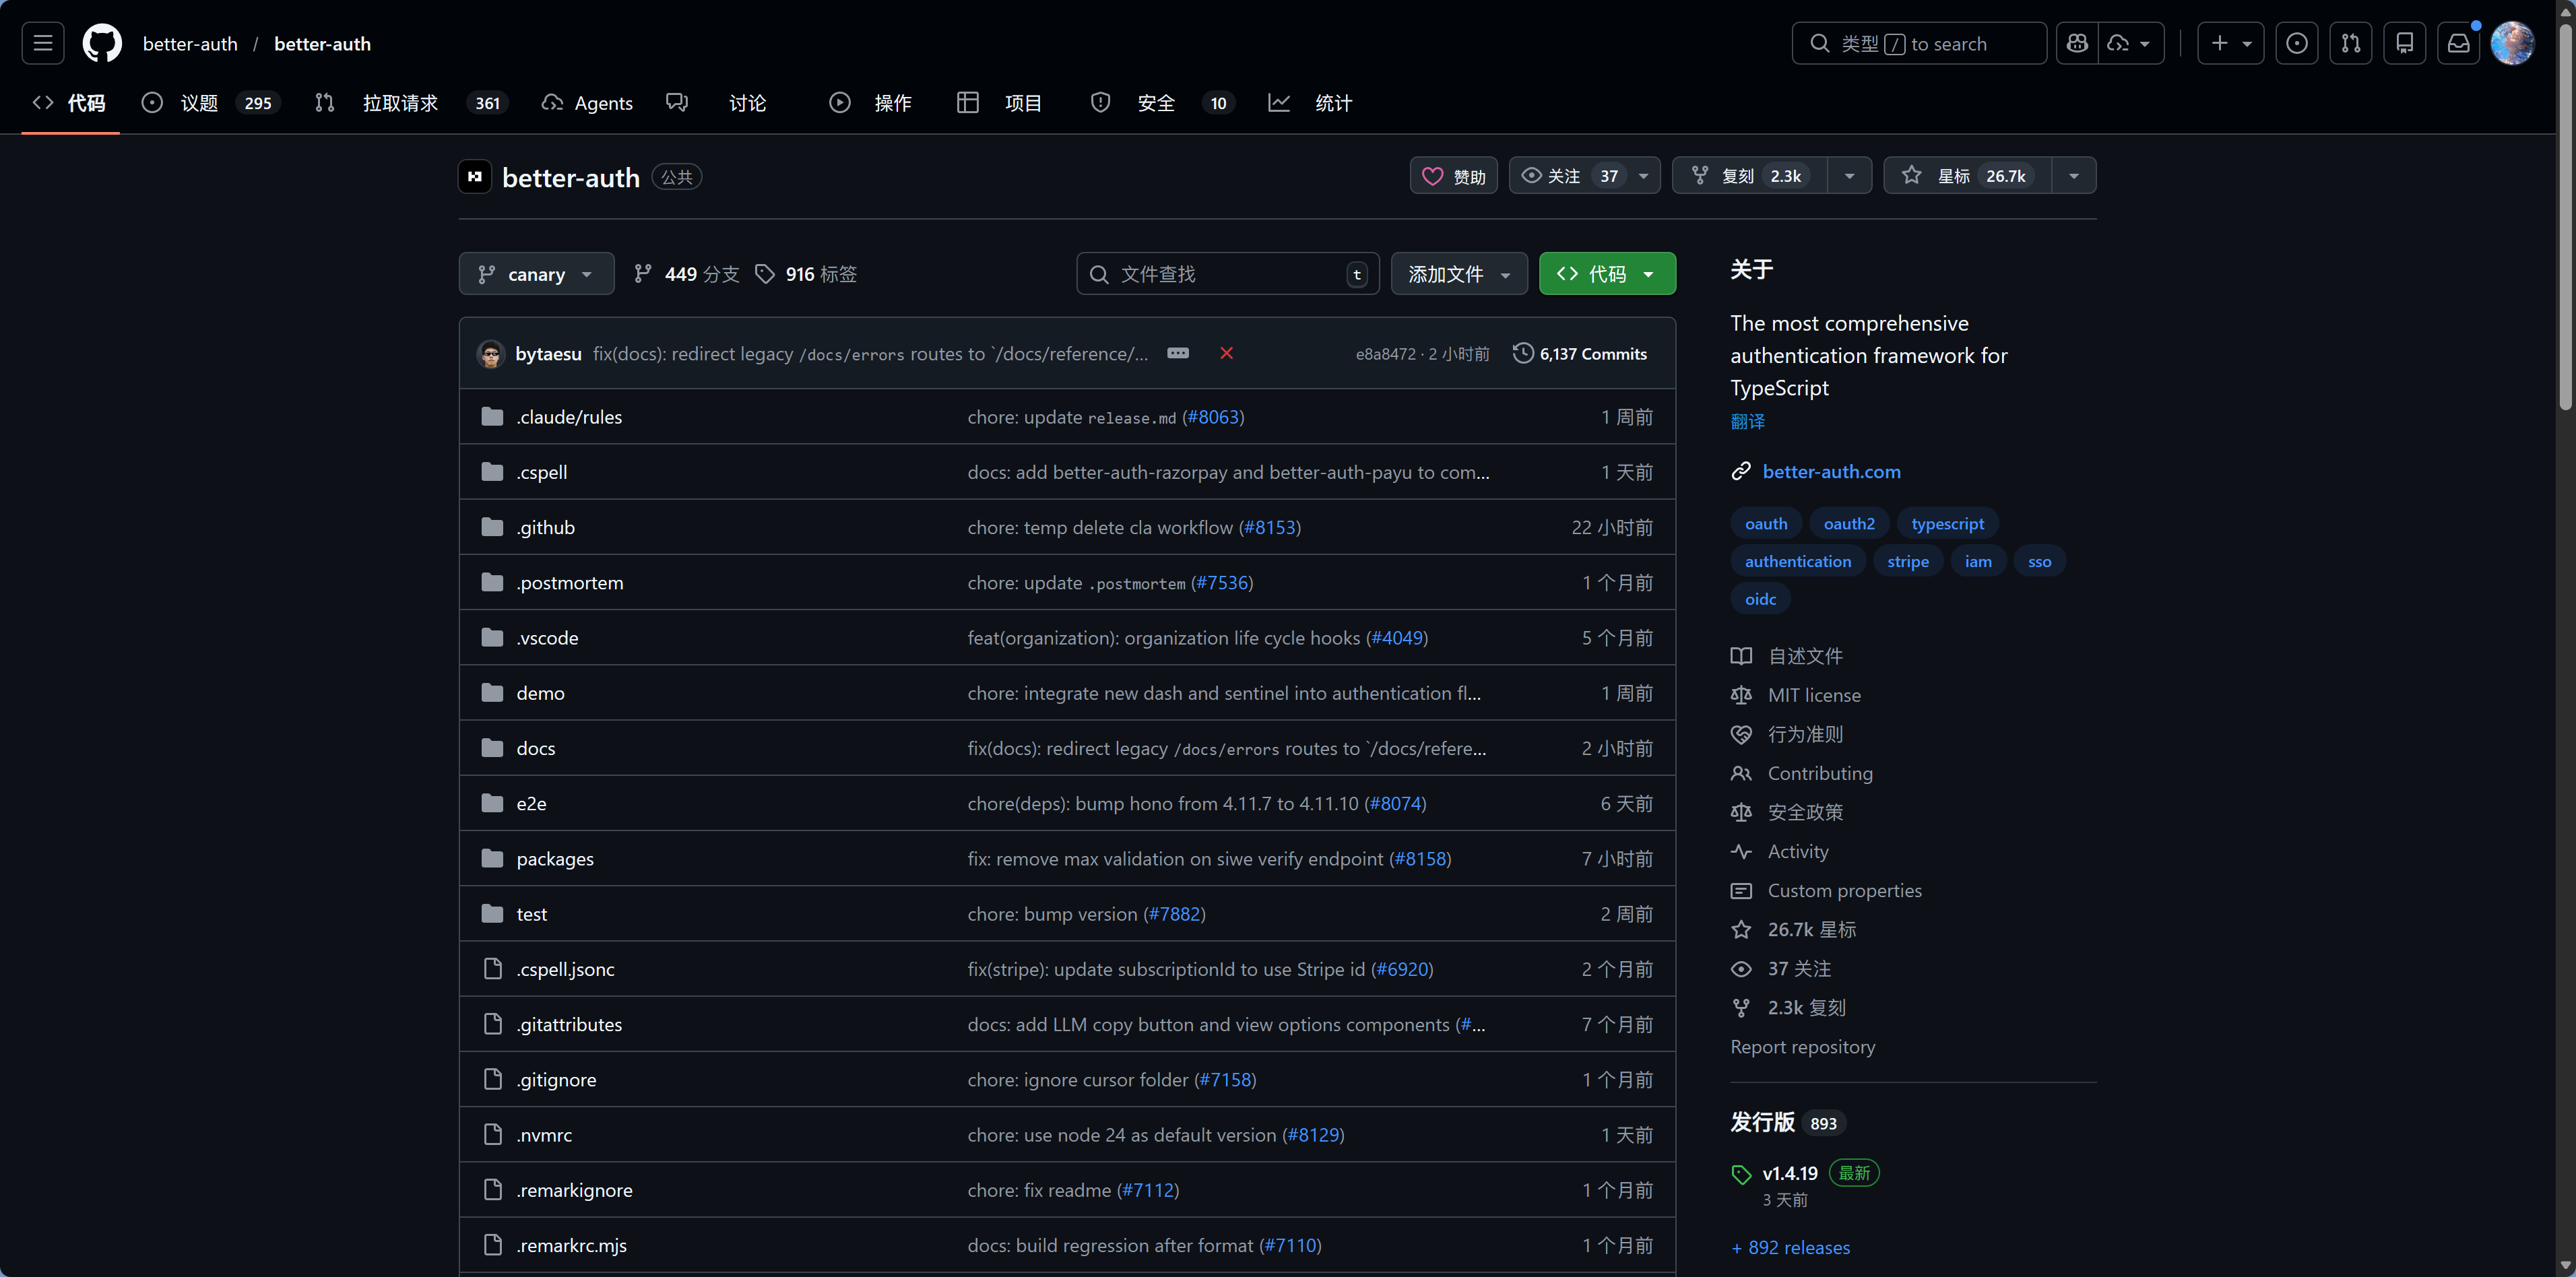
After pushing, open your GitHub repository page and you'll see all your project files here, identical to your local copy. If you have a README.md, it automatically renders below the file list. Click "commits" to see all commit history — same as git log locally, just viewed in a browser. Your code now exists in two places: locally and on GitHub. Hard drive failure is no longer a concern.
When creating the repository, you can choose Public or Private. For personal projects, Private is recommended — your code doesn't need to be visible to the world. You can always change it to Public later if you want to open source it.
Push and Pull: Staying in Sync
With code on GitHub, the daily development rhythm becomes: you modify code locally, commit, and push to sync to GitHub; others push new code to GitHub, and you pull to bring updates to your local machine.
This is like two people editing a document on their own computers, periodically syncing to a shared cloud drive. The cloud drive (GitHub) is the transfer station, ensuring everyone sees the same latest version.
The relationship between push and pull is simple: push is "I'm done, uploading it"; pull is "someone else updated, I'm downloading." Two directions, one up and one down, with GitHub in the middle. You don't need to stay constantly synced — Git is designed to let you develop freely locally, syncing when you choose. This differs from Google Docs' real-time collaboration; Git gives you more autonomy, at the cost of needing to trigger syncs manually.
Claude Code helps you commit code during development, but push usually requires your active trigger — after all, pushing to remote is a "publish" action, and you might want to accumulate several commits before pushing.
A good habit: push once after completing each phase of work. You don't need to push every commit, but don't wait too long either — if your computer fails, unpushed commits are lost. Imagine writing a document all afternoon without saving to the cloud, then getting a blue screen that evening — you don't want to experience that twice.
Clone: Friend's First Time Getting the Code
Xiaoming sends the GitHub repository link to his friend. For the friend's first time getting the code, they use clone.
What's the difference between clone and "download zip"? A zip only gives you the current files; clone gives you the entire project plus all commit history. The cloned directory comes with a .git folder, ready to push and pull — it's a complete Git repository copy, not just a pile of loose files.
This is why sending a zip file in the preface was unreliable — the zip has no version history, no branch information, no connection to a remote repository, just isolated files. After getting the zip, when the friend modifies code and wants to sync back, they can only zip and send again, then compare line by line over WeChat. Clone establishes a two-way channel in one go; all future syncs happen through push and pull.
After cloning, the friend still needs to install project dependencies. For Node.js projects, this means running npm install (or pnpm install) in the project directory.
This is why node_modules doesn't need to be committed to the repository — everyone installs it themselves after cloning, and dependency packages may compile different binary files on different systems. A .node file compiled on Windows won't run on Mac. package.json records what dependencies the project needs, and npm install downloads them automatically — like the relationship between a recipe and ingredients. You share the recipe (package.json), no need to mail the ingredients (node_modules).
By default, only the repository creator can push. Xiaoming needs to invite his friend in GitHub repository Settings → Collaborators; after the friend accepts, they can push code. Once invited, both can develop independently.
Push & Pull 协作流程
Xiaoming and his friend develop separately, mostly without issues — you edit your files, I edit mine, Git merges automatically, no problem. Git is very clever when merging: if two people edit different files, it simply combines both changes; if they edit the same file but different locations, it handles that too. Only when two people edit the same line of the same file does Git "raise its hands" — it doesn't know whose version to keep.
Conflicts: Two People Edited the Same Line
Xiaoming and his friend encounter exactly this situation. Xiaoming changed the movie rating maximum from 5 to 10; his friend changed it from 5 to 100. Both committed; Xiaoming pushed successfully first, but when his friend tried to push, it was rejected — Git said "remote has updates, pull first."
冲突解决流程
协作中偶尔会遇到冲突
当两个人同时修改了同一行代码时,Git 需要你来决定保留哪个版本
大部分时候两个人改的是不同文件,Git 会自动合并
告诉它"帮我解决冲突,保留远程的版本",它会自动处理
His friend pulls, and Git finds two different modifications on the same line. Not knowing whose to follow, it marks the file in a "multiple choice" format for you to decide which version to keep:
<<<<<<< HEAD
const MAX_SCORE = 100  // friend's modification (current branch)
=======
const MAX_SCORE = 10   // Xiaoming's modification (remote branch)
>>>>>>> origin/main
Between <<<<<<< HEAD and ======= is your local version; between ======= and >>>>>>> origin/main is the remote version. You decide which to keep (or keep both, or write a completely new version), then delete these marker symbols.
If you've used Google Docs or Feishu documents, you've seen real-time "someone is editing" notifications. Git has no such real-time notification — it only discovers conflicts when you sync code. This isn't a Git flaw, but its design philosophy: let everyone develop freely locally, only handling disagreements at sync time.
Don't panic when encountering conflicts. Tell Claude Code "help me resolve conflicts," explain which logic you want to keep (or if you want to keep both), and it will merge everything for you. Then commit and push, conflict resolved.
In practice, conflicts are uncommon in small team collaboration. Most of the time two people edit different files, and Git merges automatically without you even noticing. Only when two people happen to edit the same section of the same file does a conflict arise.
So don't avoid collaboration out of "fear of conflicts" — conflicts are normal and not hard to resolve. The most effective way to reduce conflicts is clear division of labor — you handle the frontend pages, your friend handles the backend APIs, each editing their own files, and conflicts naturally decrease. The "branching" mechanism in the next section will further help isolate each person's work.
.gitignore: The Pre-Pack Cleanup List
When Xiaoming first pushed, he also pushed node_modules. His friend cloned and found the repository was 500MB — 490MB of which was node_modules.
This is like sending your friend a zip file containing a bunch of system temp files, caches, and stuff from the recycle bin. .gitignore is the "pre-pack cleanup list" — files and folders listed inside are automatically ignored by Git and won't be committed to the repository.
A typical .gitignore should exclude: node_modules/ — dependency packages, huge in size (hundreds of MB is common), friends can npm install themselves after cloning; .env and .env.local — environment variable files containing your API keys and database passwords, more on this later; .DS_Store and Thumbs.db — hidden files automatically generated by macOS and Windows, useless to the project; dist/, .next/, build/ — build artifacts that can be regenerated from source code, no need to store in the repository.
Claude Code usually auto-generates .gitignore when initializing projects. If you find files in your repository that shouldn't be there, tell it to help you clean up and update .gitignore. Here's an easy pitfall: if node_modules was already committed to the repository, simply adding a line to .gitignore isn't enough — .gitignore only affects untracked files. Files already tracked by Git continue to be tracked even if added to .gitignore. You need to remove it from the repository first (while keeping local files), then commit. Tell Claude Code "remove node_modules from Git repository but keep local files, and add to .gitignore", and it will use git rm --cached — like removing a book from the library's lending registry while keeping the book in your hands. Git no longer tracks this folder, but your local files remain untouched.
Security Warning: Things You Must Never Commit
Most files excluded by .gitignore are simply "unnecessary to commit." But there's one category that is absolutely forbidden to commit — not because of size, but because committing them is like hanging your keys on a public bulletin board.
Once these appear in Git history, even if you later delete the file, the history remains — because Git is designed to "remember everything." You added .env in your third commit, deleted it in your fourth commit, but anyone viewing the third commit can still see your API keys. This isn't a Git bug, it's a core feature — complete history. Except in this scenario, that feature becomes a security risk.
Public repositories mean anyone can see your code — including API keys you accidentally committed. GitHub has dedicated crawlers scanning public repositories for API keys; once found, they're exploited. Even for private repositories, keys shouldn't be in code — what if you make it public later? What if you invite a collaborator you don't fully trust?
The correct approach is putting keys in .env files, then ensuring .env is in .gitignore. Chapter 8 mentioned this security principle; it's emphasized again here because Git makes this problem worse — local file leaks have limited impact, but pushing to GitHub makes it visible worldwide. Things you must never commit include: API keys and Access Tokens (OpenAI, Stripe, various third-party service keys); database connection strings (DATABASE_URL containing passwords); private key files (.pem, .key, id_rsa); environment variable files (.env, .env.local, .env.production).
What if you already committed sensitive information
If you accidentally committed and pushed .env to GitHub, simply deleting the file and committing again isn't enough — the Git history still contains that commit's contents, accessible to anyone. You need to completely purge this file from Git history. Tell Claude Code "completely remove .env file from Git history", and it will use git filter-branch or BFG Repo-Cleaner. At the same time, immediately rotate all leaked keys — go to the corresponding service platforms and regenerate API Keys, invalidating the old ones. Don't skip this step, because you can't determine if someone saw the keys before you cleared the history.
GitHub Page Tour
Opening a GitHub repository page for the first time, you might not know what you're looking at. Here's a quick introduction to the parts you'll use.
The repository homepage is the first page you see, also called the Code tab. Above is the file list, identical to your local project directory; below is the rendered preview of README.md. The right side of the file list shows the last commit message and time for each file. If your project has a README.md (Claude Code usually auto-creates one), it renders as formatted documentation below — this is the "storefront" when others first see your project.
Click the "X commits" link above the file list to enter the commit history page. Here you see all commit records, each showing the commit message, author, and time. Clicking in shows exactly which files and lines were changed in that commit — green for additions, red for deletions. This page is especially useful when you want to review "what did I change last week" or "which commit introduced this bug."
At the top of the repository are also Issues and Pull Requests tabs. Issues track bugs and todos; Pull Requests are for reviewing and merging code (covered in detail in the next section). Just know where they are for now.
Settings → Collaborators is where you invite friends to collaborate. Add your friend's GitHub username; after they accept the invitation, they can push code.
First Collaboration After Friend Joins
Xiaoming invited his friend, who cloned the repository, installed dependencies, and got the project running. Now the two need to divide the work.
A simple division: Xiaoming continues optimizing the rating feature; his friend handles the recommendation algorithm. They're editing different files, so conflicts are rare. The daily rhythm becomes: pull before starting work to get each other's latest code; develop separately, then commit when done; push to GitHub, then the other pulls.
This rhythm may feel unfamiliar at first — you need to remember to pull before working and push after finishing. But within days it becomes muscle memory, like checking for phone, keys, and wallet before leaving home. If you forget to pull before editing, it's not a big deal — when you push, Git will remind you "remote has updates, pull first," then you pull and merge.
This "pull → develop → commit → push" loop is the basic rhythm of Git collaboration. Simple, direct, works for two people. But as the project grows more complex, Xiaoming discovers a new problem: he wants to try a bold new feature, but fears breaking existing code. The next section introduces "branching" to make this rhythm safer and more organized.
Key Takeaways from This Section
Push code to GitHub and you have cloud backup and collaboration foundation. SSH is one-time configuration; push/pull are daily syncs; clone is how friends first get the code. Conflicts aren't scary — they're just Git saying "I'm not sure here, you decide." The most important security rule: keys and passwords must never appear in Git repositories.
Next Section: Xiaoming wants to add a recommendation feature, but fears breaking the rating system. 11.3 Branches, PRs, and Team Workflow solves the "want to try new things but fear breaking existing stuff" problem.