12.1 Deploy to EdgeOne Pages
Goal of this section: Deploy your Next.js project to Tencent Cloud EdgeOne Pages and get a publicly accessible URL.
Xiaoming got a message from a friend: "That link you showed me last time doesn't open anymore." That's when he realized that a temporary Cloudflare Tunnel link disappears as soon as the terminal closes. He needed a permanently online address—one that anyone could open anytime, whether his computer was on or not.
That's exactly what "deployment" is for. At its core, deployment is simple: have a cloud computer run the same commands you've already run locally. You run pnpm install to install dependencies locally and pnpm build to build the project; the deployment platform does the exact same thing—except it stays online 24/7 and gives you a public URL.
EdgeOne Pages is Tencent Cloud's edge deployment platform. It offers fast access in China, solid support for Next.js, and a free tier that's more than enough for personal projects. Xiaoming decided to start here.
Three things to confirm before deploying
Before clicking "Deploy," Xiaoming needed to confirm three things. This isn't just a checklist—each one matters for a real reason.
First, the code has already been pushed to GitHub. The deployment platform needs to pull your code from GitHub. If the code only exists locally, the platform can't access it. This was already completed in Chapter 11.
Second, pnpm build succeeds locally. This is the most important step. If the build fails locally, it will definitely fail in the cloud too—because the cloud is doing exactly the same thing your local machine does. Run pnpm build once in the terminal. If you see "Build completed," you're good to go.
Third, make a note of the environment variables in .env. Back in Chapter 6, you learned that the .env file is excluded by .gitignore, so it won't be uploaded to GitHub. That means the code pulled by the deployment platform won't include your database password or auth secret—you'll need to configure those variables manually on the platform. Open your local .env file now and make sure you know what variables are in it and what each value is.
Sign up and connect GitHub
Open the EdgeOne Pages Console and sign in with WeChat QR login or your Tencent Cloud account. If this is your first time using Tencent Cloud, you'll need to complete real-name verification.
Click Import Git repository, then choose Connect GitHub.
The first time you connect, you'll be taken to GitHub's authorization page. There's a choice to make here: authorize all repositories, or only specific ones?
Xiaoming chose "Only select repositories" and authorized just one repository: "Personal Douban". This follows the principle of least privilege—give the platform only the permissions it needs, nothing more. If you want to deploy other projects later, you can come back and add them then. This habit was already mentioned in the security section of Chapter 8, and it applies just as much during deployment.
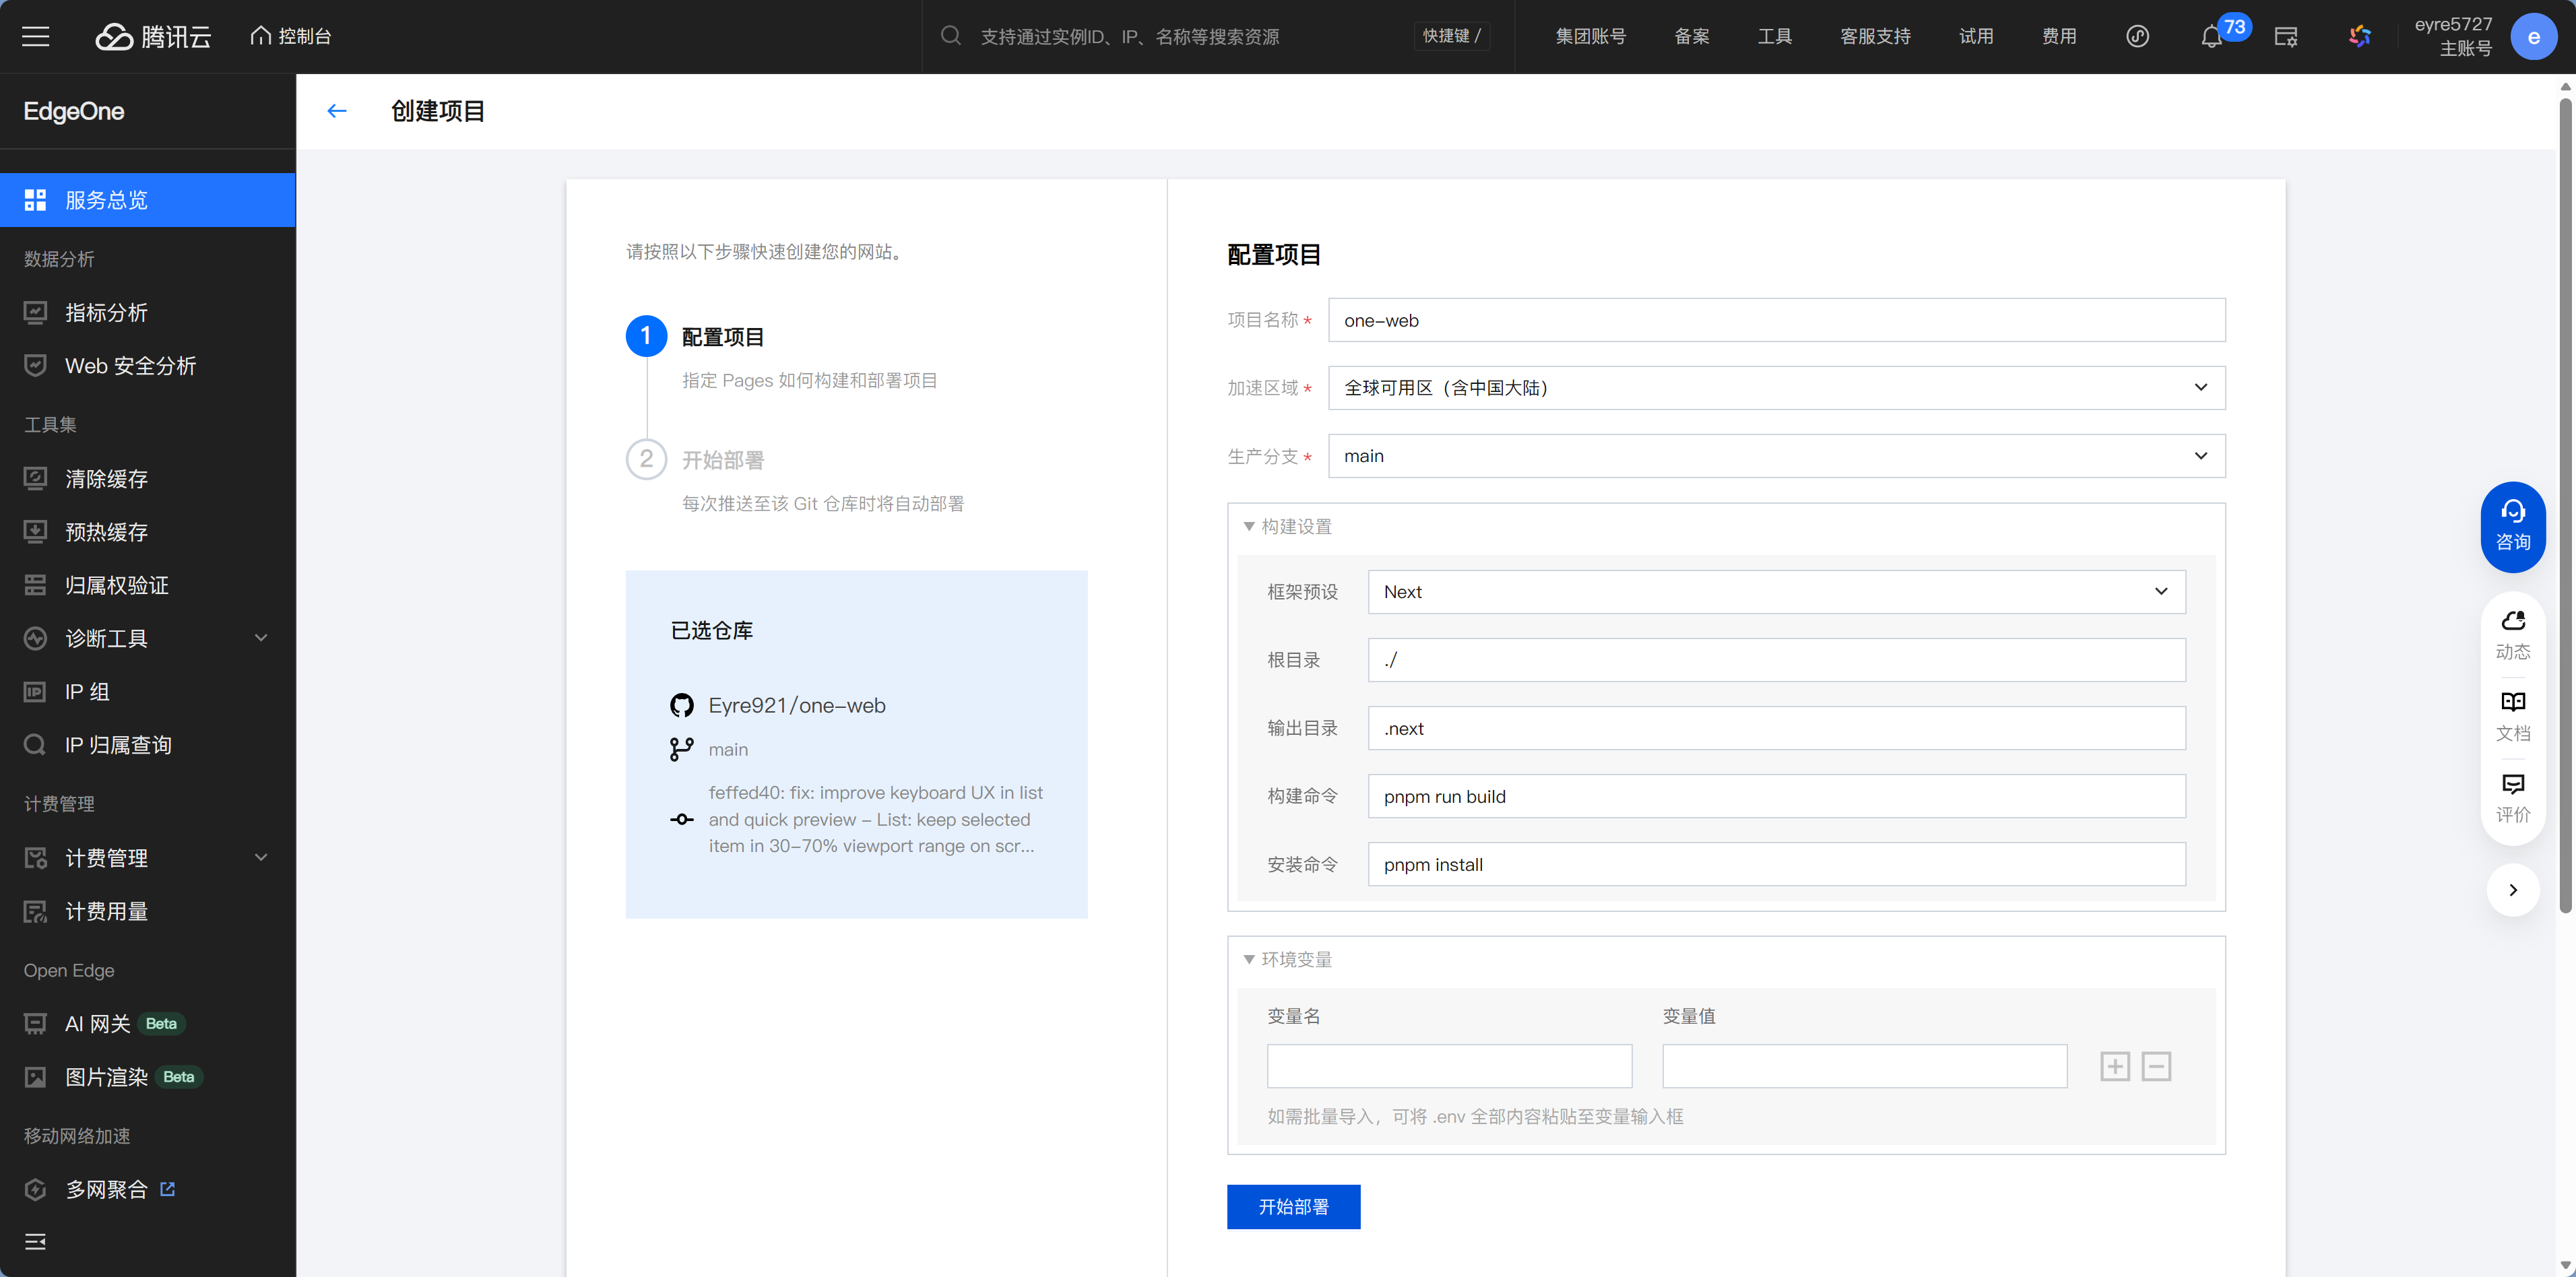
Once authorization is complete, you'll see your repository list. Select the project you want to deploy and click Next.
Of course, directly clicking upload also works, and the platform will usually auto-detect the project framework.
Configure build settings
This step tells the platform "how to build your project." EdgeOne will automatically fill in recommended settings based on the framework you choose, but you should understand what each option means so you'll know where to look if something goes wrong.
Set Framework Preset to Next.js. Once selected, the platform will automatically fill in the build command and output directory for you—just like how your phone automatically opens a .pdf file with a PDF reader. The platform recognizes that you're using Next.js, so it already knows how to build it.
Leave Root Directory as the default ./. You only need to change this if your project code isn't in the repository root (for example, if it's in a subdirectory like apps/web/). Xiaoming's project is in the root directory, so there's nothing to change.
The Build Command is pnpm build (or npm run build). This is the same command you've already run locally—the platform performs the exact same operation in the cloud.
The Output Directory is .next. This is where Next.js places the generated files after the build, and the platform needs to know where to find them.
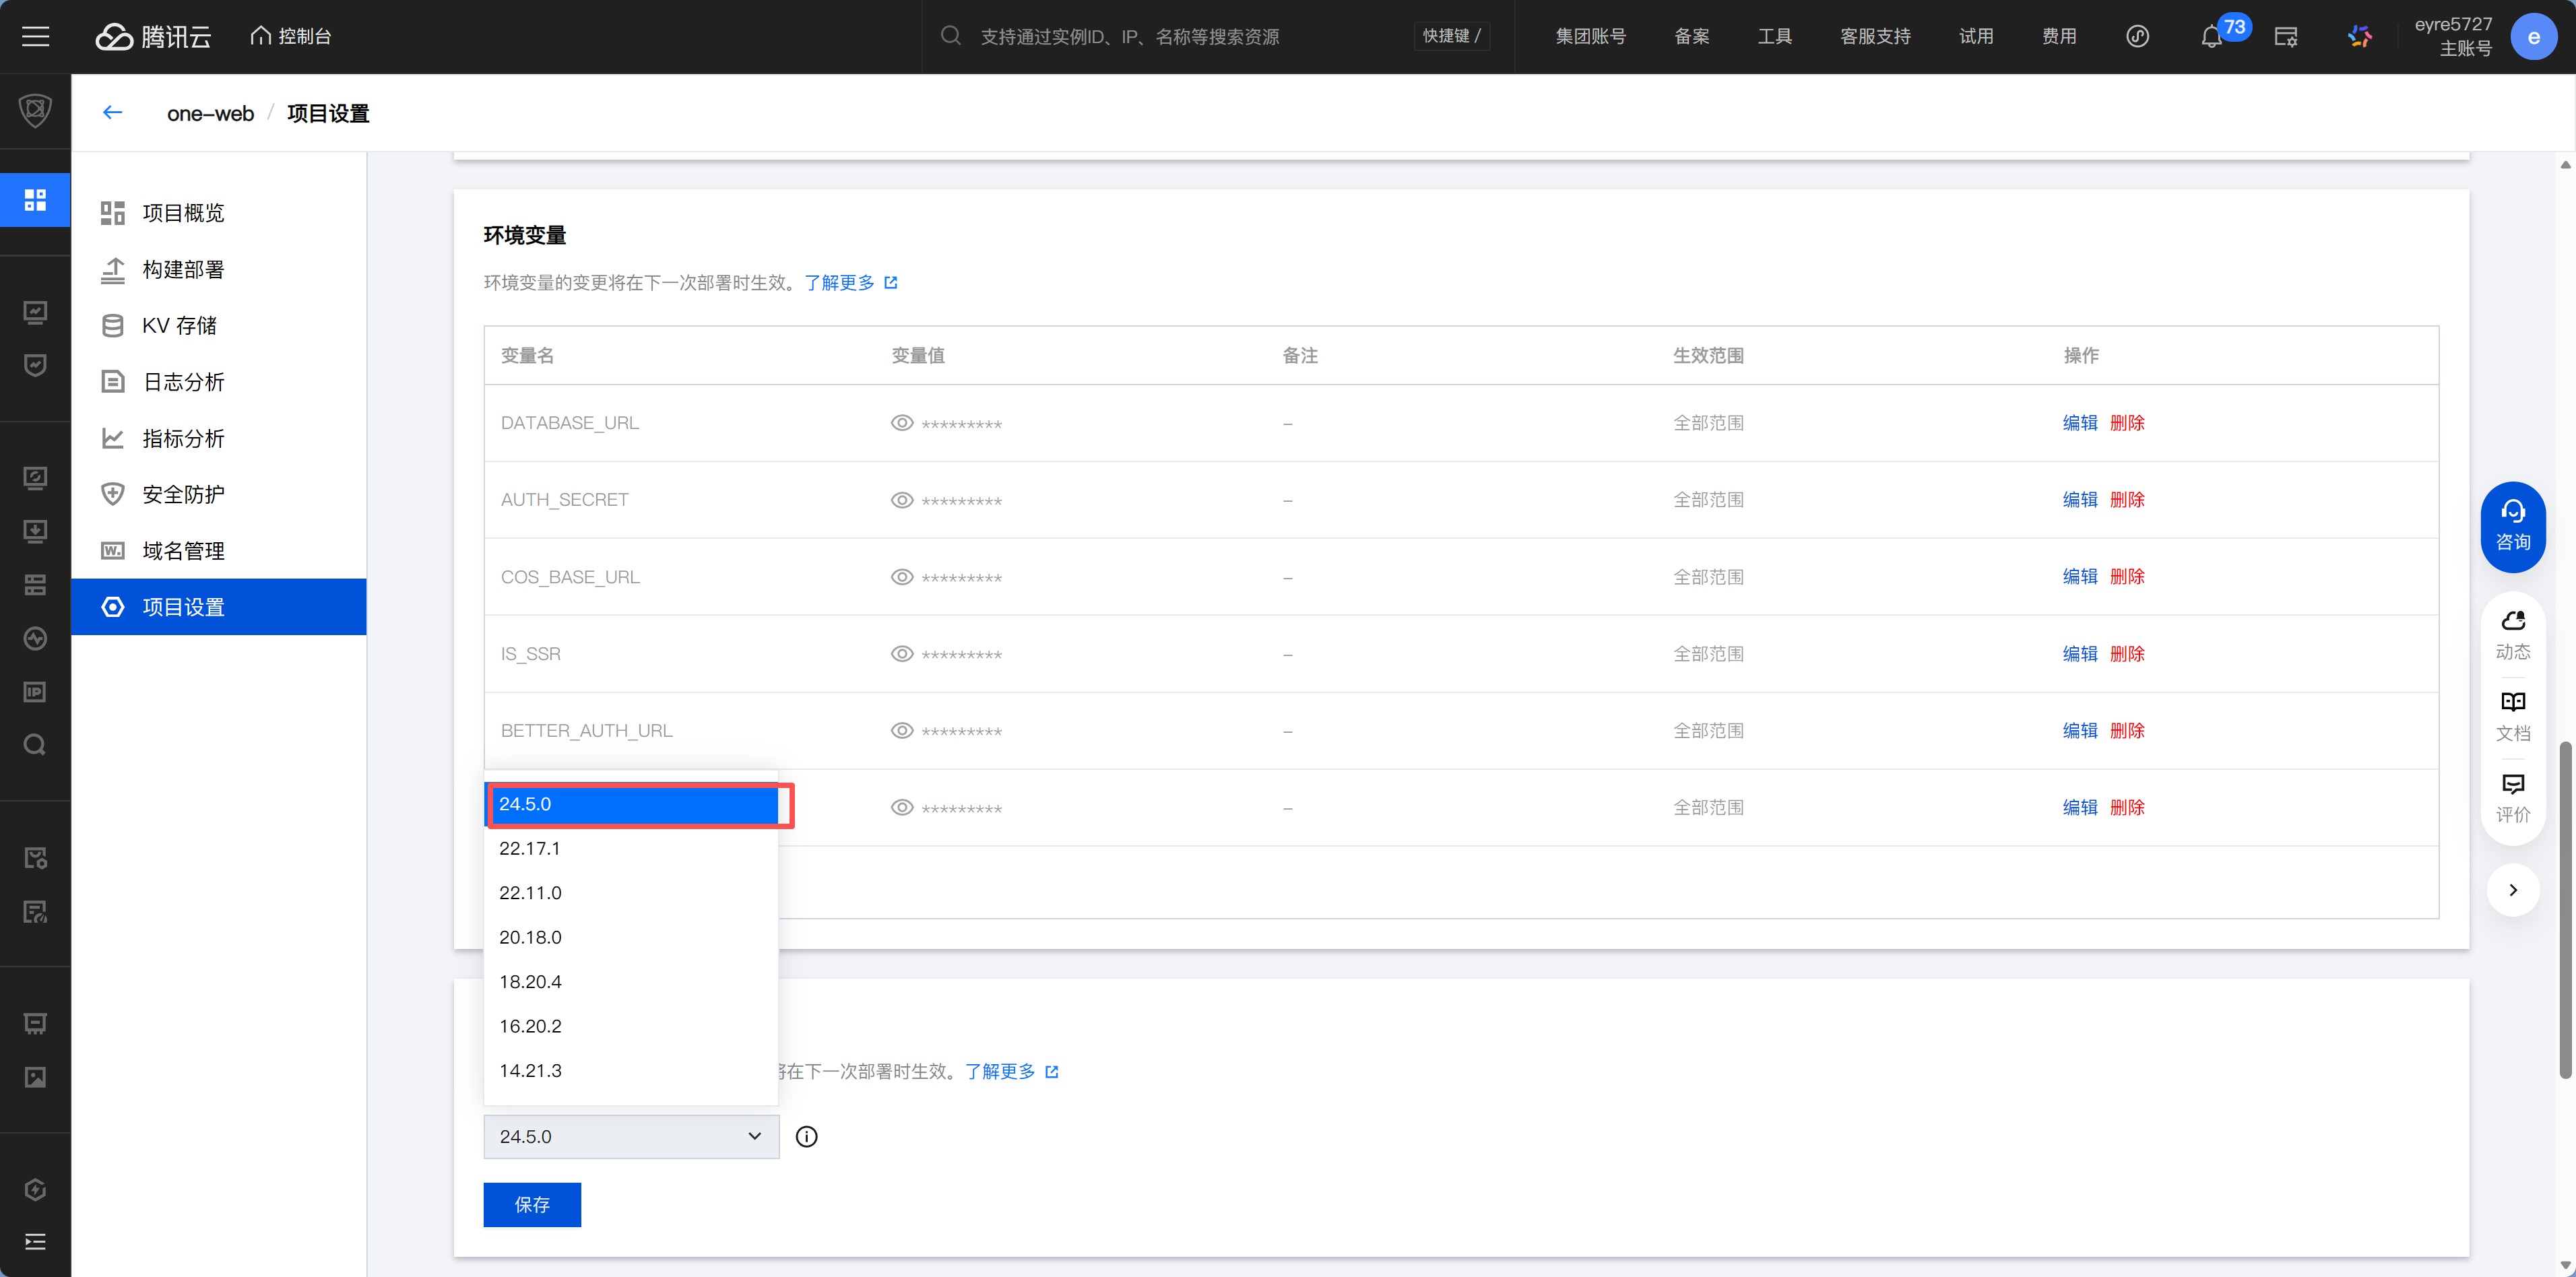
Node Version—EdgeOne usually defaults to Node 22, and for most Next.js projects, the default works fine. In general, leave it as is at first. Only change it to match your local version if the logs show a Node version compatibility error.
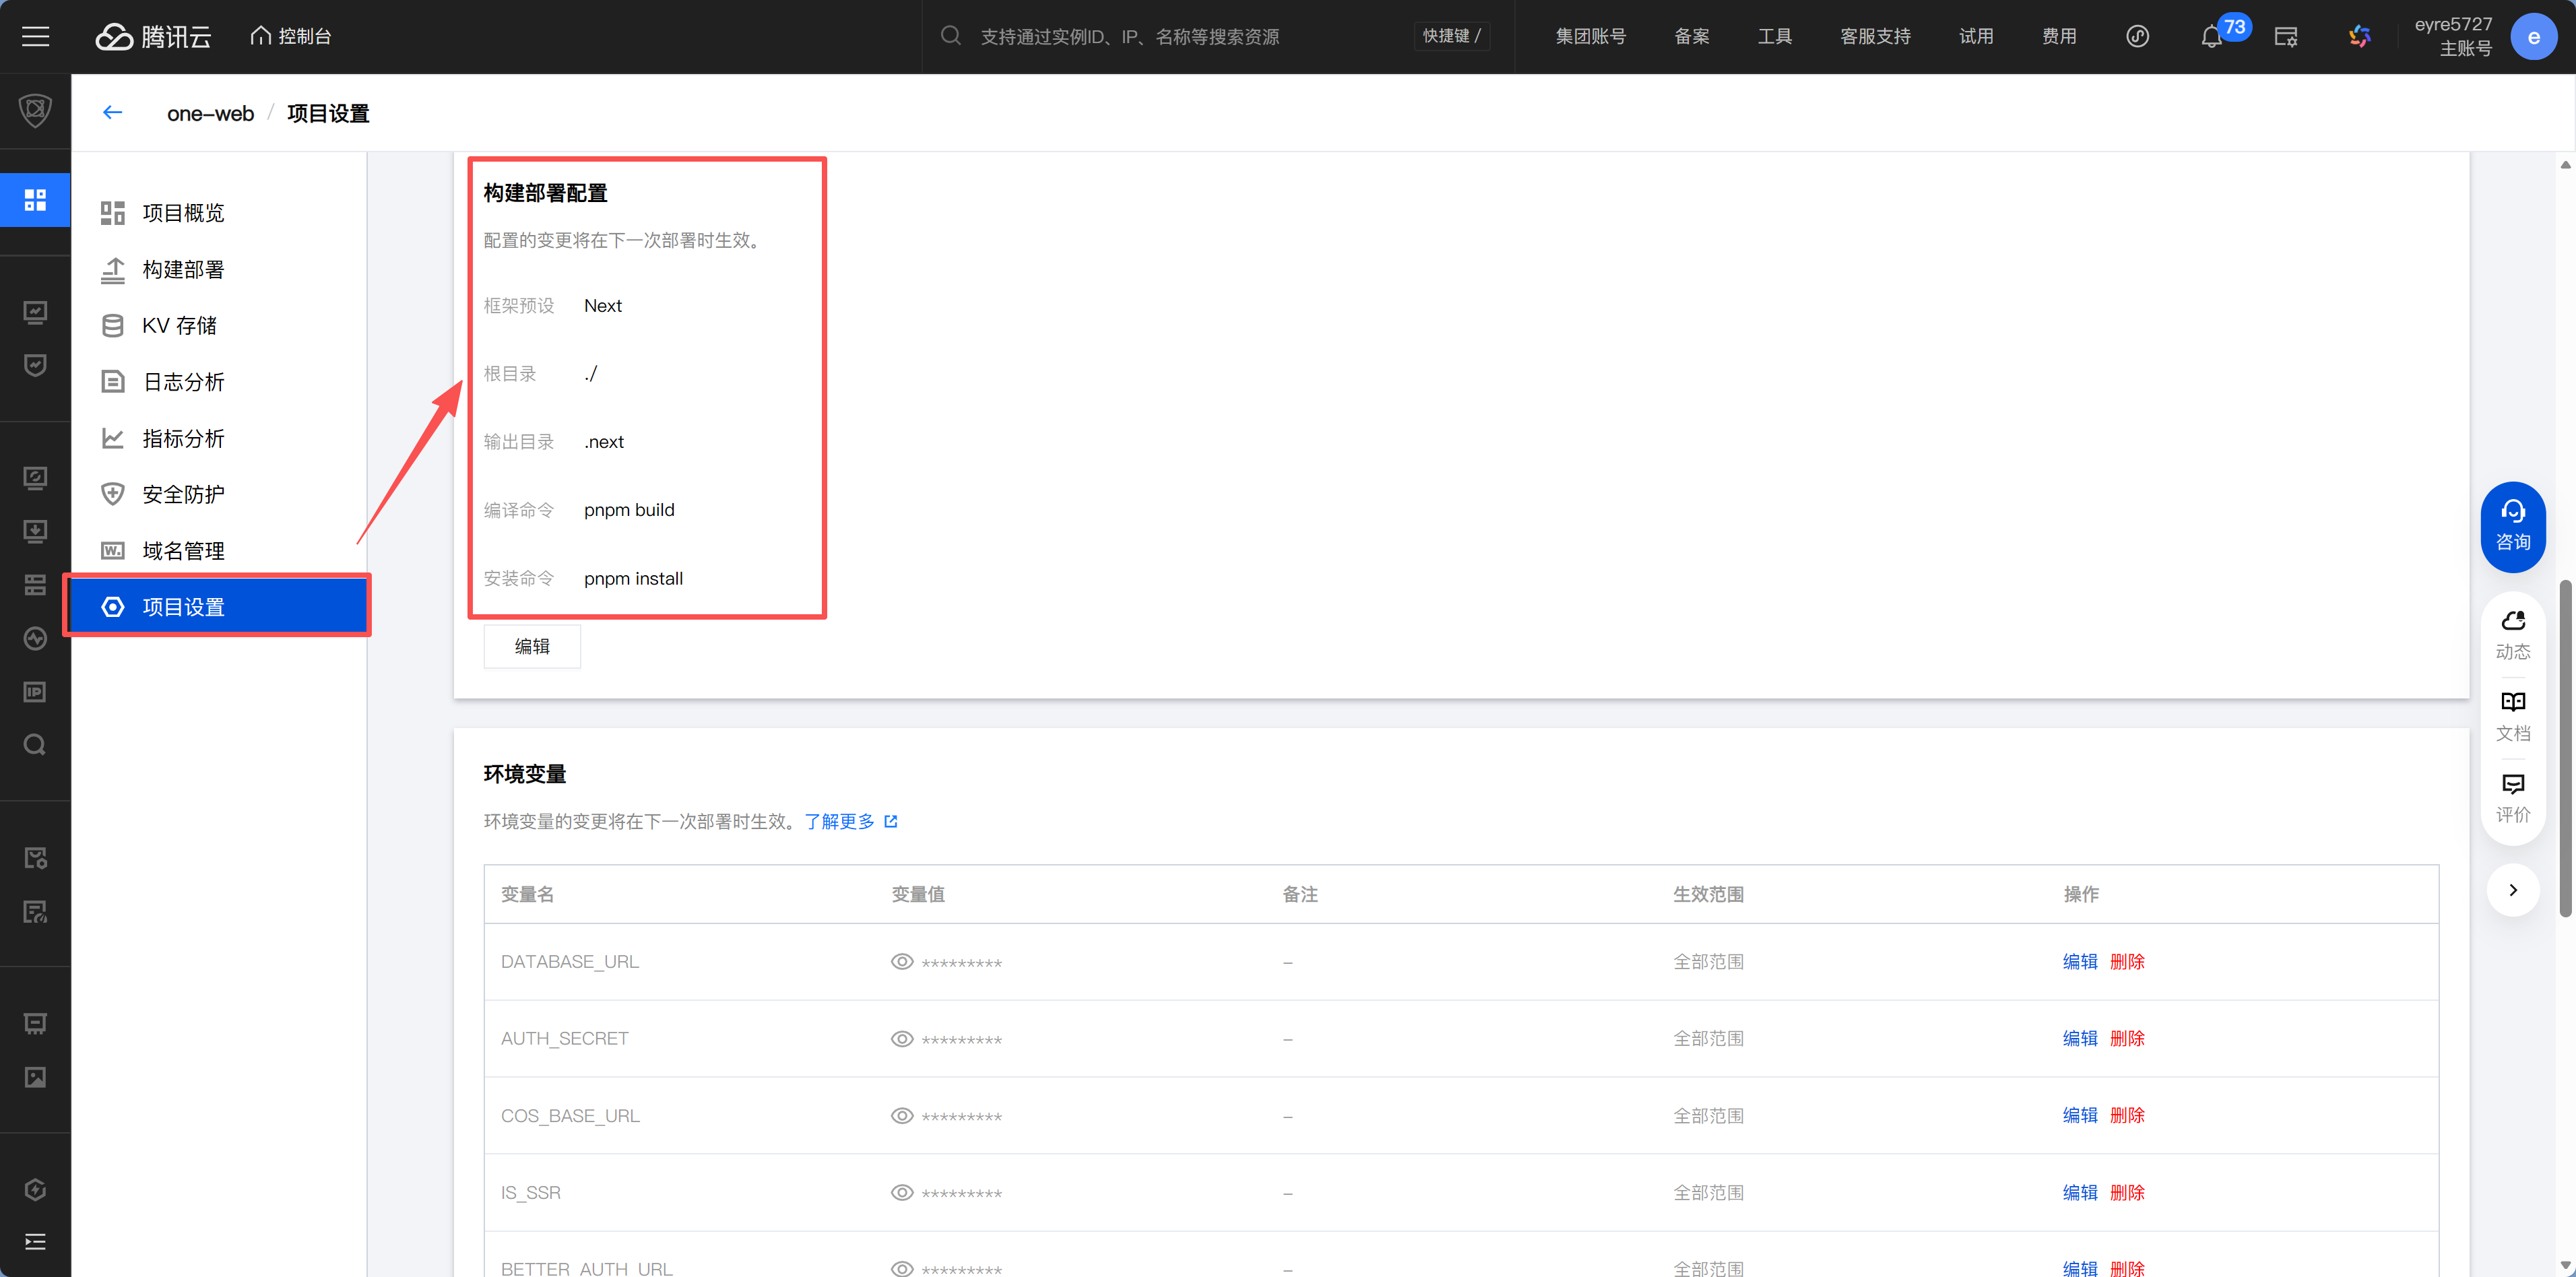
Configure environment variables
On the build settings page, find the Environment Variables section near the bottom.
Remember what we just said? The .env file wasn't uploaded to GitHub, so you need to manually enter those variables here. EdgeOne Pages supports bulk import—just paste in the contents of your .env file, and the platform will automatically parse them into key-value pairs.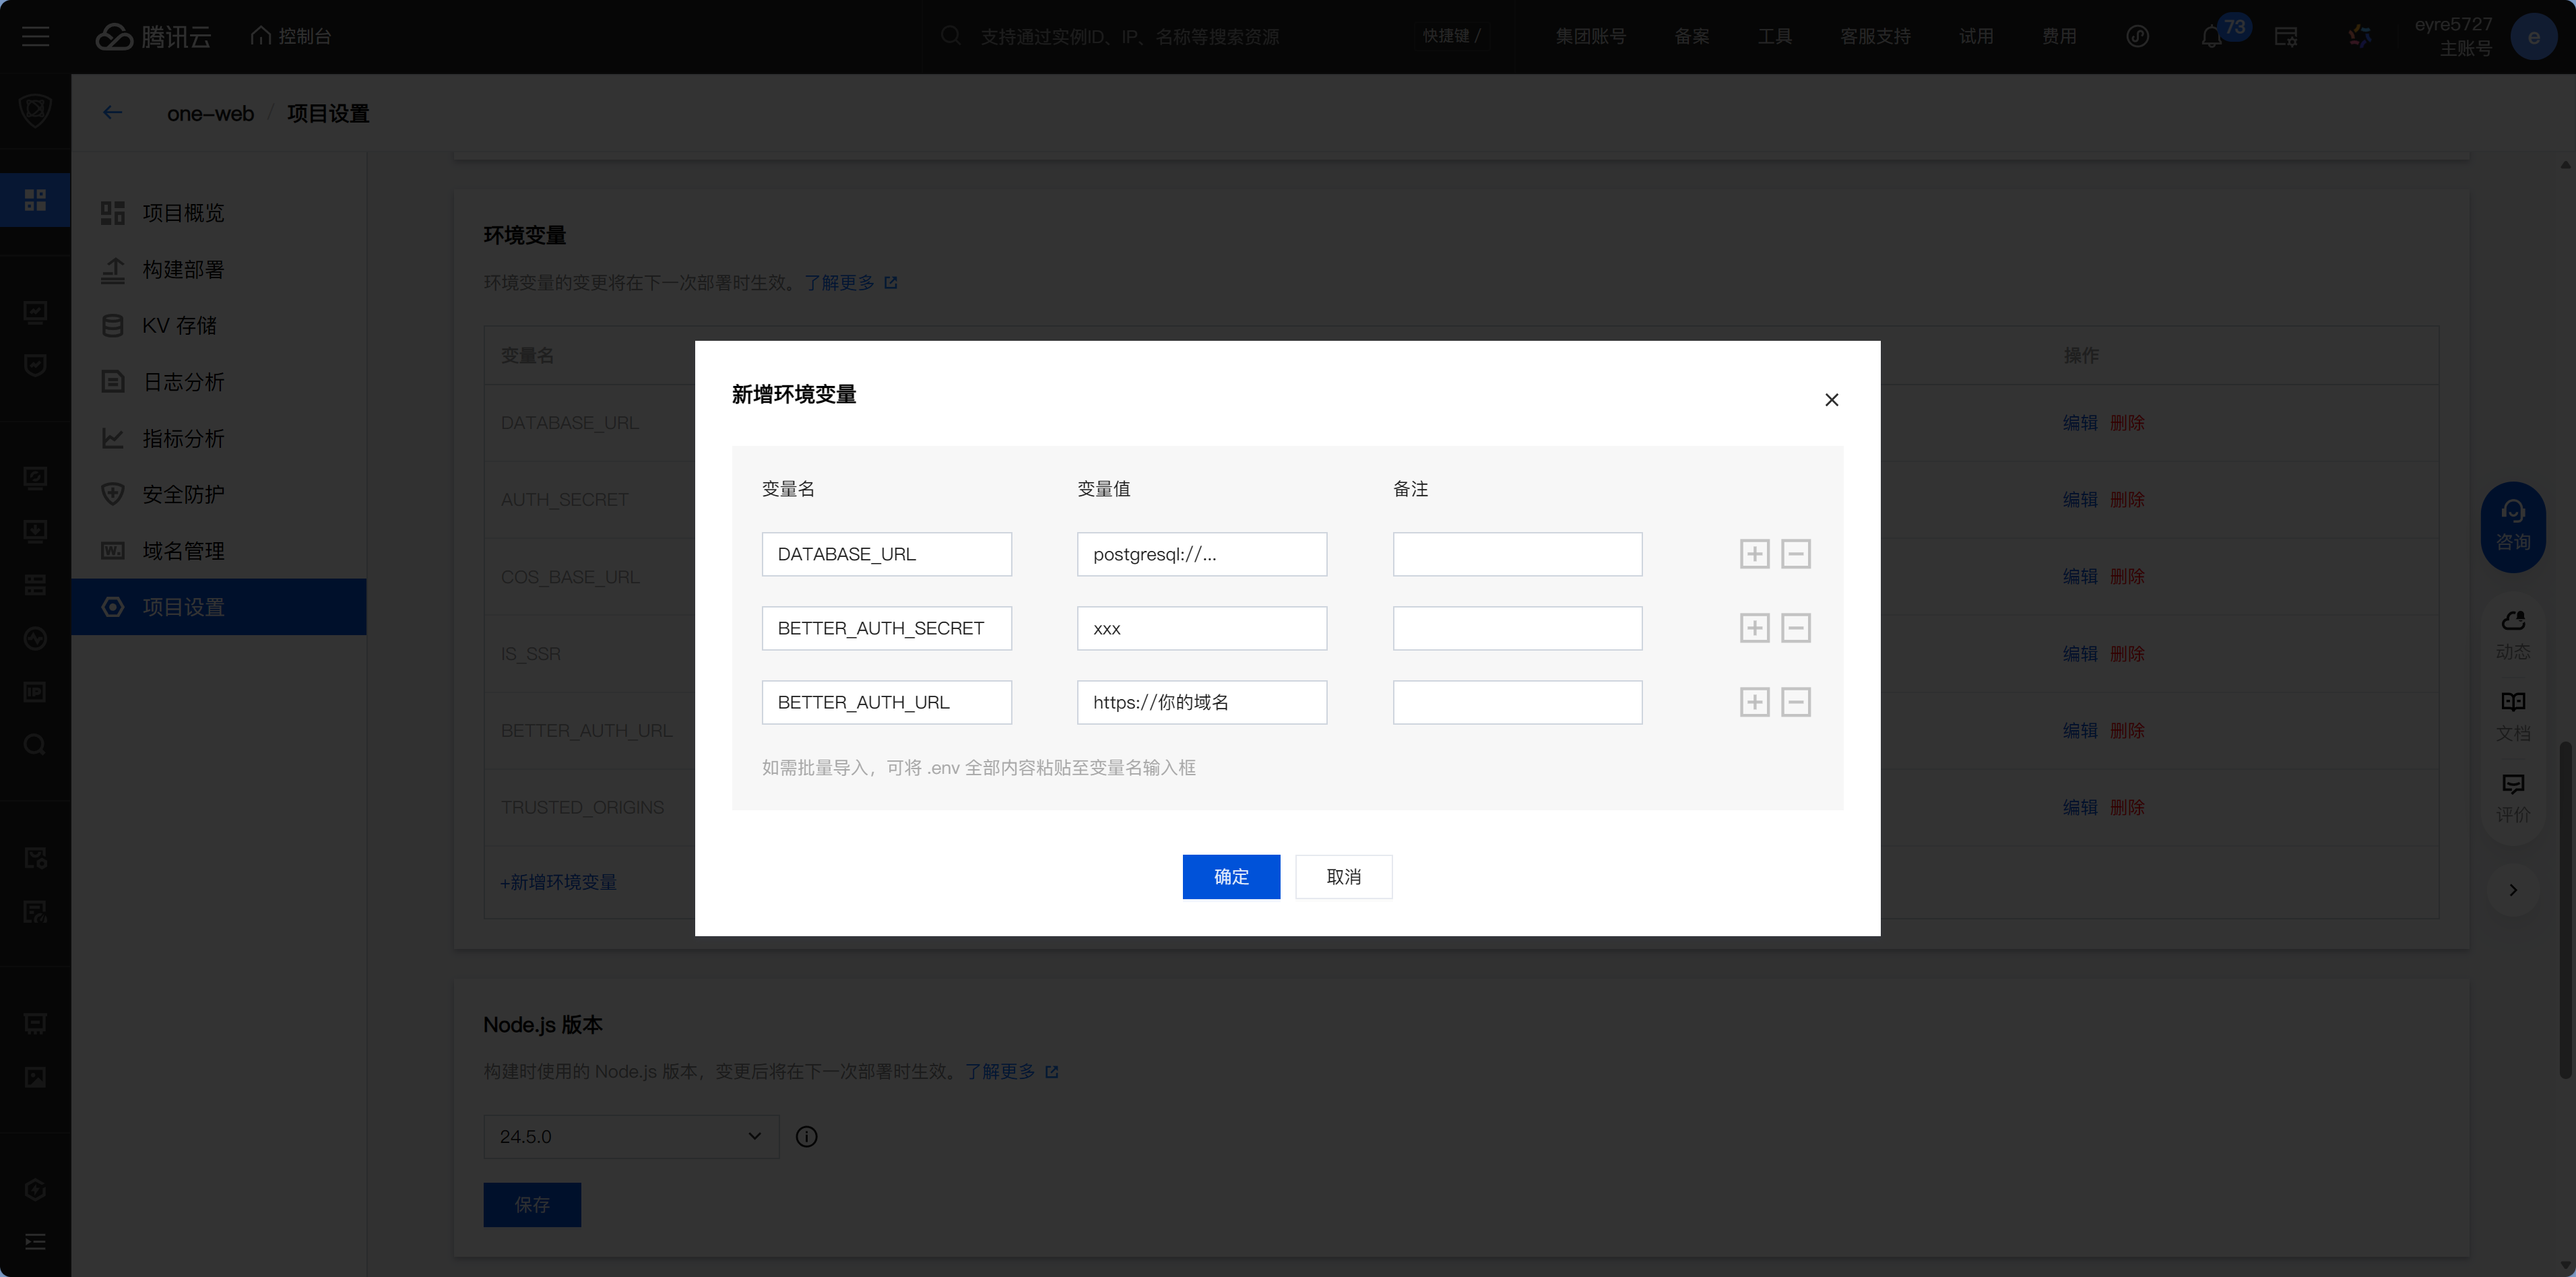
Xiaoming's project needs these variables:
DATABASE_URL="postgresql://..."        # Database connection string; the app can't connect without it
BETTER_AUTH_SECRET="xxx"               # Auth secret; login will fail without it
BETTER_AUTH_URL="https://your-domain"  # Auth callback URL; leave empty for now, update after deployment
Each variable serves a purpose. If DATABASE_URL is missing, the app will fail at startup with "Cannot connect to database"; if BETTER_AUTH_SECRET is missing, user login will fail with a 500 error. If you're not sure which variables you need, open your local .env file—anything in there needs to be configured here too.
Redeploy after changing environment variables
Changing environment variables does not take effect automatically. You need to click "Redeploy" so the platform rebuilds using the new variable values.
Choose an acceleration region
This is a step specific to deployment platforms in China, and it's related to ICP filing.
In simple terms: if you choose an acceleration region that includes "Mainland China," you'll need ICP filing. You've probably seen strings like "京ICP备xxxxxxxx号" in the footer of many Chinese websites—that's an ICP filing number. Chinese regulations require websites hosted on servers in Mainland China to complete filing before they can be publicly accessed. Individuals can apply too, but approval usually takes one to two weeks.
Xiaoming didn't want to wait, so he chose "Global (excluding Mainland China)". This option doesn't require filing, and you can use it immediately after deployment. Even though the name says "excluding Mainland China," access from China still works fine once you bind a custom domain—we'll cover domain configuration in Chapter 13.
(Optional) What to do if the build fails
Once everything is configured, the first deployment should normally succeed right away.

If you also run into a red Failed status, just read this section. Build logs are your most important source of information—the answer is usually in the last few lines.
For example, one common error is:
error engine "node" is incompatible with this moduleThis means the Node version is incompatible. The fix is simple: go back to the build settings, change the Node version to match your project's requirements, and click Redeploy.
After redeploying, it will usually proceed smoothly to a green Success.
Deployment successful: get your link
After a successful build, the platform generates a preview link in a format like xxx.edgeone.dev.
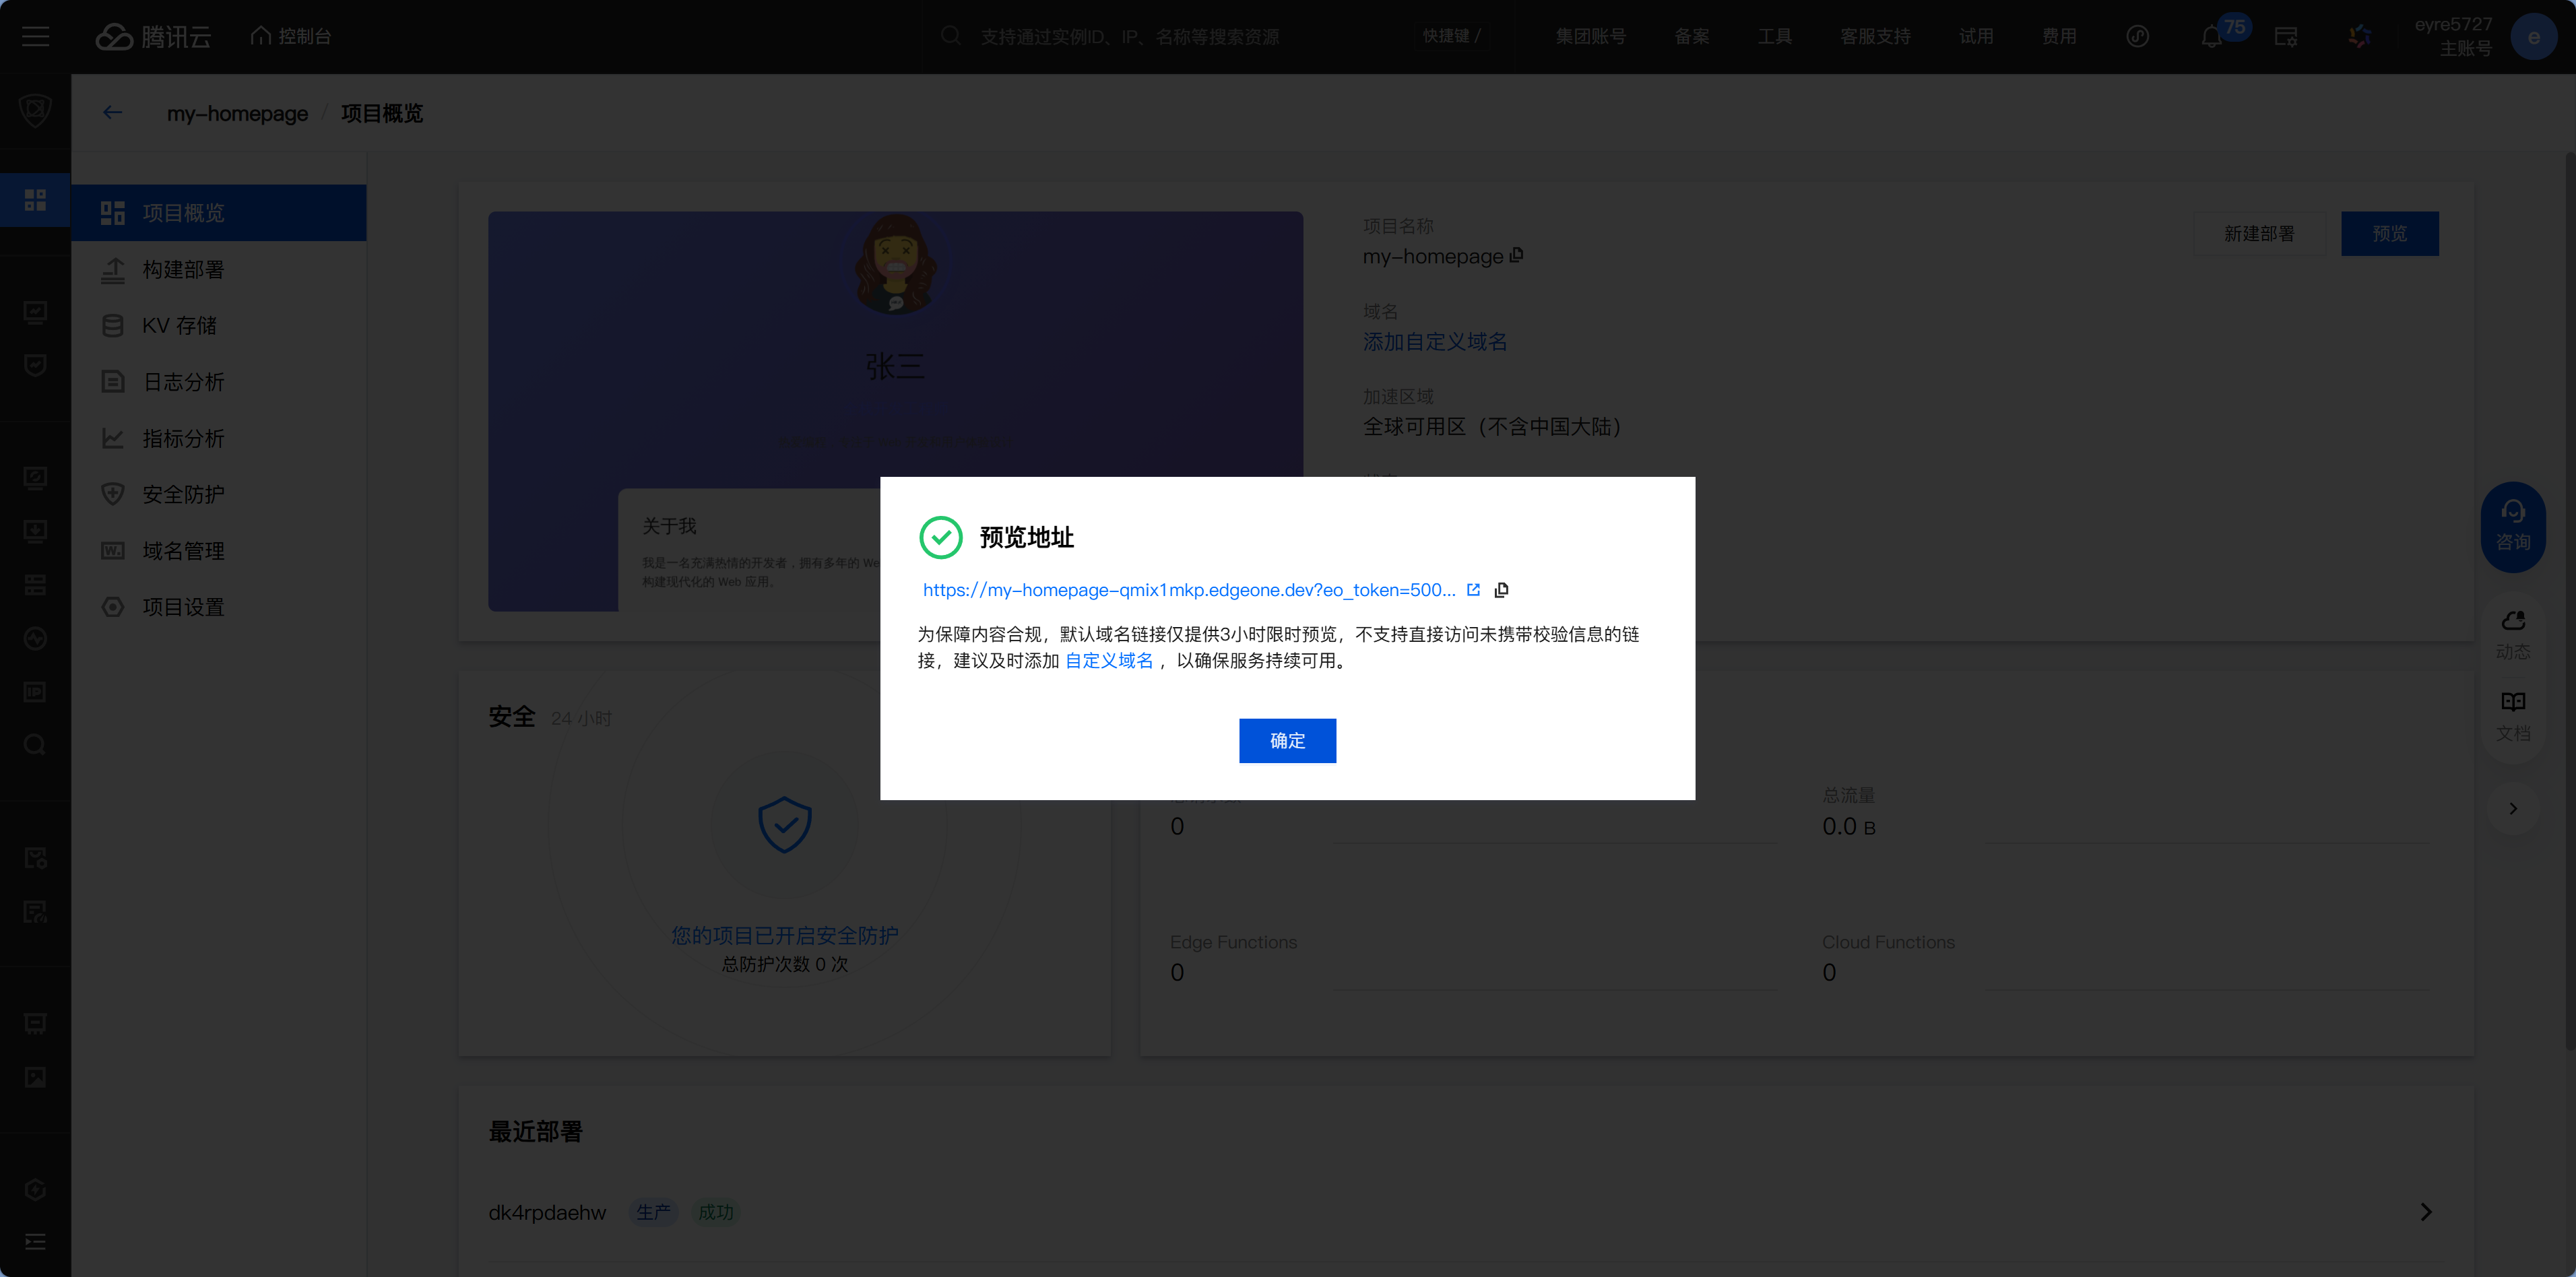
Xiaoming opened the link and saw his "Personal Douban"—exactly the same as his local version, except now it was live on the public internet. He sent the link to his friend, who opened it instantly and replied: "Finally, it works!"
This is the most rewarding moment in the tutorial so far: the code you wrote is now accessible to the whole world.
Preview link limitations
If you selected the "Global (excluding Mainland China)" acceleration region, the default domain may have access restrictions (a 3-hour validity period). This restriction disappears once you bind a custom domain. For domain setup details, see Chapter 13.
Common build failure troubleshooting
Xiaoming's Node version issue is just the most common one. If your build fails too, start by checking the error keywords in the last few lines of the logs:
| Error keyword | Cause | Solution |
|---|---|---|
engine "node" is incompatible | Node version mismatch | Adjust the Node version in settings |
Cannot find module | Dependency installation failed | Check whether package.json and the lockfile were committed to GitHub |
DATABASE_URL is not defined | Environment variable not configured | Add it on the environment variables page |
Build failed + no specific details | Incorrect build command | Make sure the build command matches your local setup |
ENOENT: no such file | Incorrect path | Check the root directory configuration |
Ran into an error you don't understand? Copy the logs into Claude Code and let it help you diagnose the issue. The information in build logs is usually enough to pinpoint the problem.
Push to deploy
After connecting GitHub, every time you git push to the main branch, EdgeOne Pages will automatically trigger a redeployment. You don't need to do anything manually—this is the beginning of CI/CD, which we'll cover in more detail in 12.3.
Use the deployment Skill
This tutorial provides an EdgeOne deployment Skill. After installing it, just tell Claude Code "Help me deploy this project to EdgeOne Pages," and it will guide you through the whole process.
How to install it: send the following link to Claude Code, and it will automatically recognize and install the Skill:
https://cnb.cool/nfeyre/default-dev-env/-/git/raw/main/.claude/skills/edgeone-deploy/SKILL.mdBut it's still important to understand the manual steps above—when automation breaks, you need to know where to troubleshoot.
Next step
EdgeOne deployment is done. If your users are mainly overseas, or you want to learn about more platform options, continue to 12.2 Deploy to Vercel-like Platforms.