6.0 Claim Your Database
Goal of this section: Sign up for a free cloud PostgreSQL database, get the connection string, and verify that the connection works.
In the introduction, you already learned the basics of databases. Now it's time to claim one of your own.
Why use a cloud database
You might be wondering: can I just install PostgreSQL on my own computer? Of course you can, but experienced developers generally don't recommend that for beginners:
- Local installation and configuration are tedious and easy to mess up
- You'll have to migrate data again when deploying online
- A cloud database's free tier is more than enough for personal projects
The benefits of a cloud database are simple: sign up and use it right away, automatic backups, and access from anywhere. The one you connect to while coding at home is the same one Vercel connects to after deployment, which saves you from environment mismatch headaches.
Option 1: Neon (Recommended)
Neon is a serverless database platform focused on PostgreSQL—you don't need to install the database yourself or manage servers. Neon handles all of that for you, and you just connect and use it. Its free tier is generous, and cold starts are fast (a cold start is the "warm-up" delay when a database is accessed for the first time after being idle), making it a great fit for personal projects.
Sign-up steps
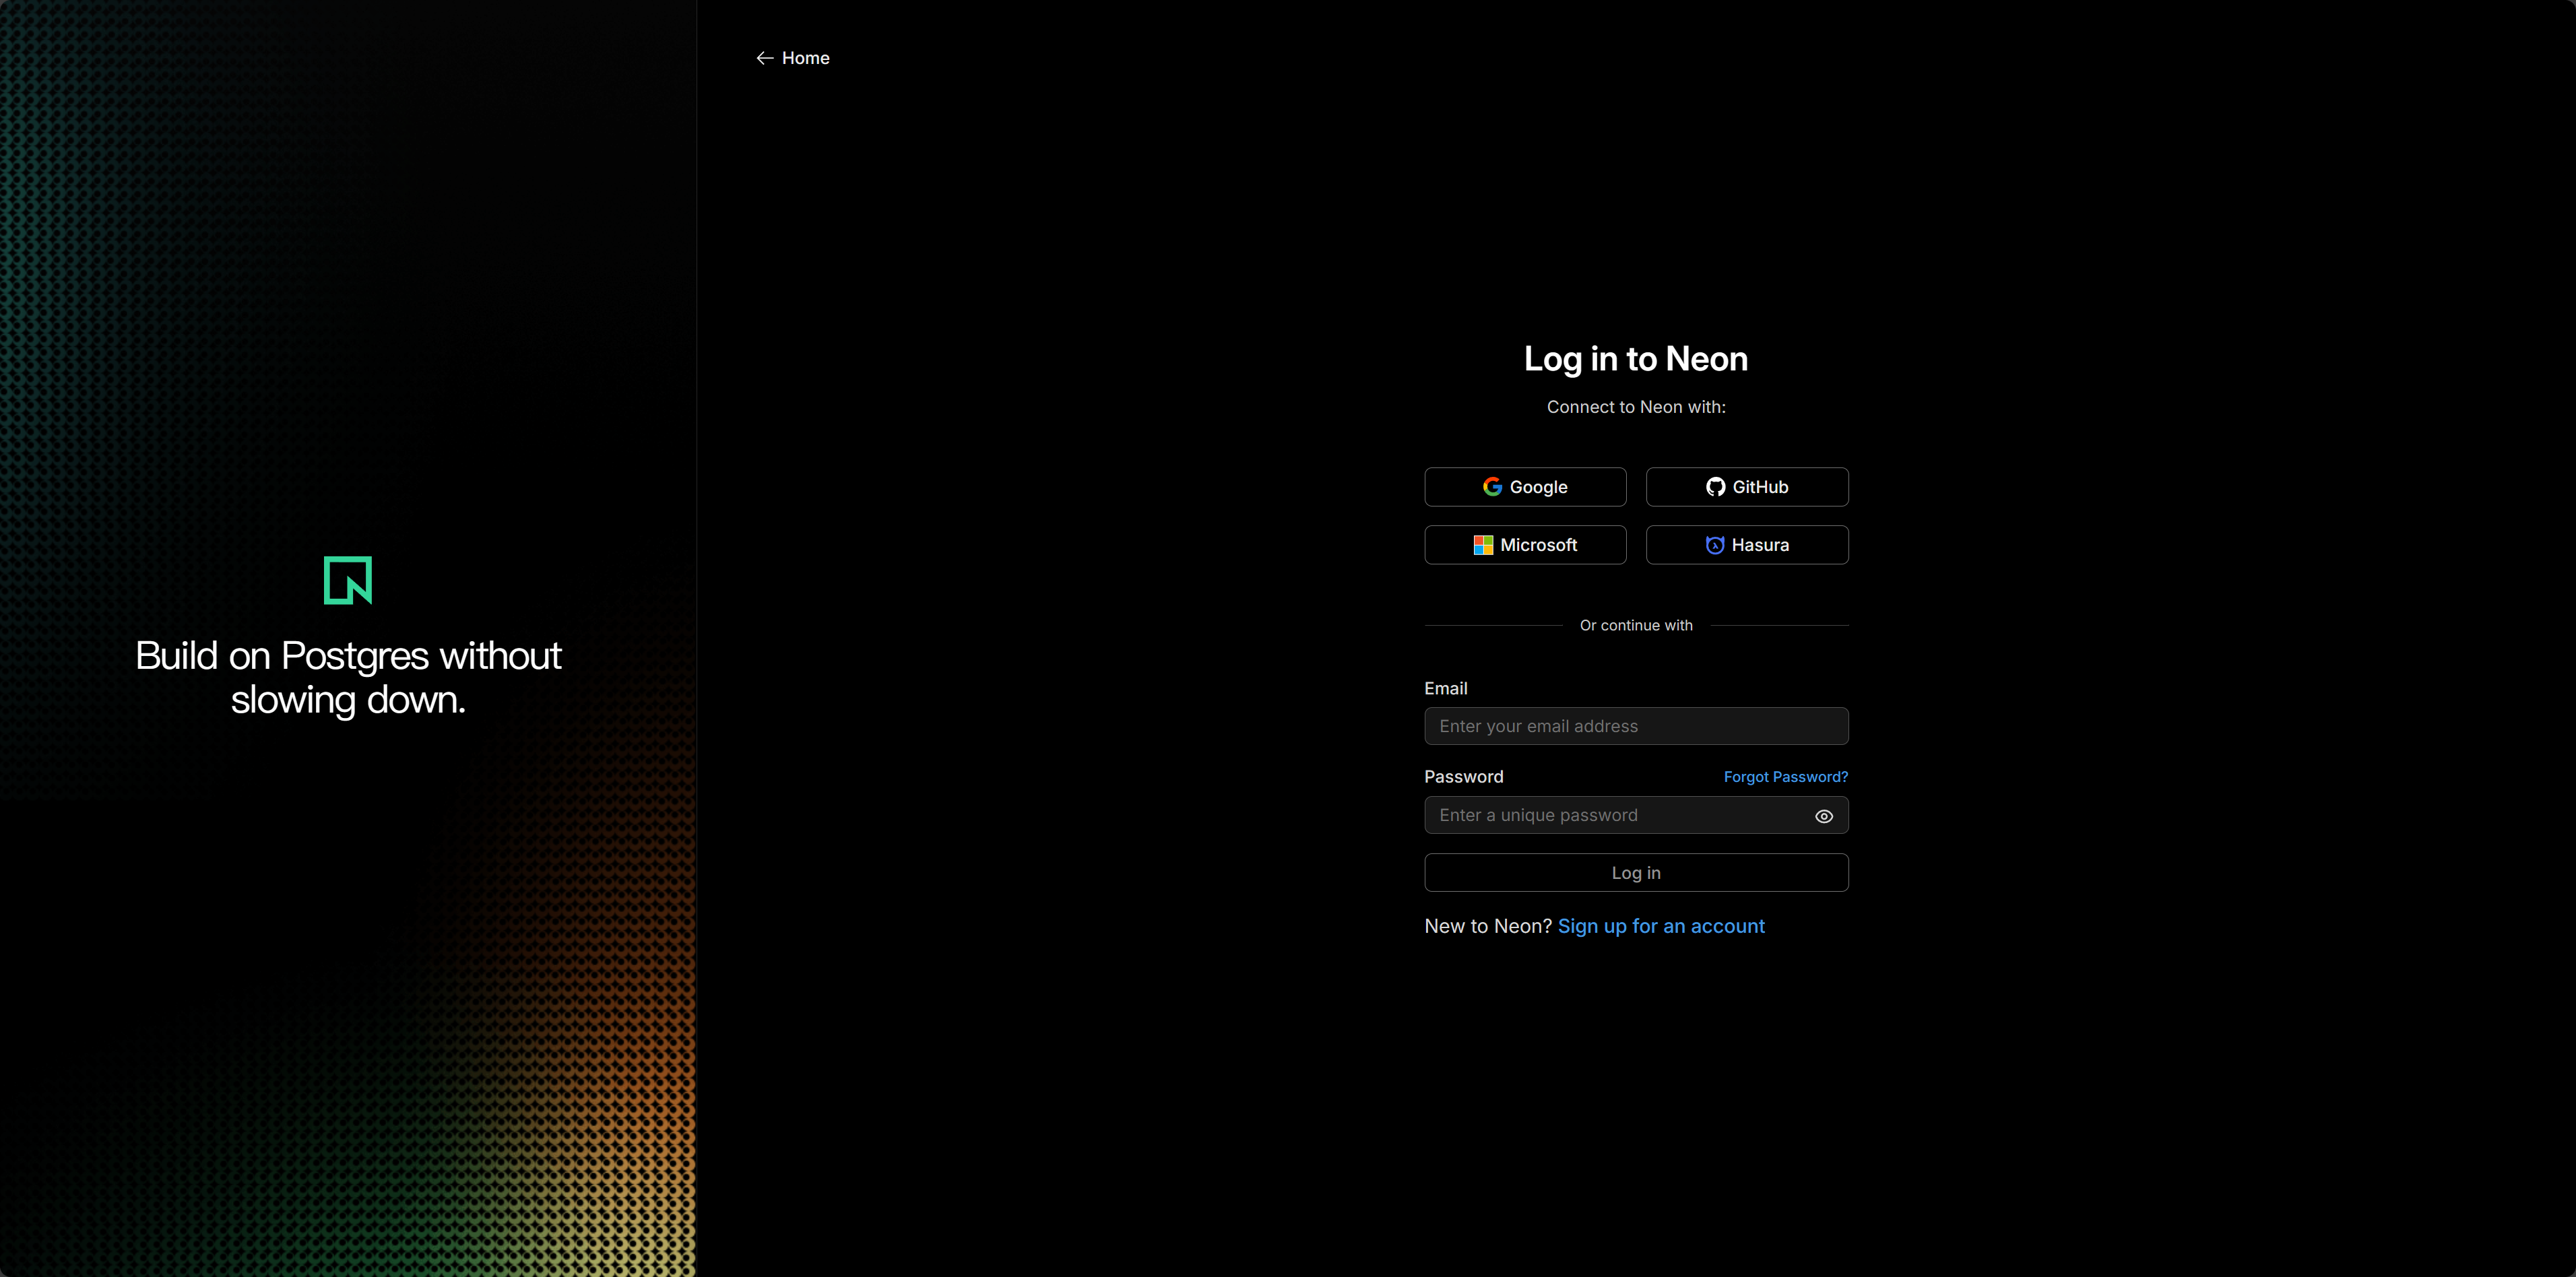
Step 1: Visit the Neon website
Open neon.tech and click Log In in the upper-right corner. It's recommended to sign in with your GitHub account for one-click authorization.
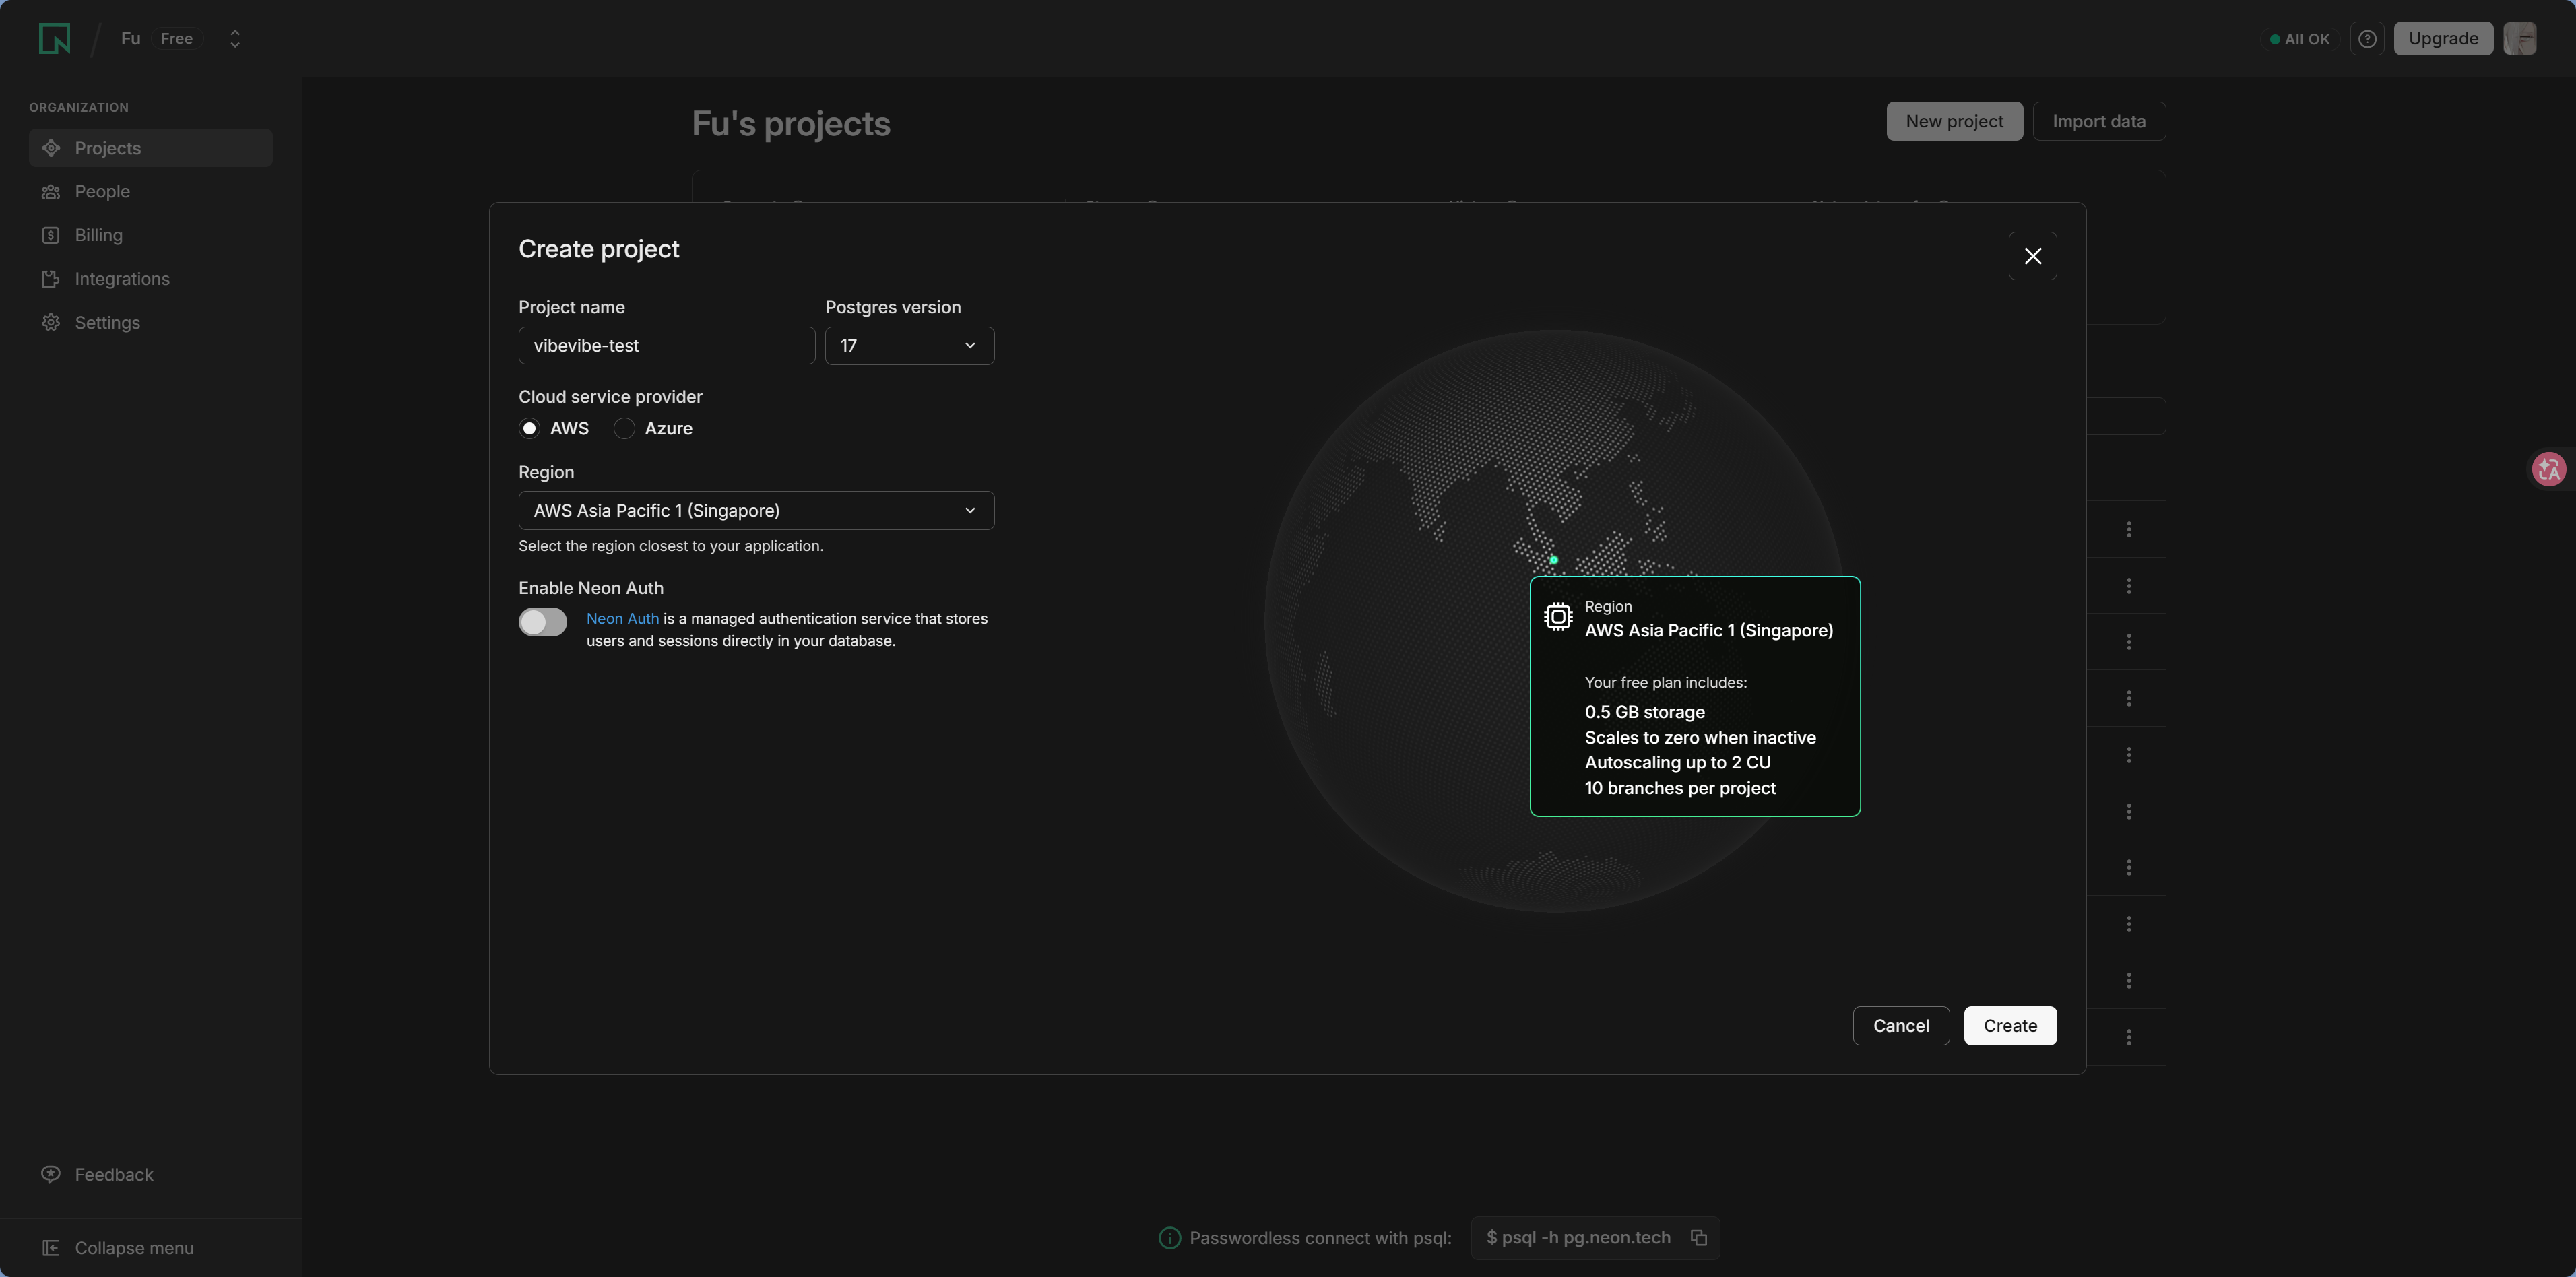
Step 2: Create a project
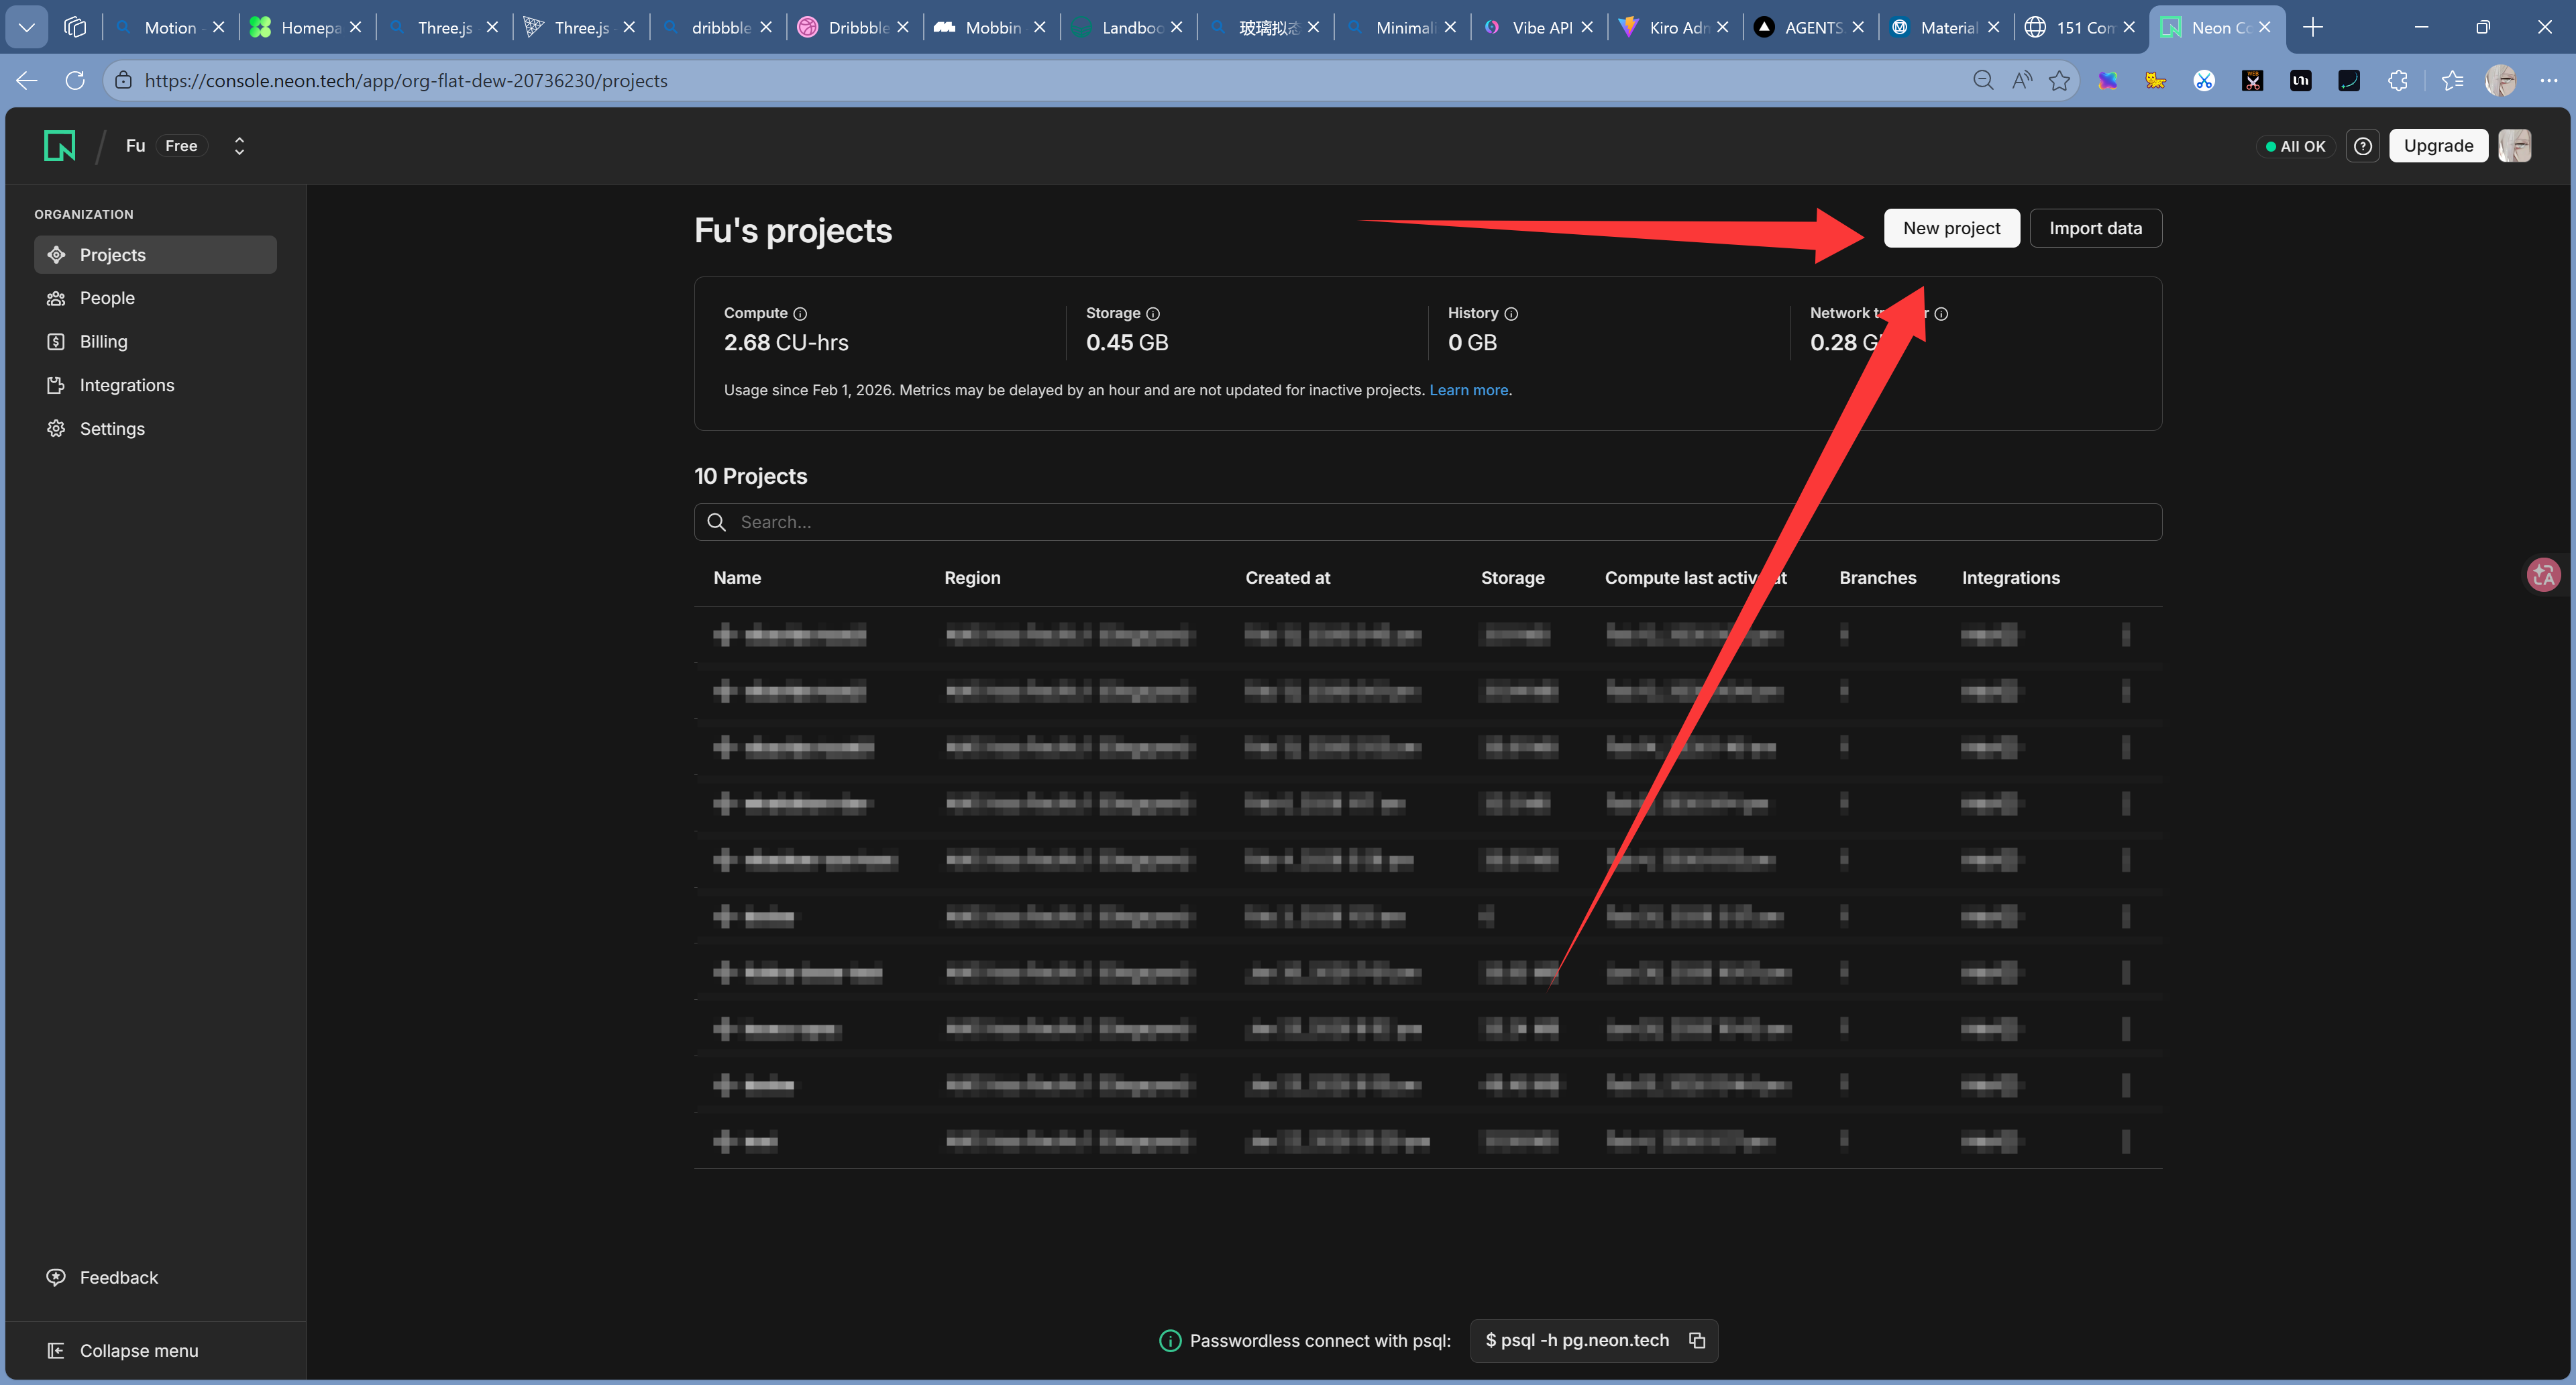
After signing in, create your first project. Fill in the following information:
- Project Name: Anything you like, for example
my-first-app - Region: Choose the region closest to you. For users in China, Singapore is recommended for the lowest latency
- Database Name: Leave it as the default
neondb
Step 3: Get the connection string
Once the project is created, Neon will directly show your Connection String. It looks like this:
postgresql://username:password@ep-xxx-xxx-123.us-east-2.aws.neon.tech/neondb?sslmode=require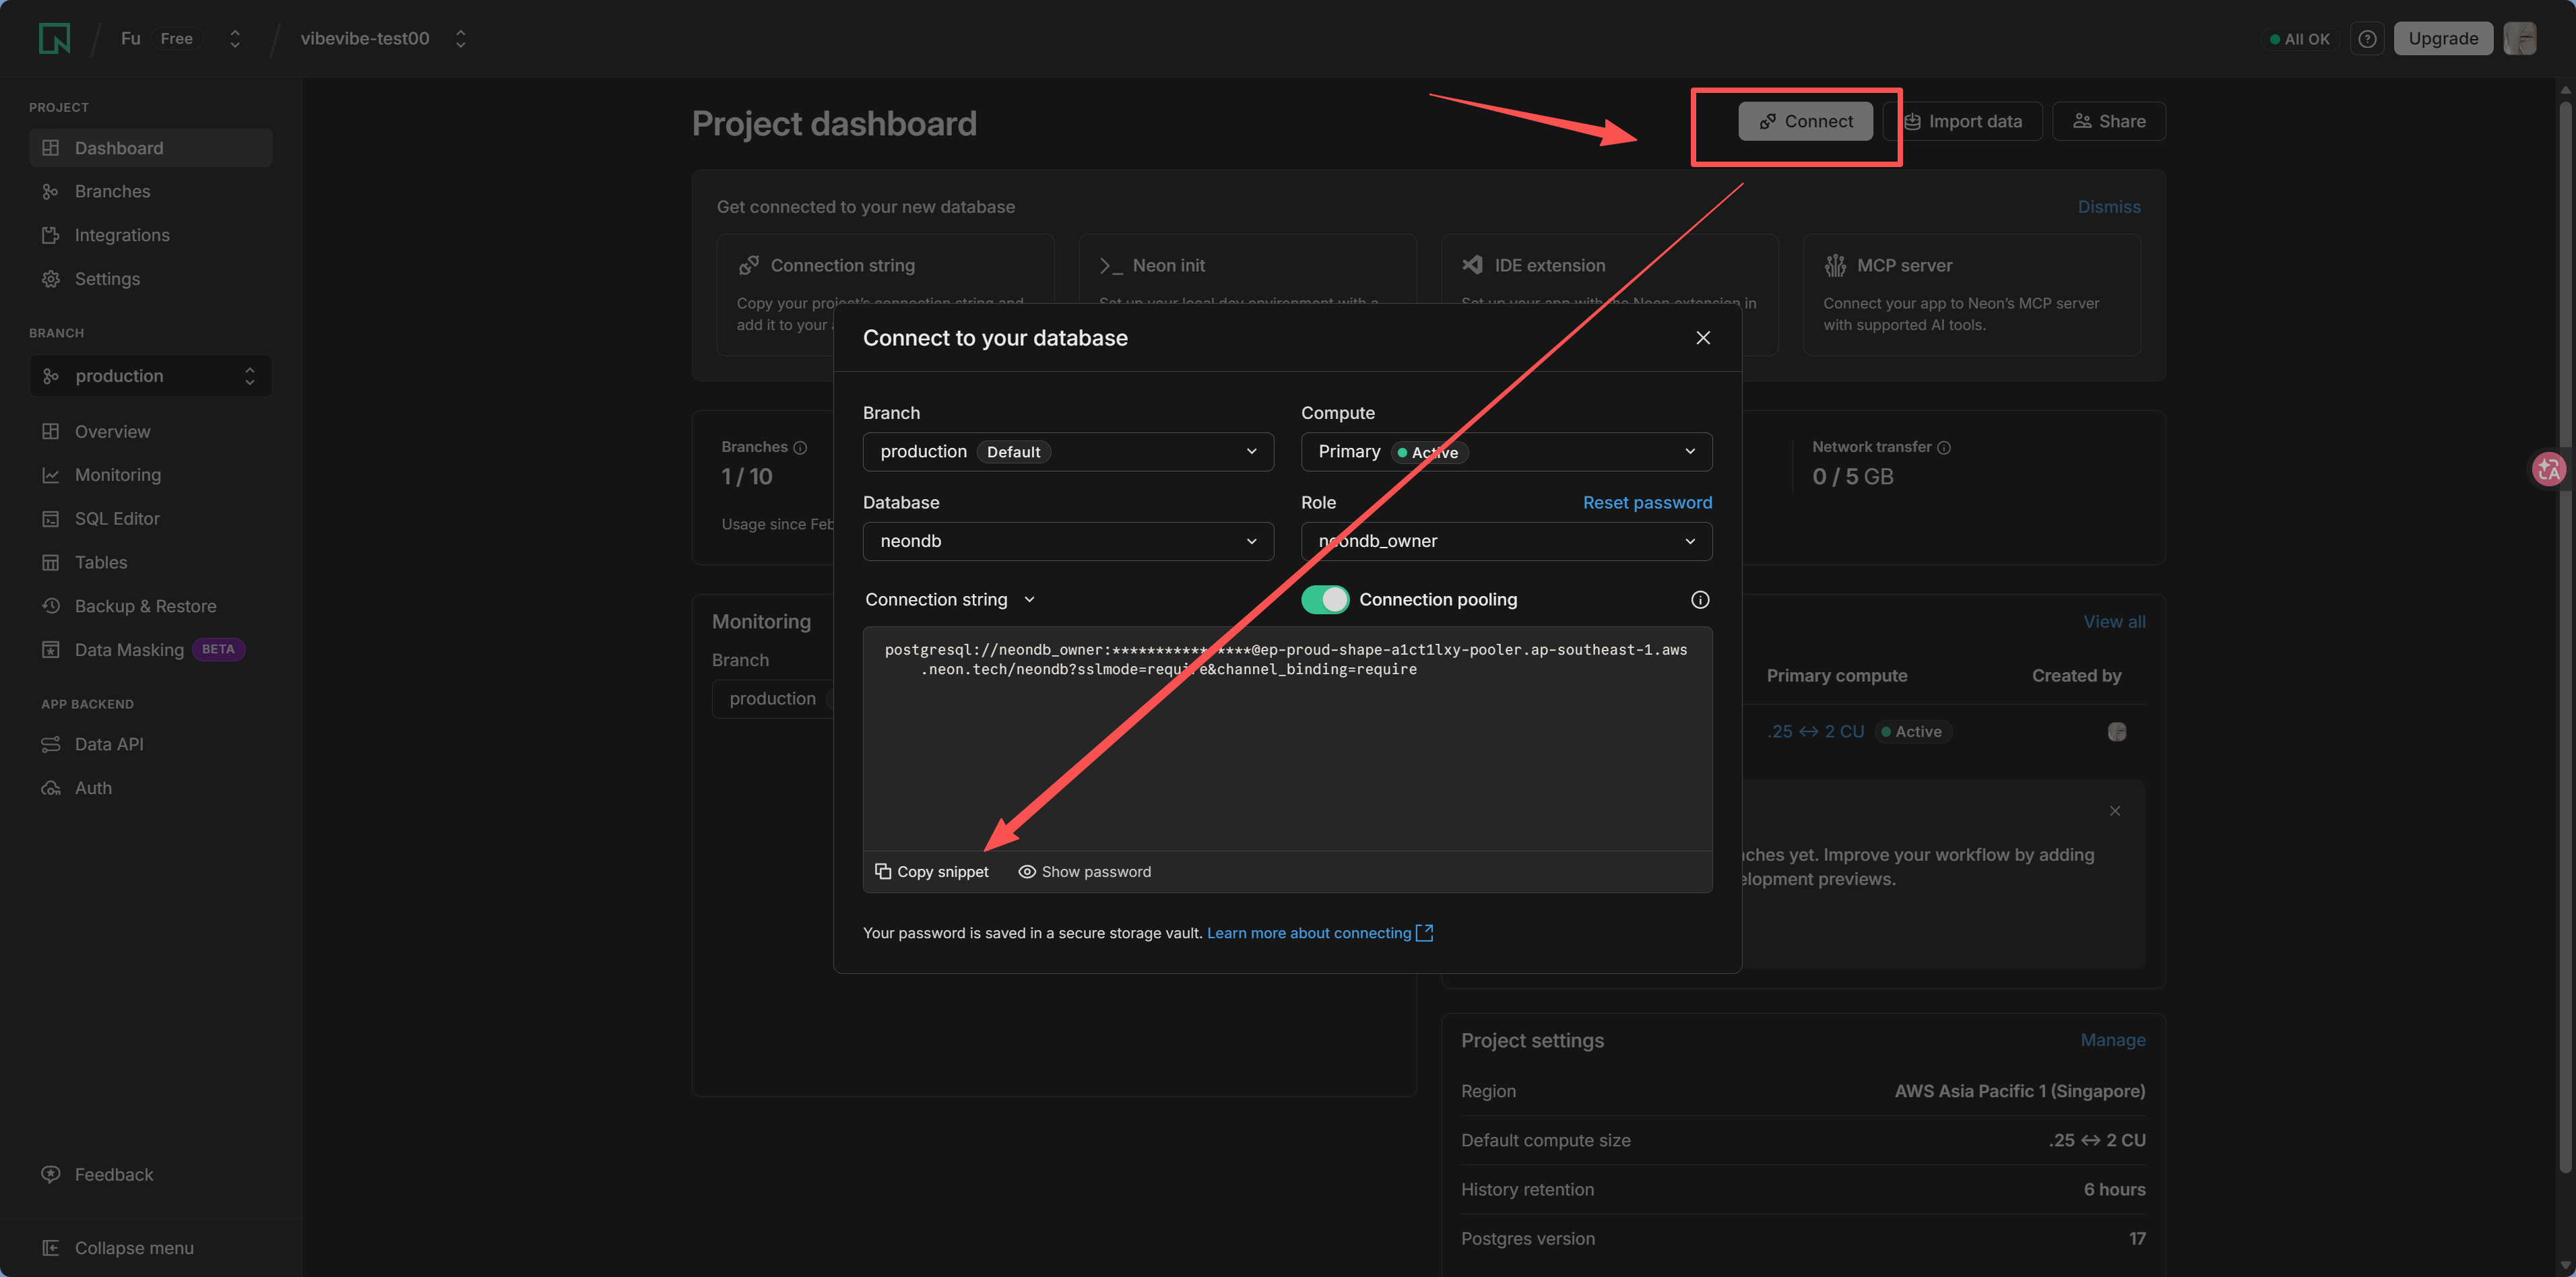
Keep your connection string safe
The connection string contains your username and password—it's basically the key to your database. Never commit it to GitHub or send it to anyone else. Store it in your project's .env file:
DATABASE_URL="postgresql://username:password@ep-xxx.neon.tech/neondb?sslmode=require"What's included in Neon’s free tier
| Resource | Free allowance |
|---|---|
| Storage | 512 MB |
| Compute time | 100 compute hours per project |
| Number of projects | 100 |
| Number of branches | 10 |
For learning and personal projects, these limits are more than enough.
Option 2: Supabase
Supabase not only provides a PostgreSQL database, but also comes with authentication, storage, real-time subscriptions, and more. If you want an all-in-one backend service, it's a solid choice.
Sign-up steps
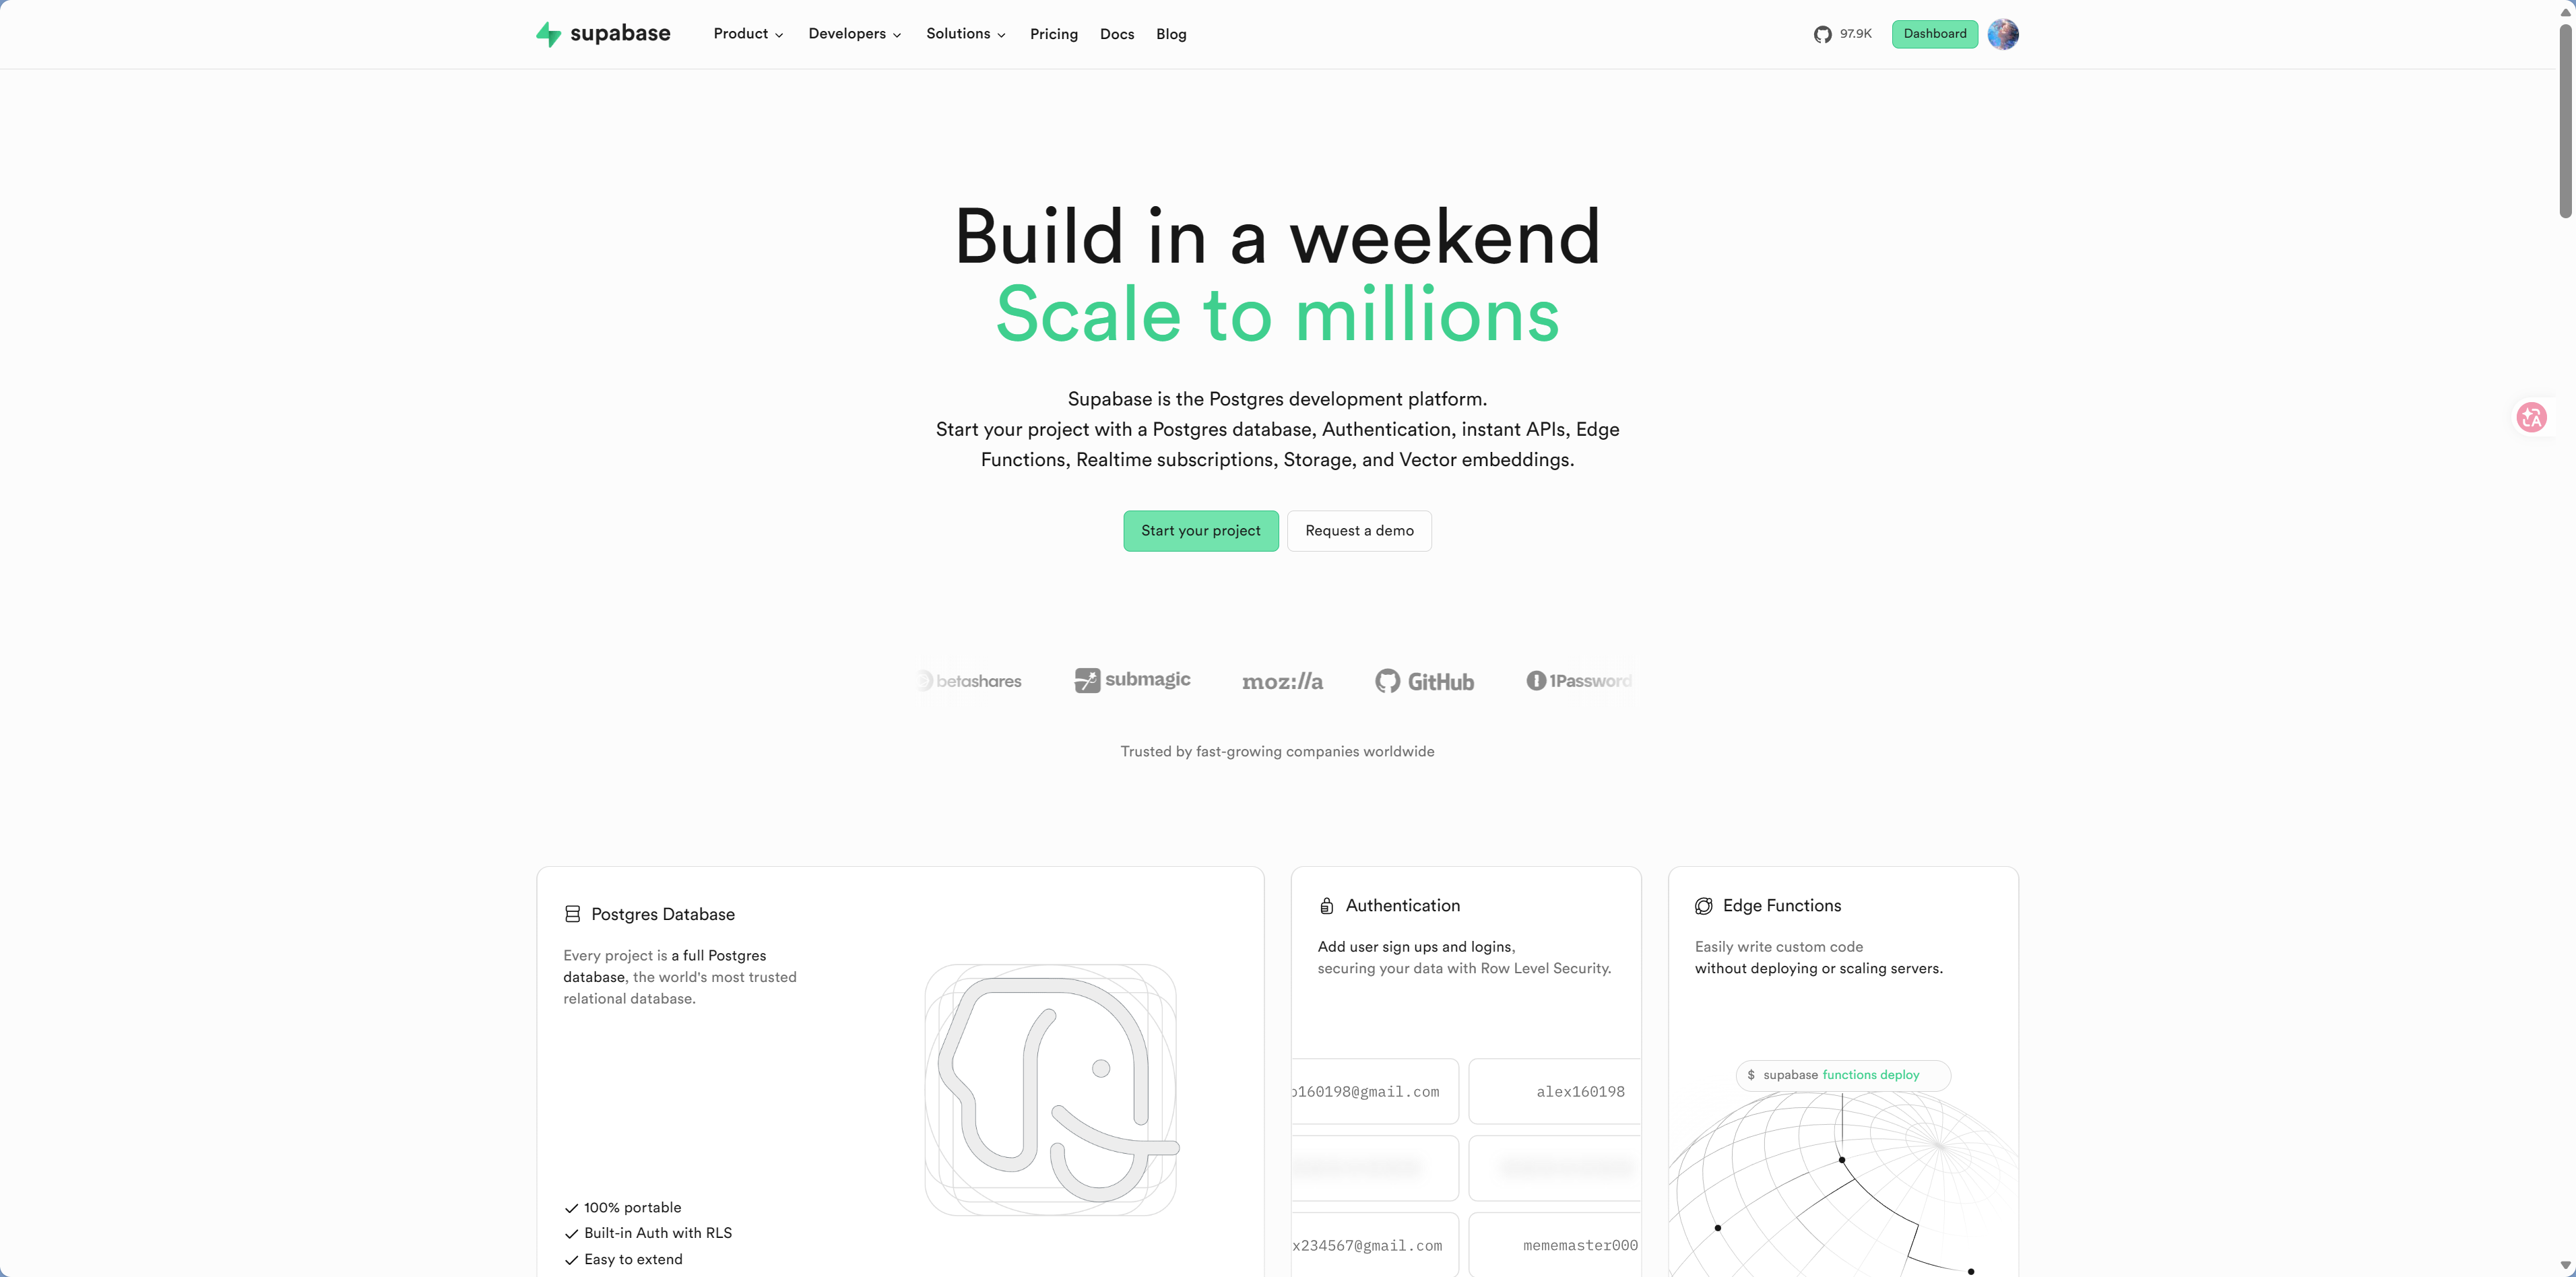
Step 1: Visit the Supabase website
Open supabase.com and click Start your project, then sign in with GitHub.
Step 2: Create an organization and project
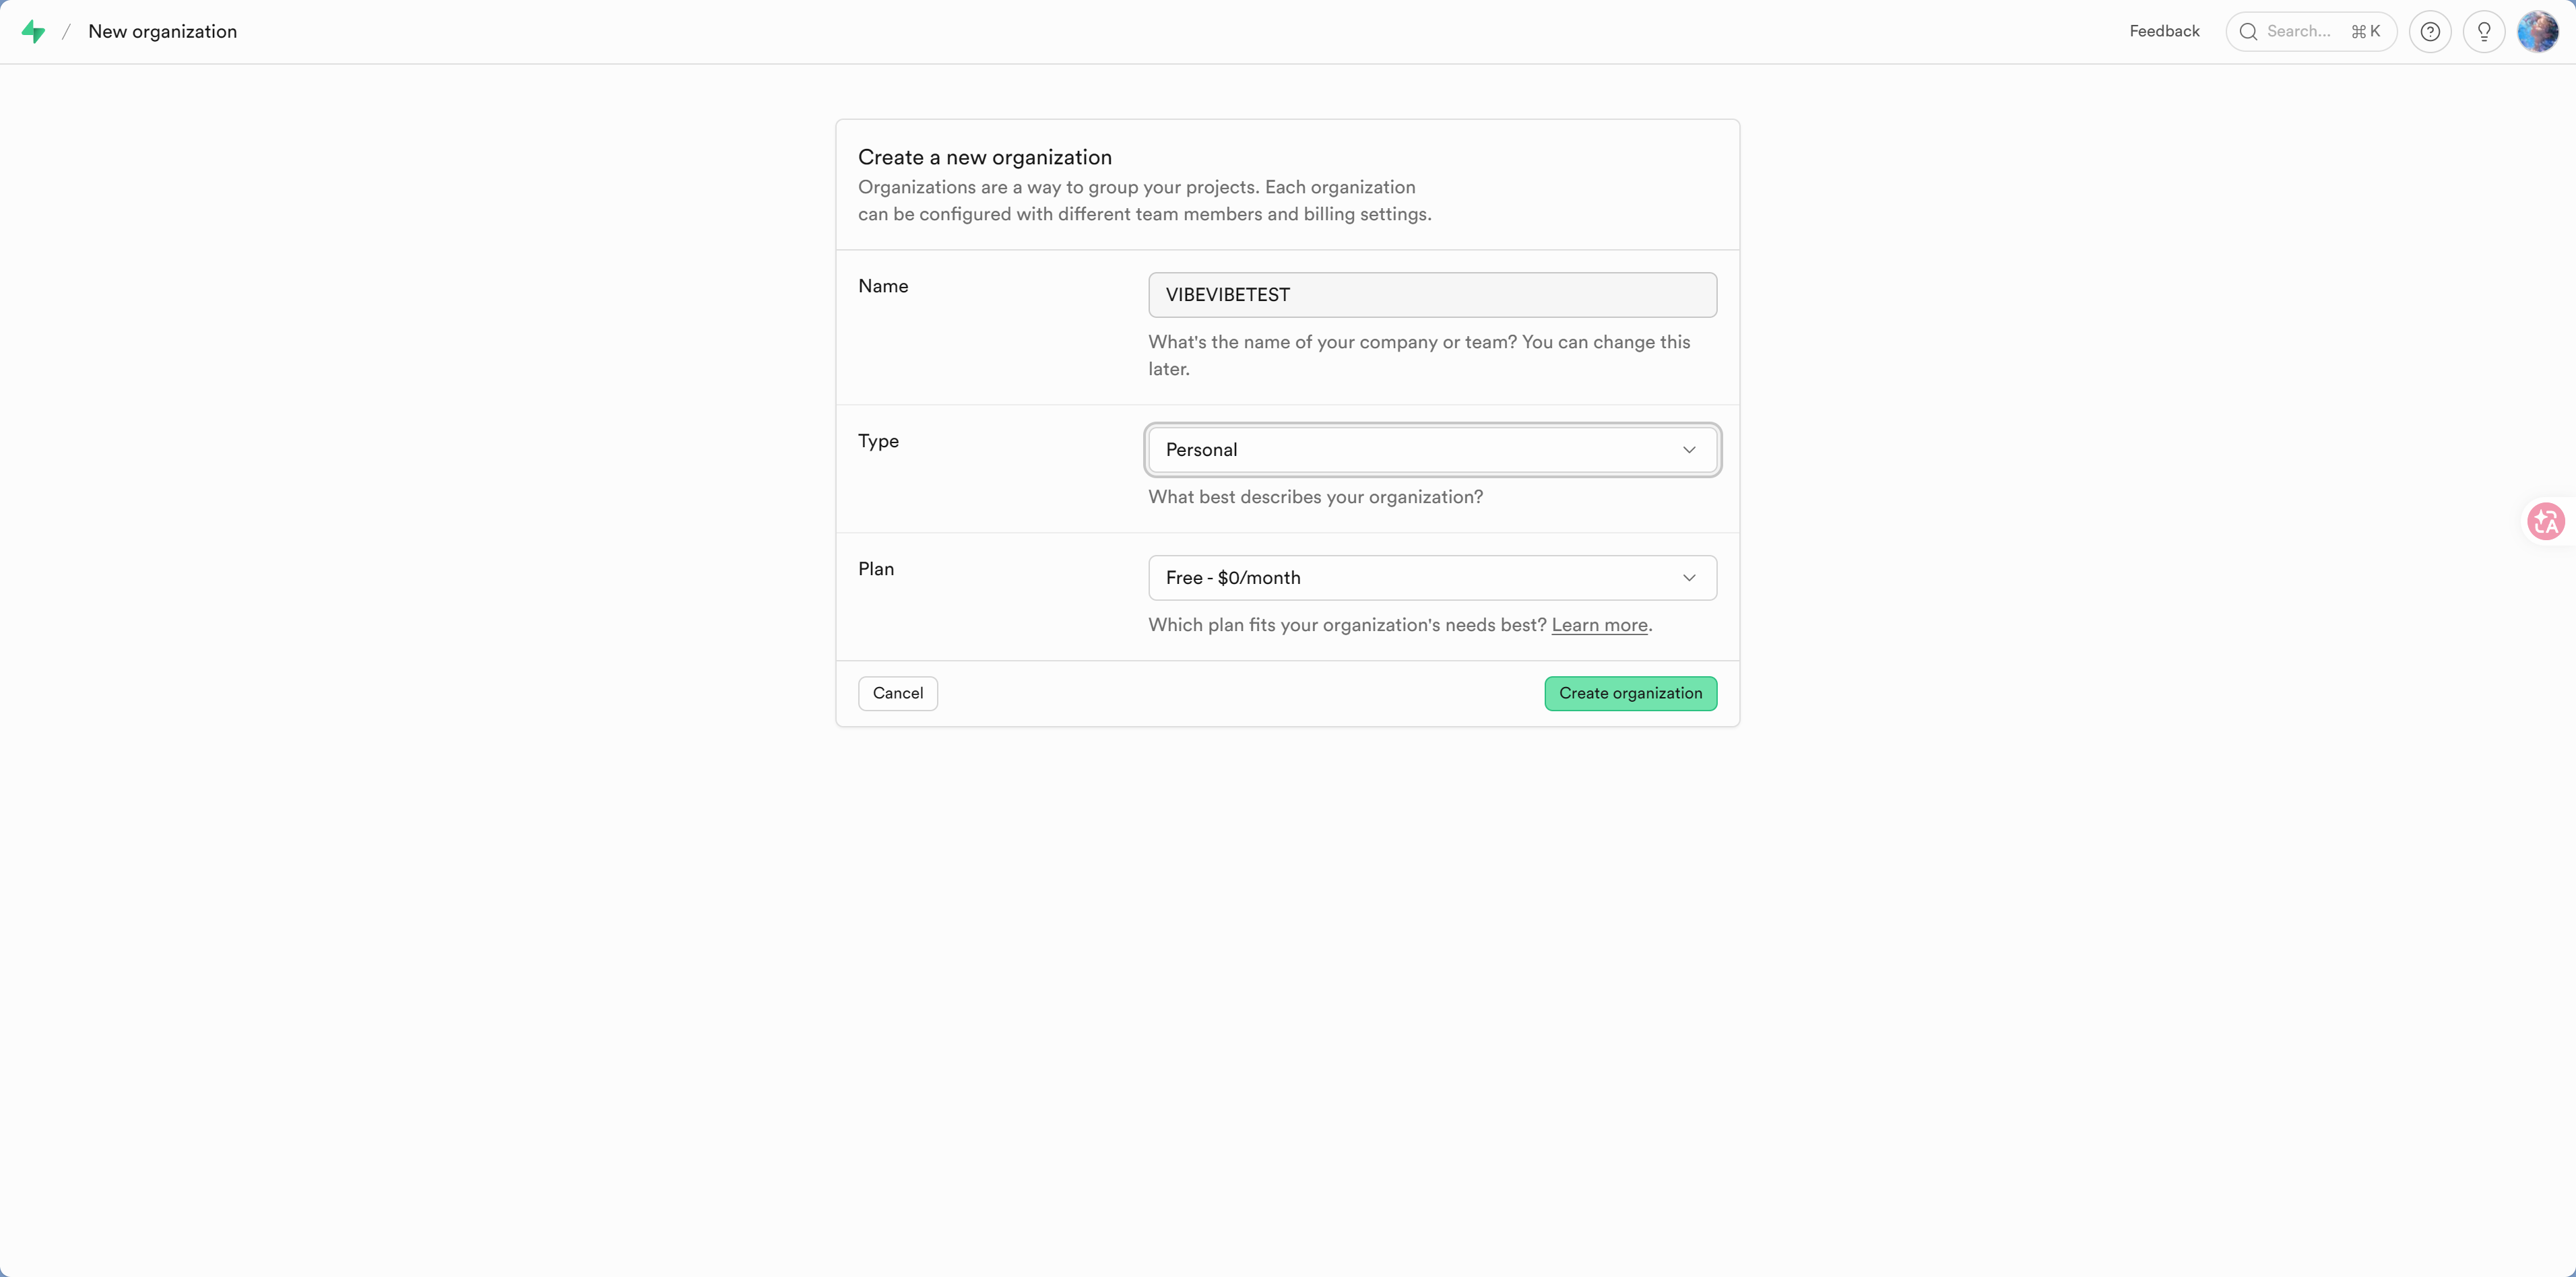
Organization: Enter an organization name
Project Name: For example
my-first-appDatabase Password: Set a strong password and write it down
Region: Choose Southeast Asia (Singapore)

Step 3: Get the connection string
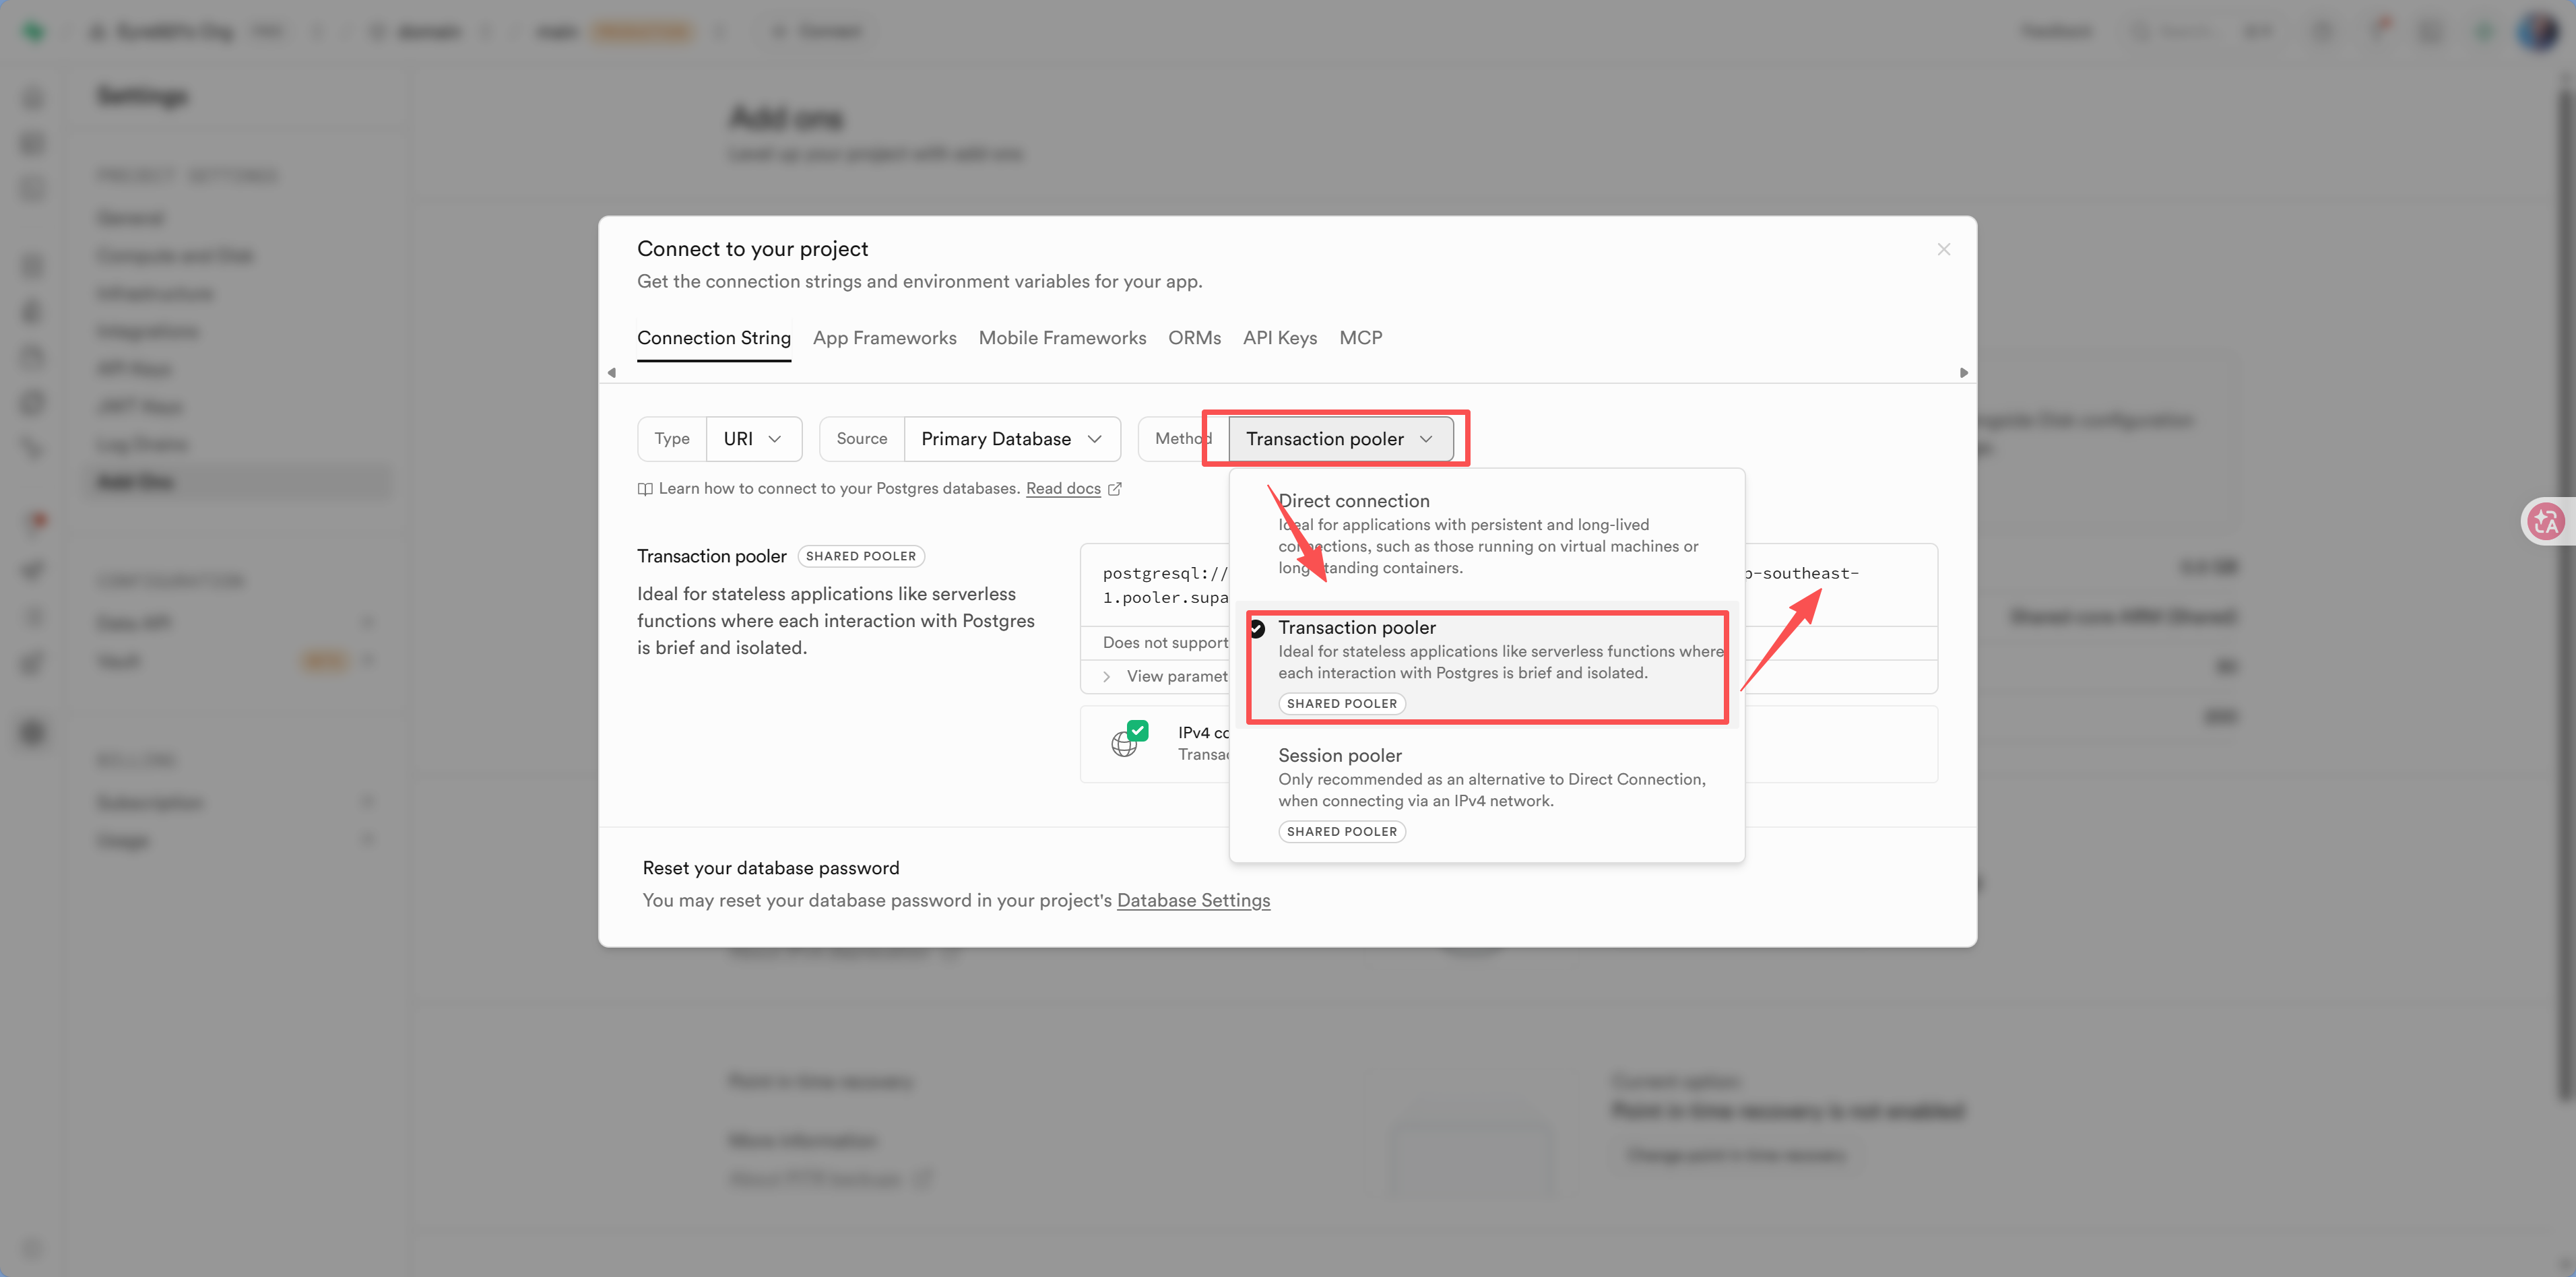
After the project is created, go to the homepage and click Connect at the top:
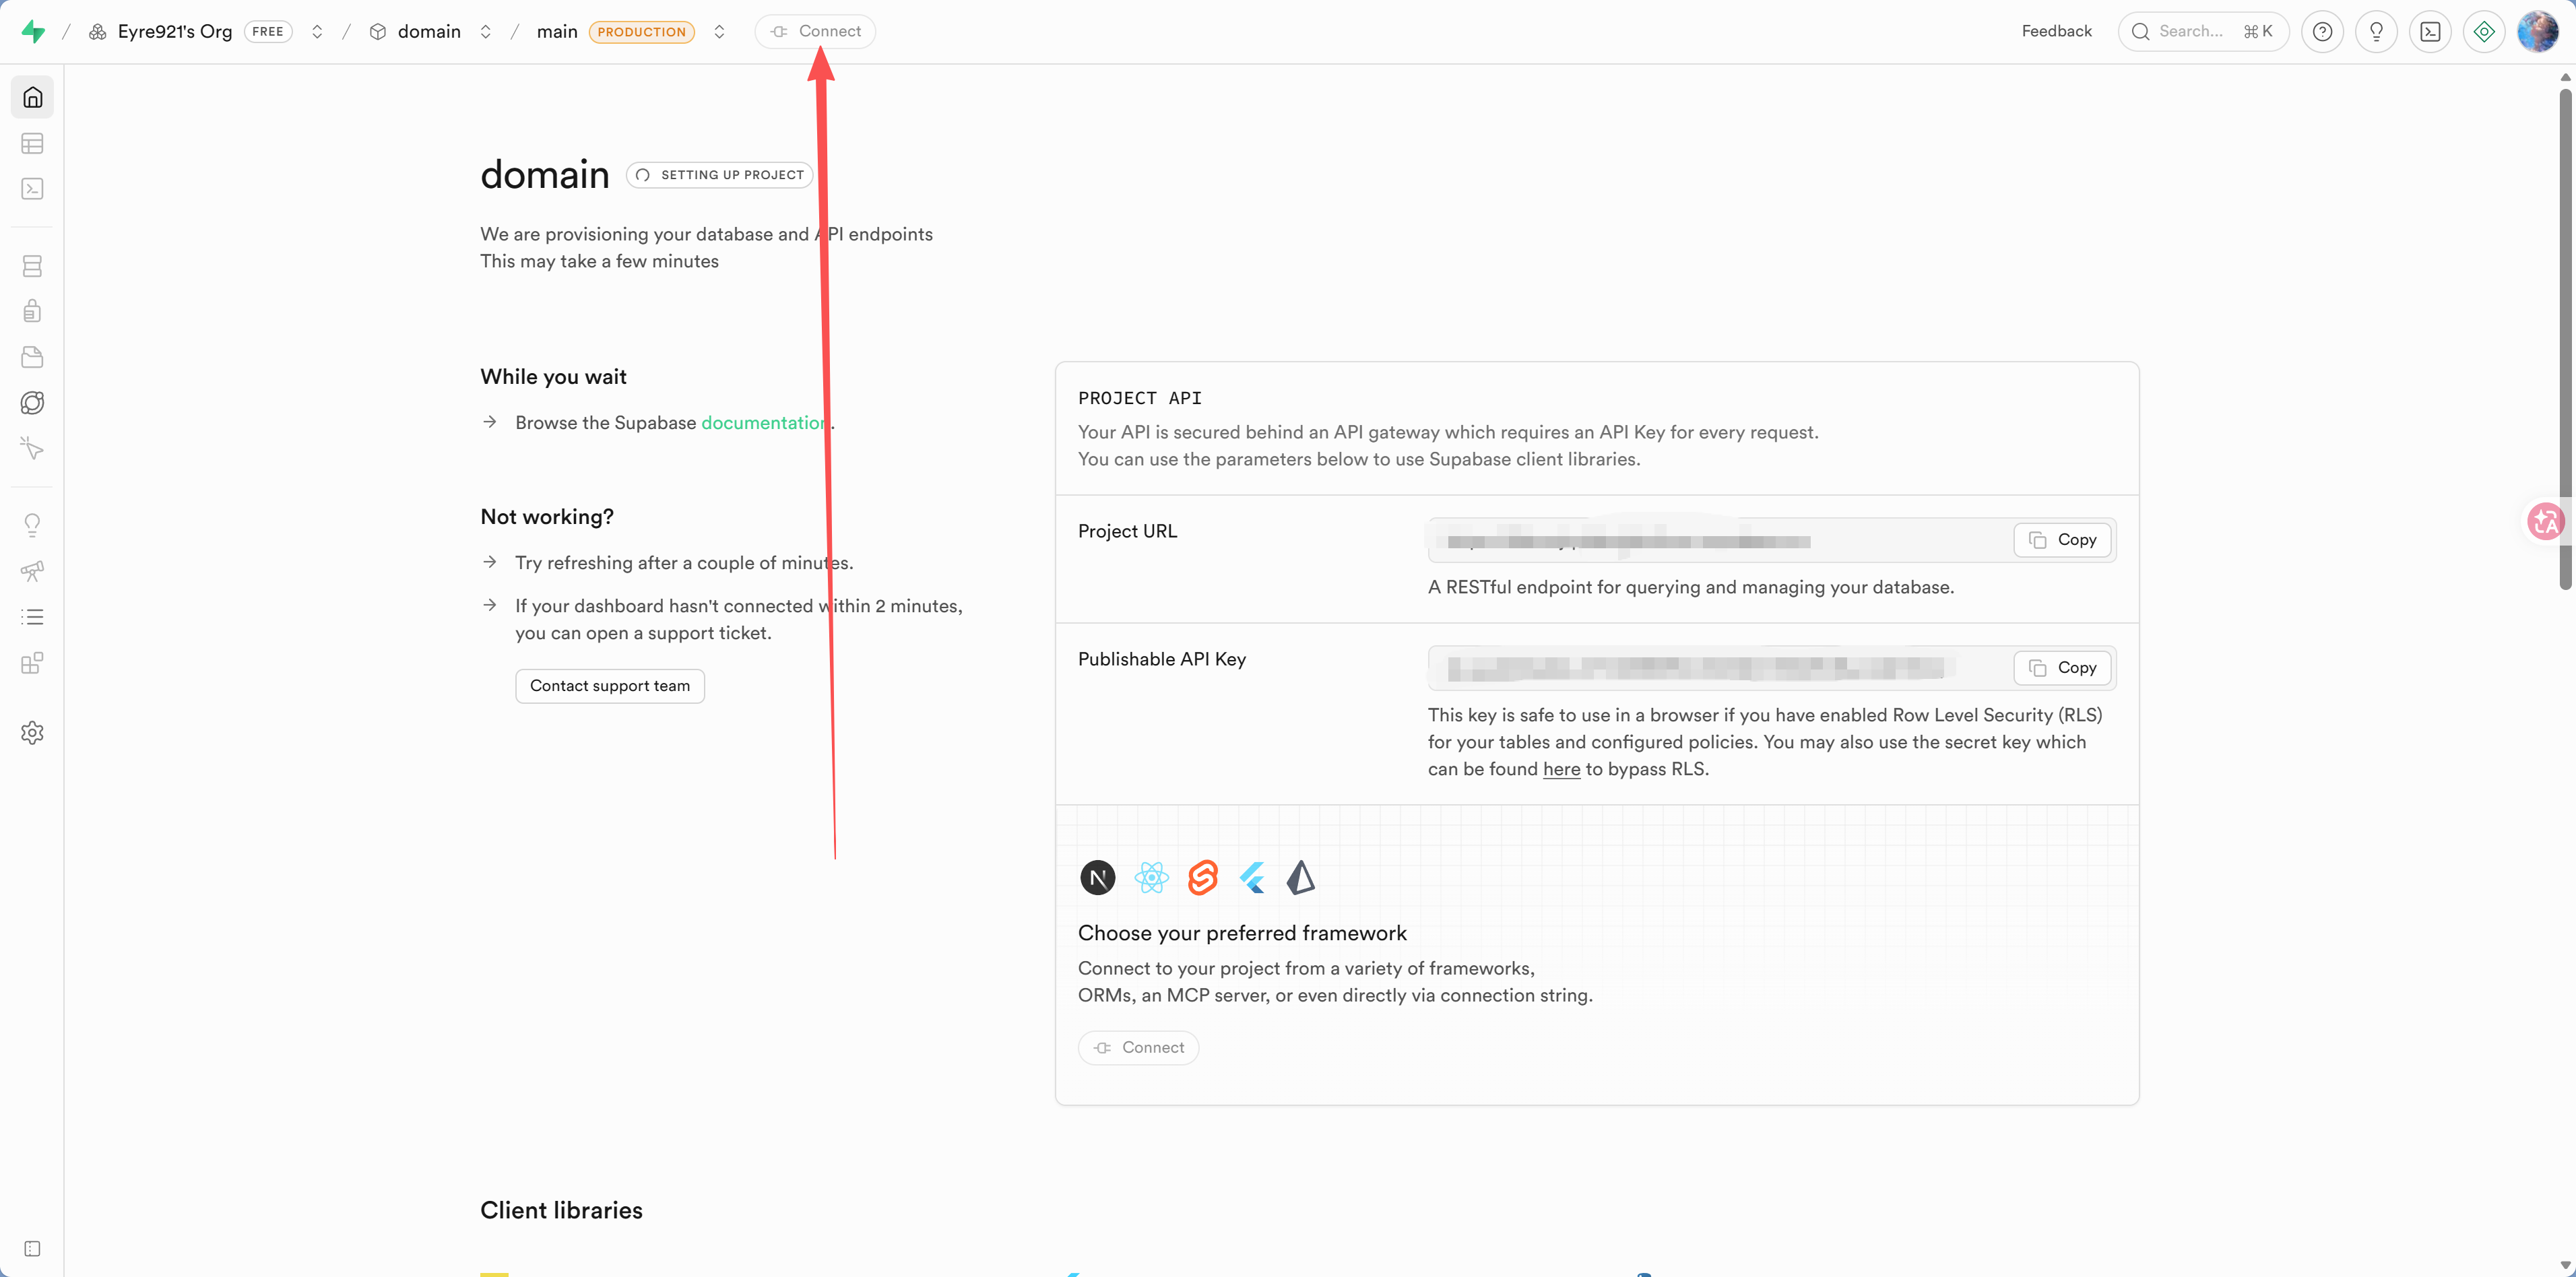
For Method, choose Transaction pooler (this is the concrete implementation of the "connection pool" mentioned earlier—just pick it); if you have time, you can also configure MCP.
postgresql://postgres.[project-ref]:[YOUR-PASSWORD]@aws-0-ap-southeast-1.pooler.supabase.com:6543/postgresWhat's included in Supabase’s free tier
| Resource | Free allowance |
|---|---|
| Database storage | 500 MB |
| File storage | 1 GB |
| Bandwidth | 5 GB / month |
| Number of projects | 2 |
| Edge Functions | 500,000 invocations / month |
How do you choose between Neon and Supabase?
- Just need a database → Choose Neon: focused, lightweight, and generous free limits
- Want the full package (database + auth + storage + real-time) → Choose Supabase
- This tutorial recommends Neon, because we use standard PostgreSQL + an independent auth solution (Better Auth), without being tied to a platform
Verify the connection
Once you have the connection string, how do you confirm it actually works?
Method 1: Let AI verify it for you
The simplest way is to tell AI directly:
"Use the DATABASE_URL in my .env to test the database connection and confirm that it works"
AI will write a simple test script and tell you whether the connection succeeds after running it.
Method 2: Use Drizzle Studio for a visual check
If your project is already set up with Drizzle ORM, run:
pnpm drizzle-kit studioYour browser will open a visual interface where you can directly see the tables and data in your database. If it opens successfully, your connection is working.
Method 3: Check directly in the platform console
The most intuitive way is to open the database platform's web console and browse the data like a spreadsheet. During development, it's a good idea to keep the console open so you can verify at any time whether data was written correctly.
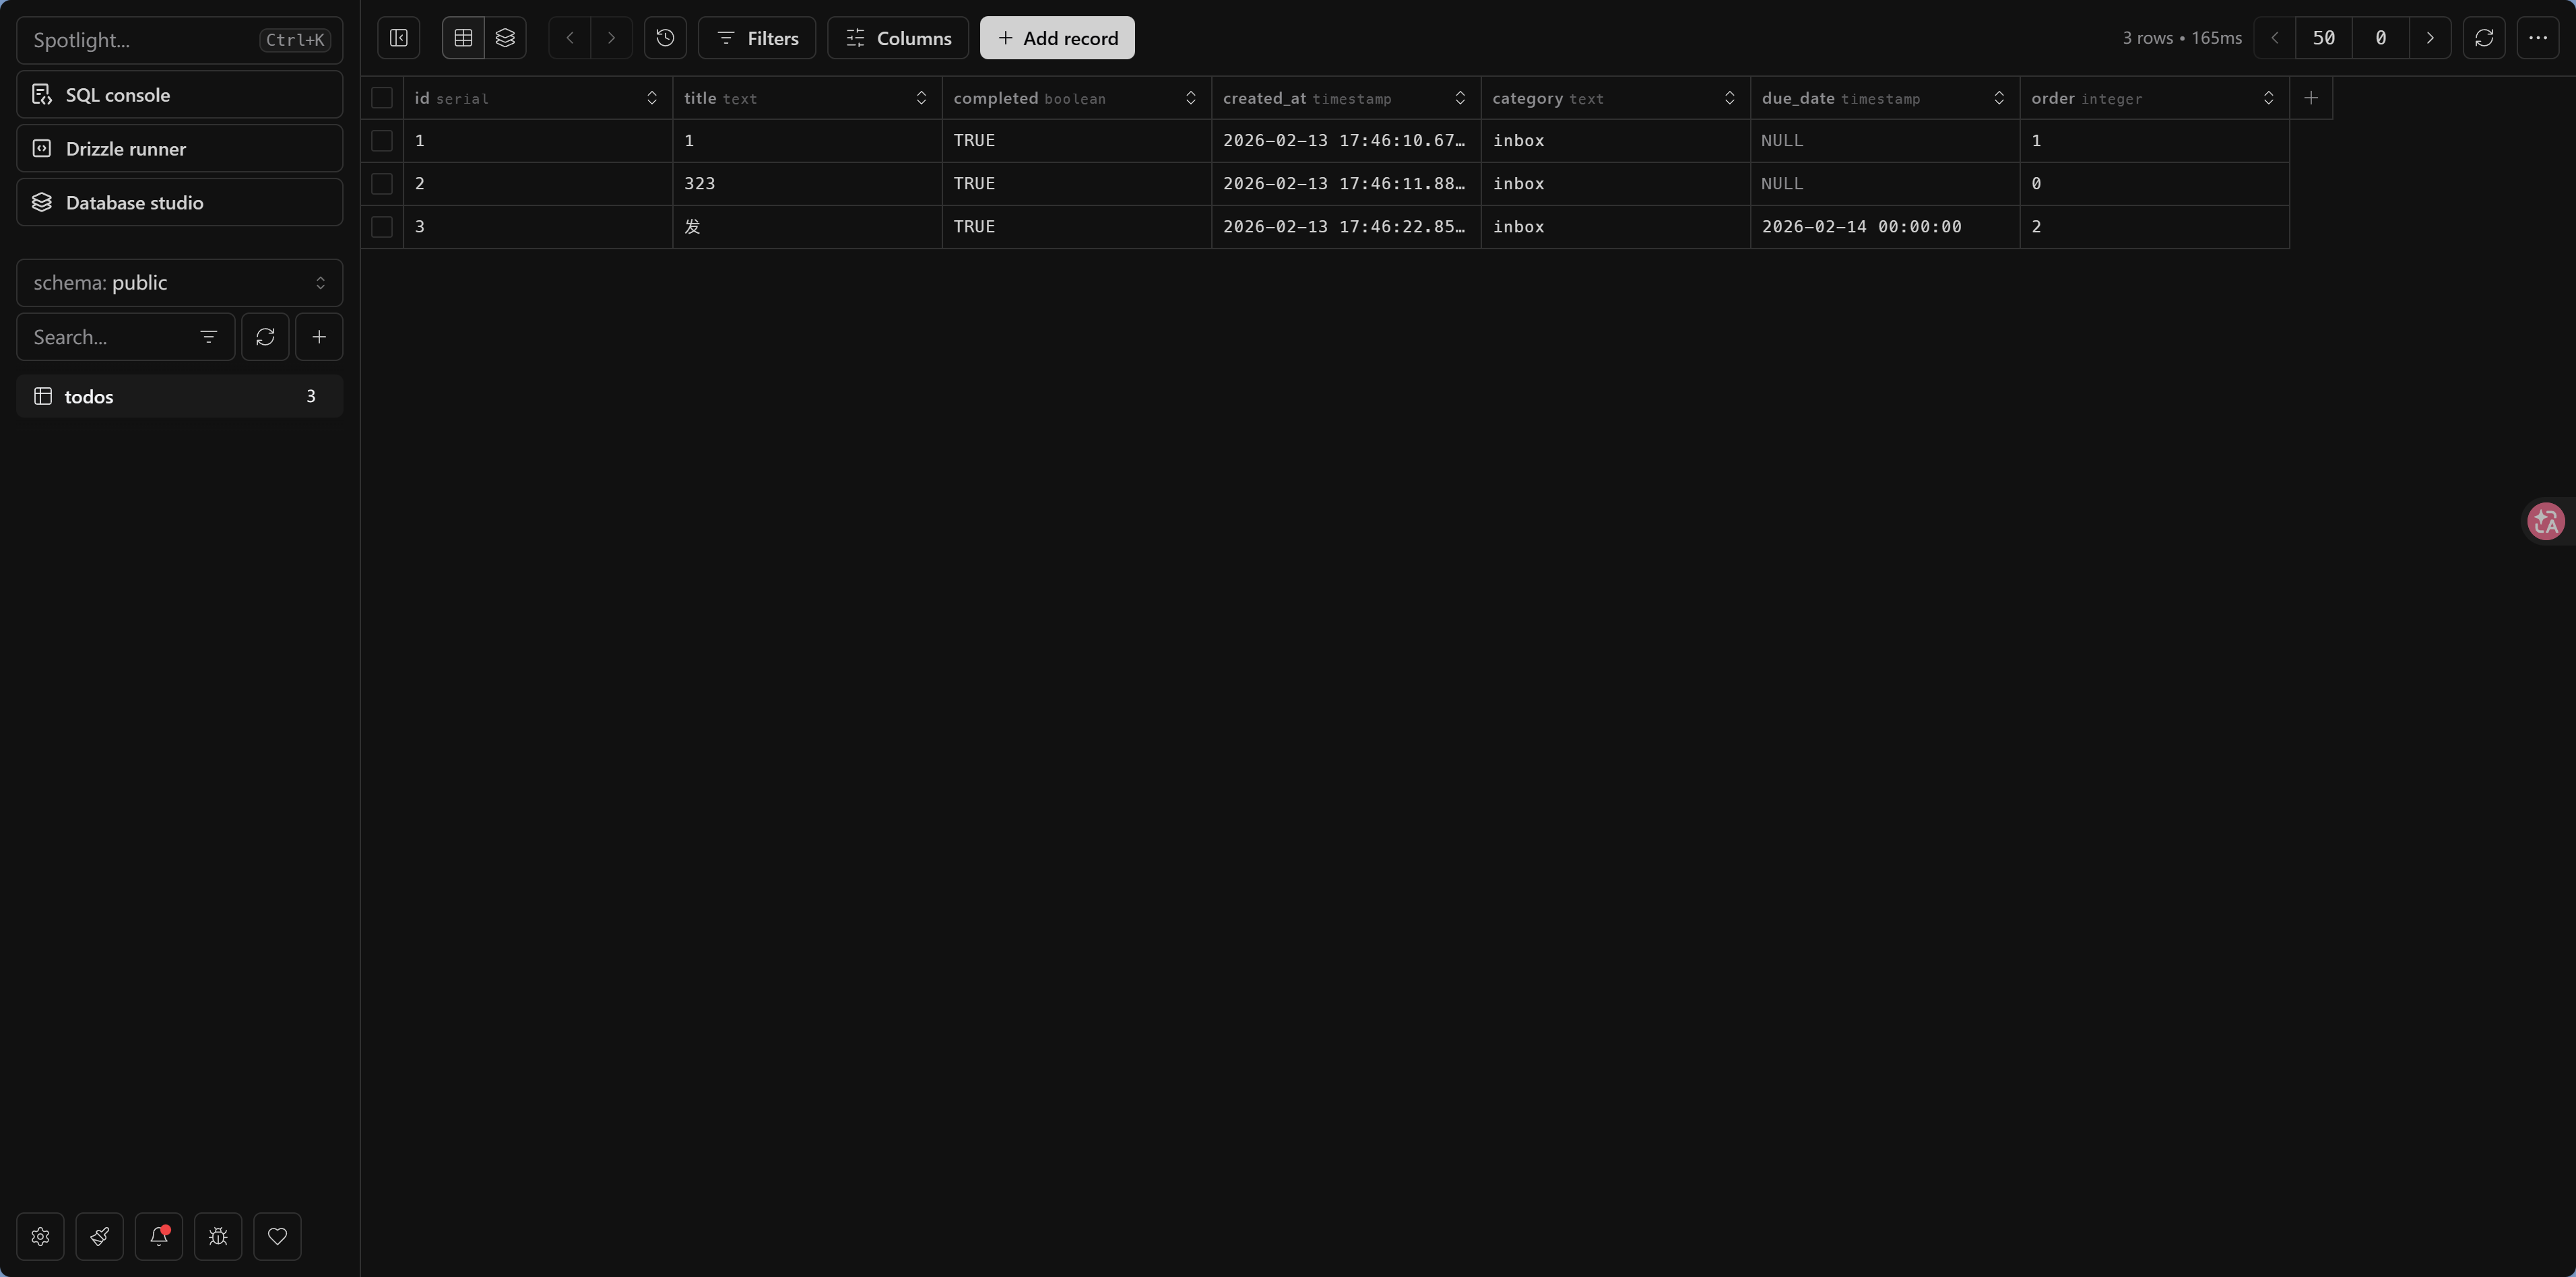
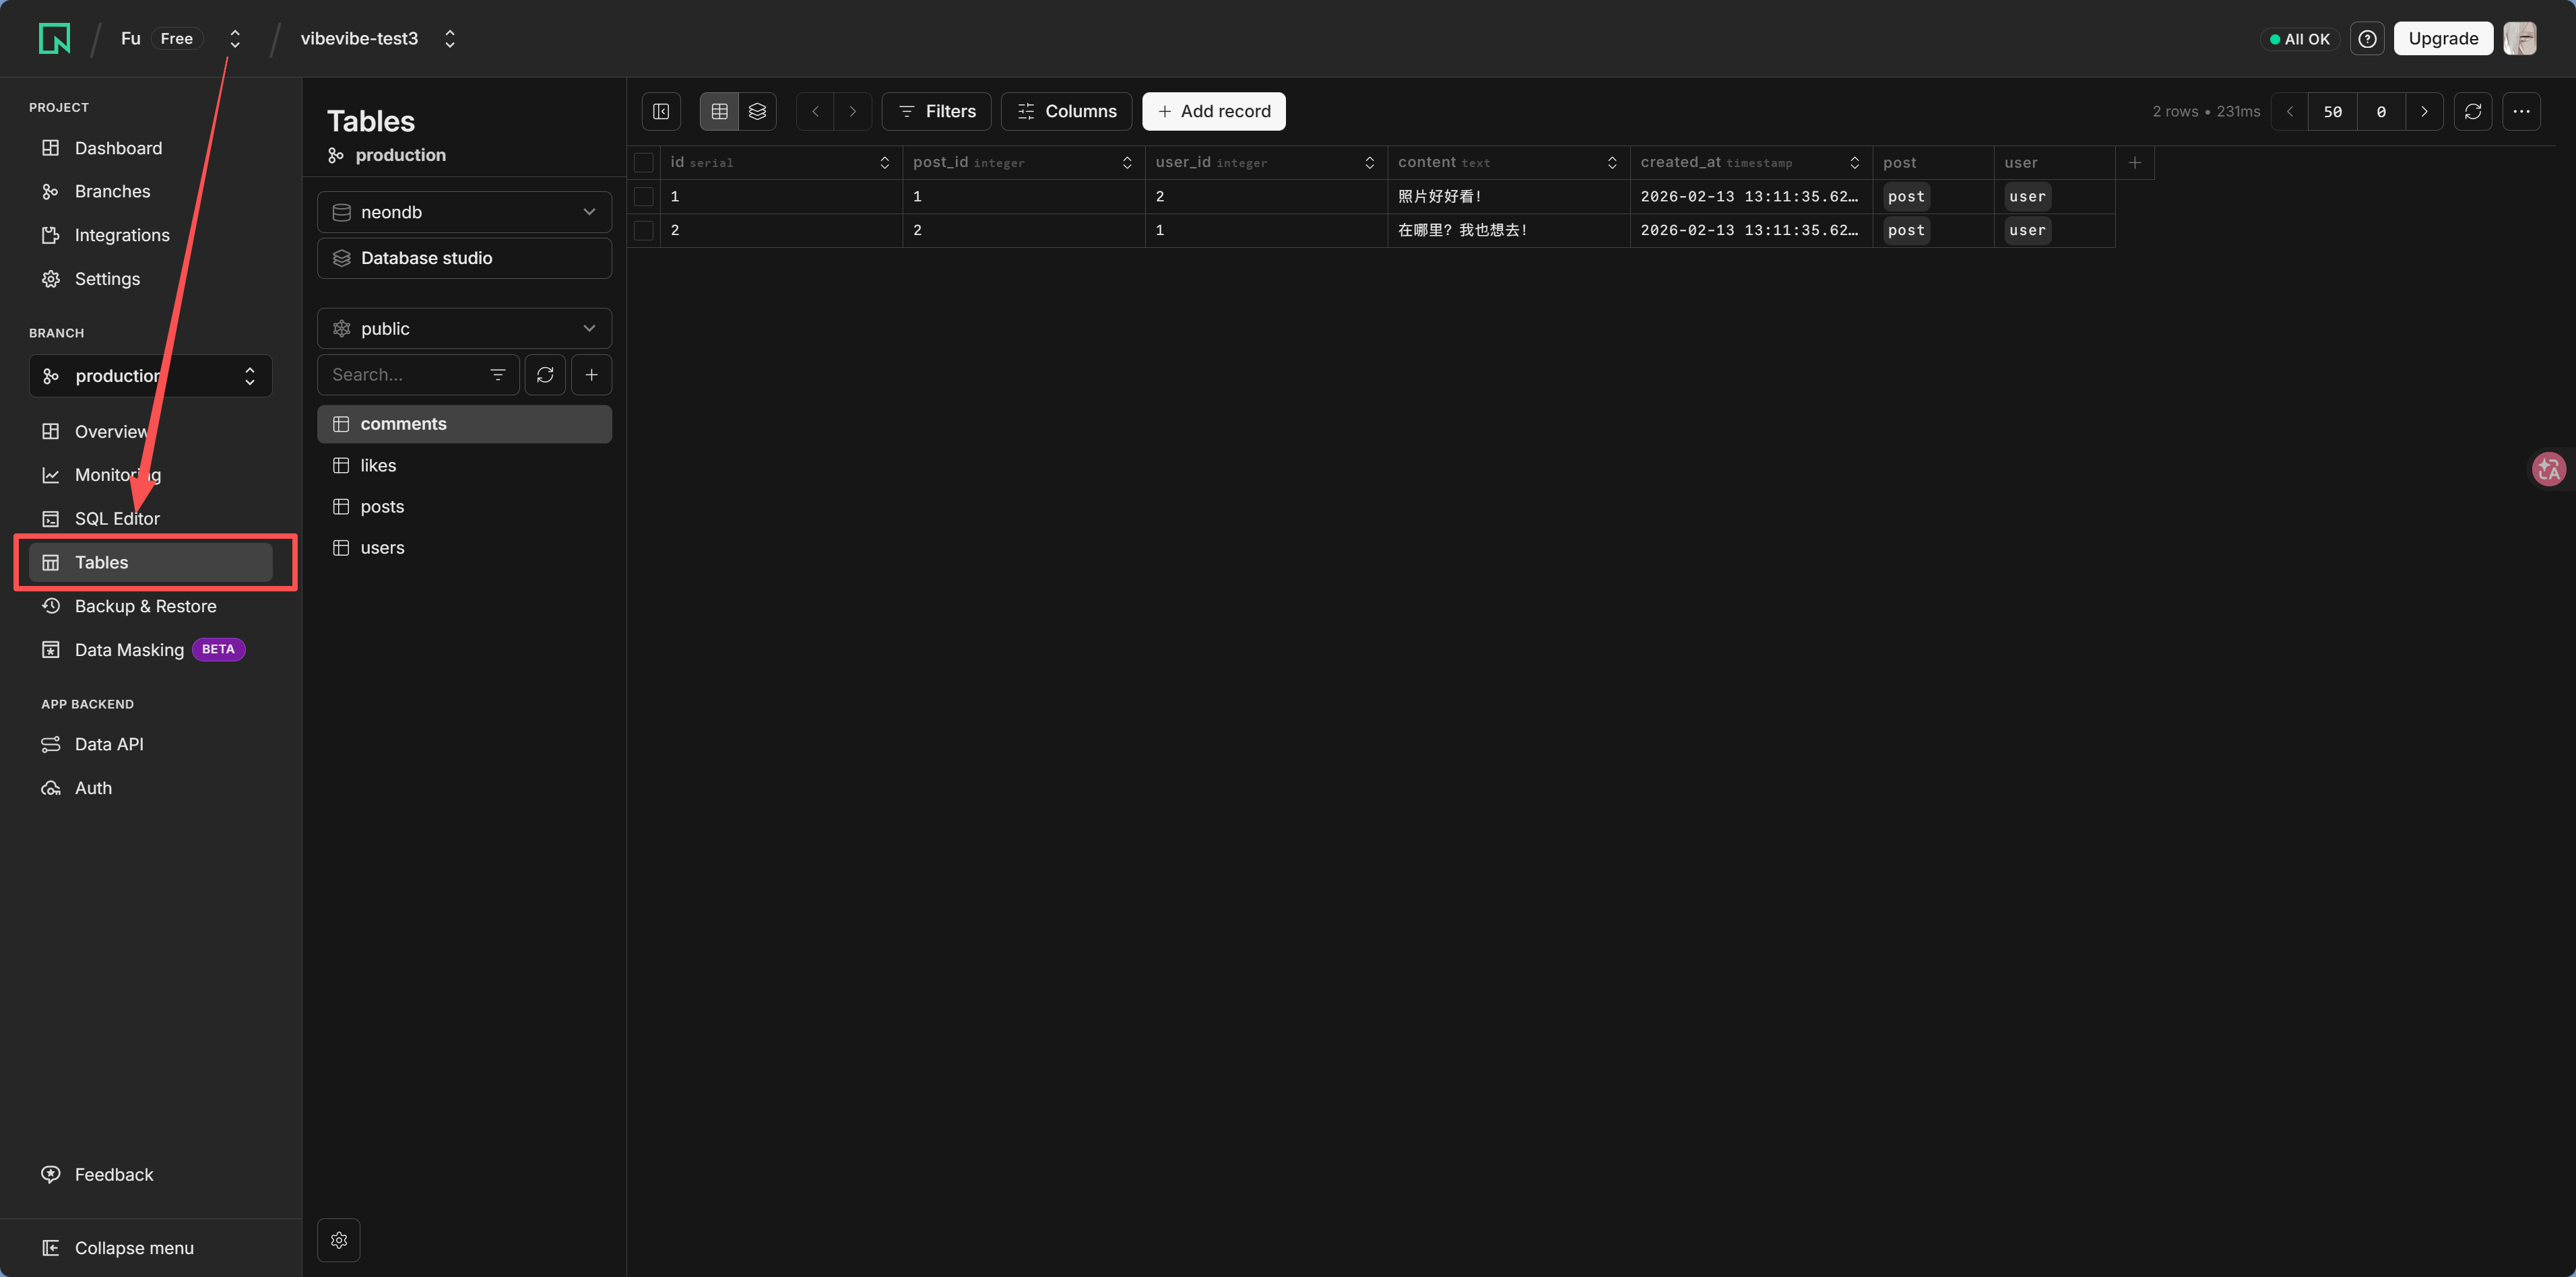
Neon Console: After signing in and entering your project, click Tables on the left to browse table data. You can also run queries directly in SQL Editor.
Supabase Table Editor: After signing in and entering your project, click Table Editor on the left to browse, filter, and edit table data like a spreadsheet.

Common connection issues
| Error message | Cause | Solution |
|---|---|---|
Invalid URL | Incorrect connection string format | Check for extra spaces and make sure the quotes match |
password authentication failed | Wrong password | Reset the password on the platform and update .env |
connection refused | Network connection failed | Check whether you need ?sslmode=require (SSL encrypts communication between you and the database, preventing your password from being intercepted in transit) |
too many connections | Connection limit exceeded | Use a connection pooler address |
What is a connection pool?
Each database connection consumes 1-3 MB of memory, and the total number of connections is limited (usually from dozens to a few hundred). If your app creates a new connection for every request and closes it right after use, you'll quickly run out of available connections, and all later users will start getting errors.
A Connection Pooler is like a "connection middleman"—it creates a batch of database connections in advance. When the application needs one, it borrows one; when it's done, it returns it, and the next request reuses the same connection. That way, 100 concurrent users might only need 10 actual database connections.
Both Neon and Supabase provide connection pooler addresses (usually on different ports—for example, Supabase direct connections use 5432, while the pooler uses 6543). When deploying to production, make sure to use the connection pooler address, or you'll hit too many connections as soon as traffic increases.
Configure the connection string in your project
In the root directory of your Next.js project, create or edit the .env file:
# Database connection (replace with your own)
DATABASE_URL="postgresql://username:password@host/dbname?sslmode=require"
Make sure .gitignore includes .env (it is included by default in Next.js projects).
Then tell AI:
"The project has been configured with DATABASE_URL. Please initialize the database connection using Drizzle ORM"
AI will help you create files like src/db/index.ts and get the database connection working.
Next step
Now that you've claimed your database and verified the connection, next up in 6.1 The Evolution of Data Storage, you'll learn why databases are necessary and what makes them better than JSON files.