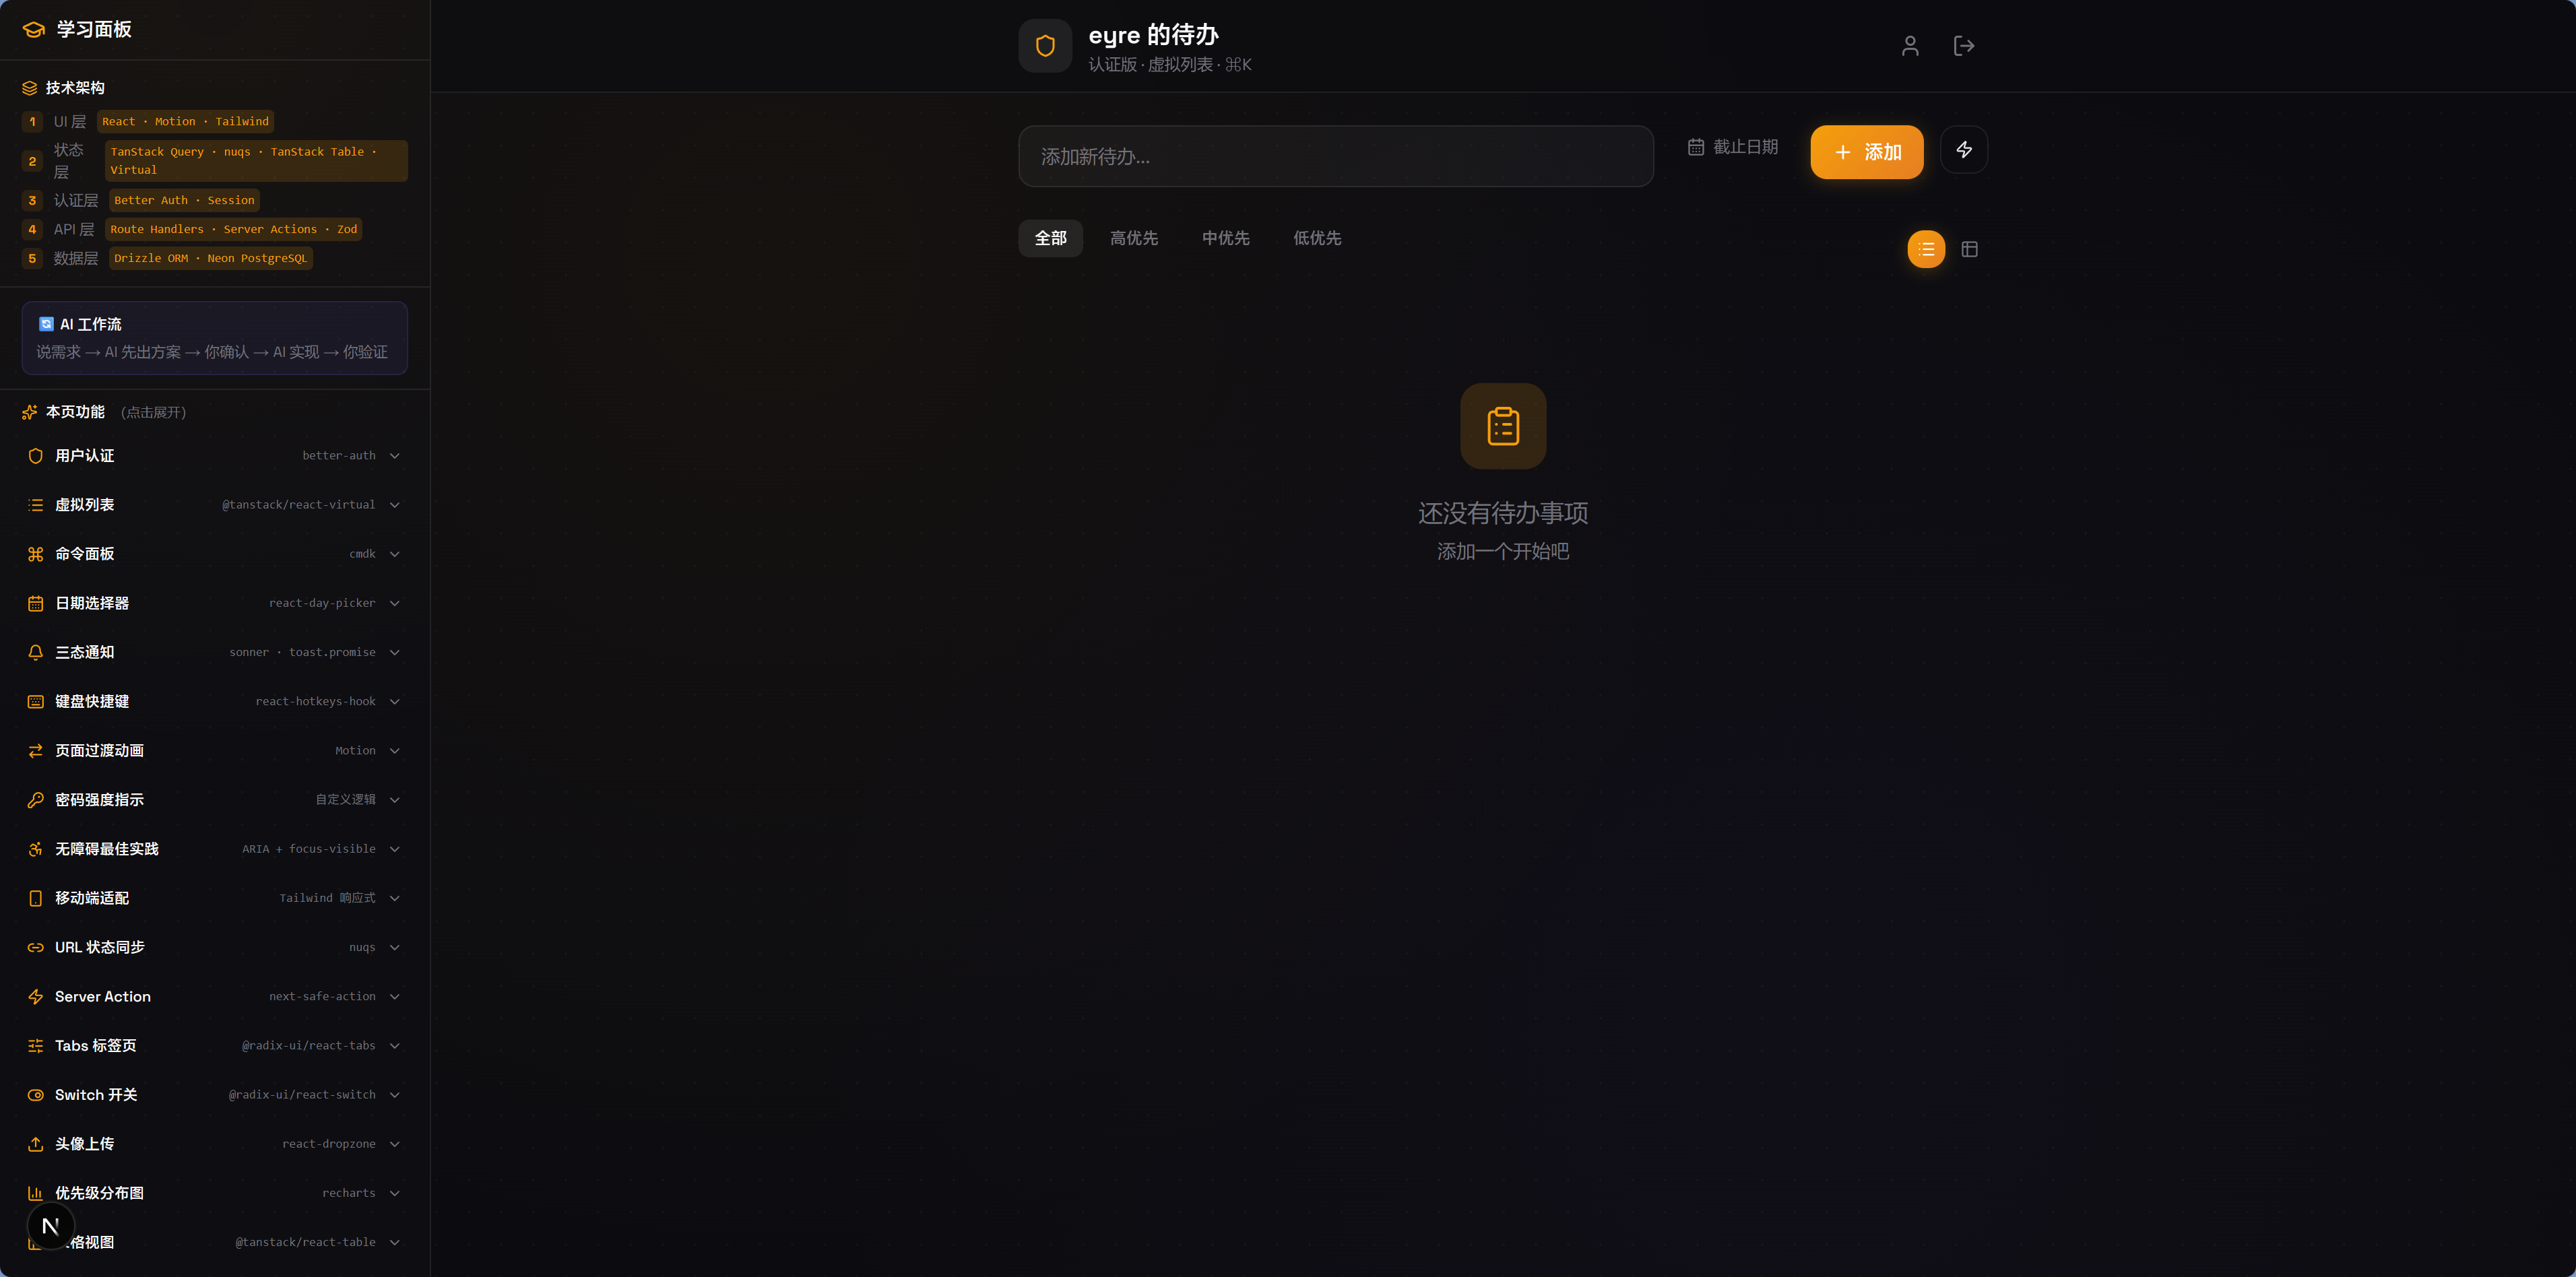
8.0 Quick User System Example
Goal of this section: Understand how a complete user authentication system works—signup, login, logout, and protected pages.
In Chapter 7, you learned CRUD. Now you're facing a new problem: anyone can access your API, and anyone can delete data. You need a user system to distinguish "who is who" and control "who can do what."
Authentication vs Authorization
You might say, "Just add login and we're done," but the old hand shakes his head: "Login is only the first step. After logging in, should regular users and admins be able to do the same things?" That's when you realize that "proving who you are" and "what you're allowed to do" are two different problems.
Before getting started, the old hand wants you to clearly understand these two concepts:
- Authentication: Who are you? — verifying identity (login)
- Authorization: What can you do? — checking permissions (admin vs regular user)
In this section, we'll solve authentication first.
Why Choose Better Auth
There are so many auth libraries—NextAuth, Clerk, Auth0, Supabase Auth, Better Auth... it's easy to get overwhelmed. The old hand says: "When choosing an auth library, look at three things: who owns the data, how customizable it is, and whether the community is active."
This tutorial uses Better Auth as the authentication solution. Here's why the old hand picked it:
| Feature | Better Auth | NextAuth | Clerk |
|---|---|---|---|
| Open source & free | ✅ | ✅ | ❌ (has a free tier) |
| Data ownership | ✅ Stored in your own database | ⚠️ Requires an adapter | ❌ Stored with a third party |
| TypeScript-native | ✅ | ⚠️ Average type support | ✅ |
| Drizzle support | ✅ Native support | ⚠️ Requires an adapter | ❌ |
| Learning curve | Medium | Medium | Low |
The core reason: your data lives in your own database. User tables and session tables are all stored in your PostgreSQL instance, with no dependency on third-party services and no platform lock-in.
Load the Better Auth Skill to improve AI output quality
Before asking AI to configure the authentication system, it's recommended to load the better-auth-best-practices Skill. Once loaded, the AI will automatically follow Better Auth best practices—Session management, plugin configuration, security settings, and more will all be more standardized, reducing how much you need to manually review.
Tell AI to set up the user system
Just tell the AI directly:
"Integrate Better Auth into my Next.js project using Drizzle ORM and PostgreSQL. I need: email/password signup and login, logout functionality, and a protected /dashboard page (redirect unauthenticated users to /login)."
The AI will help you generate the following structure:
src/
├── lib/
│   ├── auth.ts            # Better Auth server configuration
│   └── auth-client.ts     # Better Auth client configuration
├── app/
│   ├── api/auth/[...all]/
│   │   └── route.ts       # Auth API route (automatically handles login/signup/logout)
│   ├── login/
│   │   └── page.tsx        # Login page
│   ├── register/
│   │   └── page.tsx        # Signup page
│   └── dashboard/
│       └── page.tsx        # Protected page
Understanding the authentication flow
Signup flow
You might ask: isn't signup just storing an email and password in the database? Not quite. If you store passwords in plain text, then once the database is compromised, every user's password is exposed. So the password must first be "encrypted" (more accurately, hashed) before being stored—even if a hacker gets the database, all they'll see is unreadable gibberish.
After signup succeeds, the server creates a "session"—you can think of it as a temporary pass. When you log in on Taobao, close the page, and open it again later, you're still logged in because the browser has saved that pass (a Cookie) and automatically presents it to the server on every request.
User enters email + password → frontend calls auth.signUp() → Better Auth handles:
  1. Check whether the email already exists
  2. Hash the password (bcrypt hash)
  3. Insert the new user into the user table
  4. Create a session
  5. Return the session token → browser stores it in a Cookie
Login flow
During login, the server does not directly compare the password you entered with the password in the database—because what's stored in the database is a hash. It hashes the password you entered as well, and then checks whether the two hashes match. This way, even if someone spies on the comparison process, they still can't get the real password.
User enters email + password → frontend calls auth.signIn() → Better Auth handles:
  1. Find the user associated with the email
  2. Compare password hashes
  3. Create a new session
  4. Return the session token → browser stores it in a Cookie
Protected routes
You might want to protect a page on the frontend with if (!loggedIn) redirect('/login'). But the old hand says that's not enough—users can disable JavaScript in the browser, or request your page directly with curl. The truly secure approach is to check on the server: the page content should never be sent to unauthenticated users in the first place.
User visits /dashboard → server checks the session token in the Cookie:
  ✅ Valid → display the page normally
  ❌ Invalid/expired → redirect to /login
What AI generated
The AI generated a bunch of files for you, but when you open them, they're full of unfamiliar function names. Don't panic—you don't need to understand the syntax of all this code. You just need to know: auth.ts is the server configuration, auth-client.ts is for frontend calls, and dashboard/page.tsx is the protected page. If something goes wrong, it's enough to tell the AI, "There's a problem with my auth.ts configuration."
Server configuration (auth.ts)
This file tells Better Auth which database to use and which login methods to enable.
Expand if you're curious—totally fine to skip
// src/lib/auth.ts
import { betterAuth } from 'better-auth'
import { drizzleAdapter } from 'better-auth/adapters/drizzle'
import { db } from '@/db'

export const auth = betterAuth({
  database: drizzleAdapter(db, { provider: 'pg' }),
  emailAndPassword: { enabled: true },
})
Client calls (auth-client.ts)
This file lets frontend pages get the current login state—for example, checking whether the user is logged in or displaying the username.
Expand if you're curious—totally fine to skip
// src/lib/auth-client.ts
import { createAuthClient } from 'better-auth/react'

export const authClient = createAuthClient()

// Using in a component:
const { data: session } = authClient.useSession()
Protected page (dashboard/page.tsx)
This file checks on the server whether the user is logged in—if not, it redirects to the login page, and the page content is never sent to unauthenticated users.
Expand if you're curious—totally fine to skip
// src/app/dashboard/page.tsx
import { auth } from '@/lib/auth'
import { headers } from 'next/headers'
import { redirect } from 'next/navigation'

export default async function Dashboard() {
  const session = await auth.api.getSession({
    headers: await headers(),
  })
  if (!session) redirect('/login')

  return <h1>Welcome back, {session.user.name}</h1>
}
Try it out
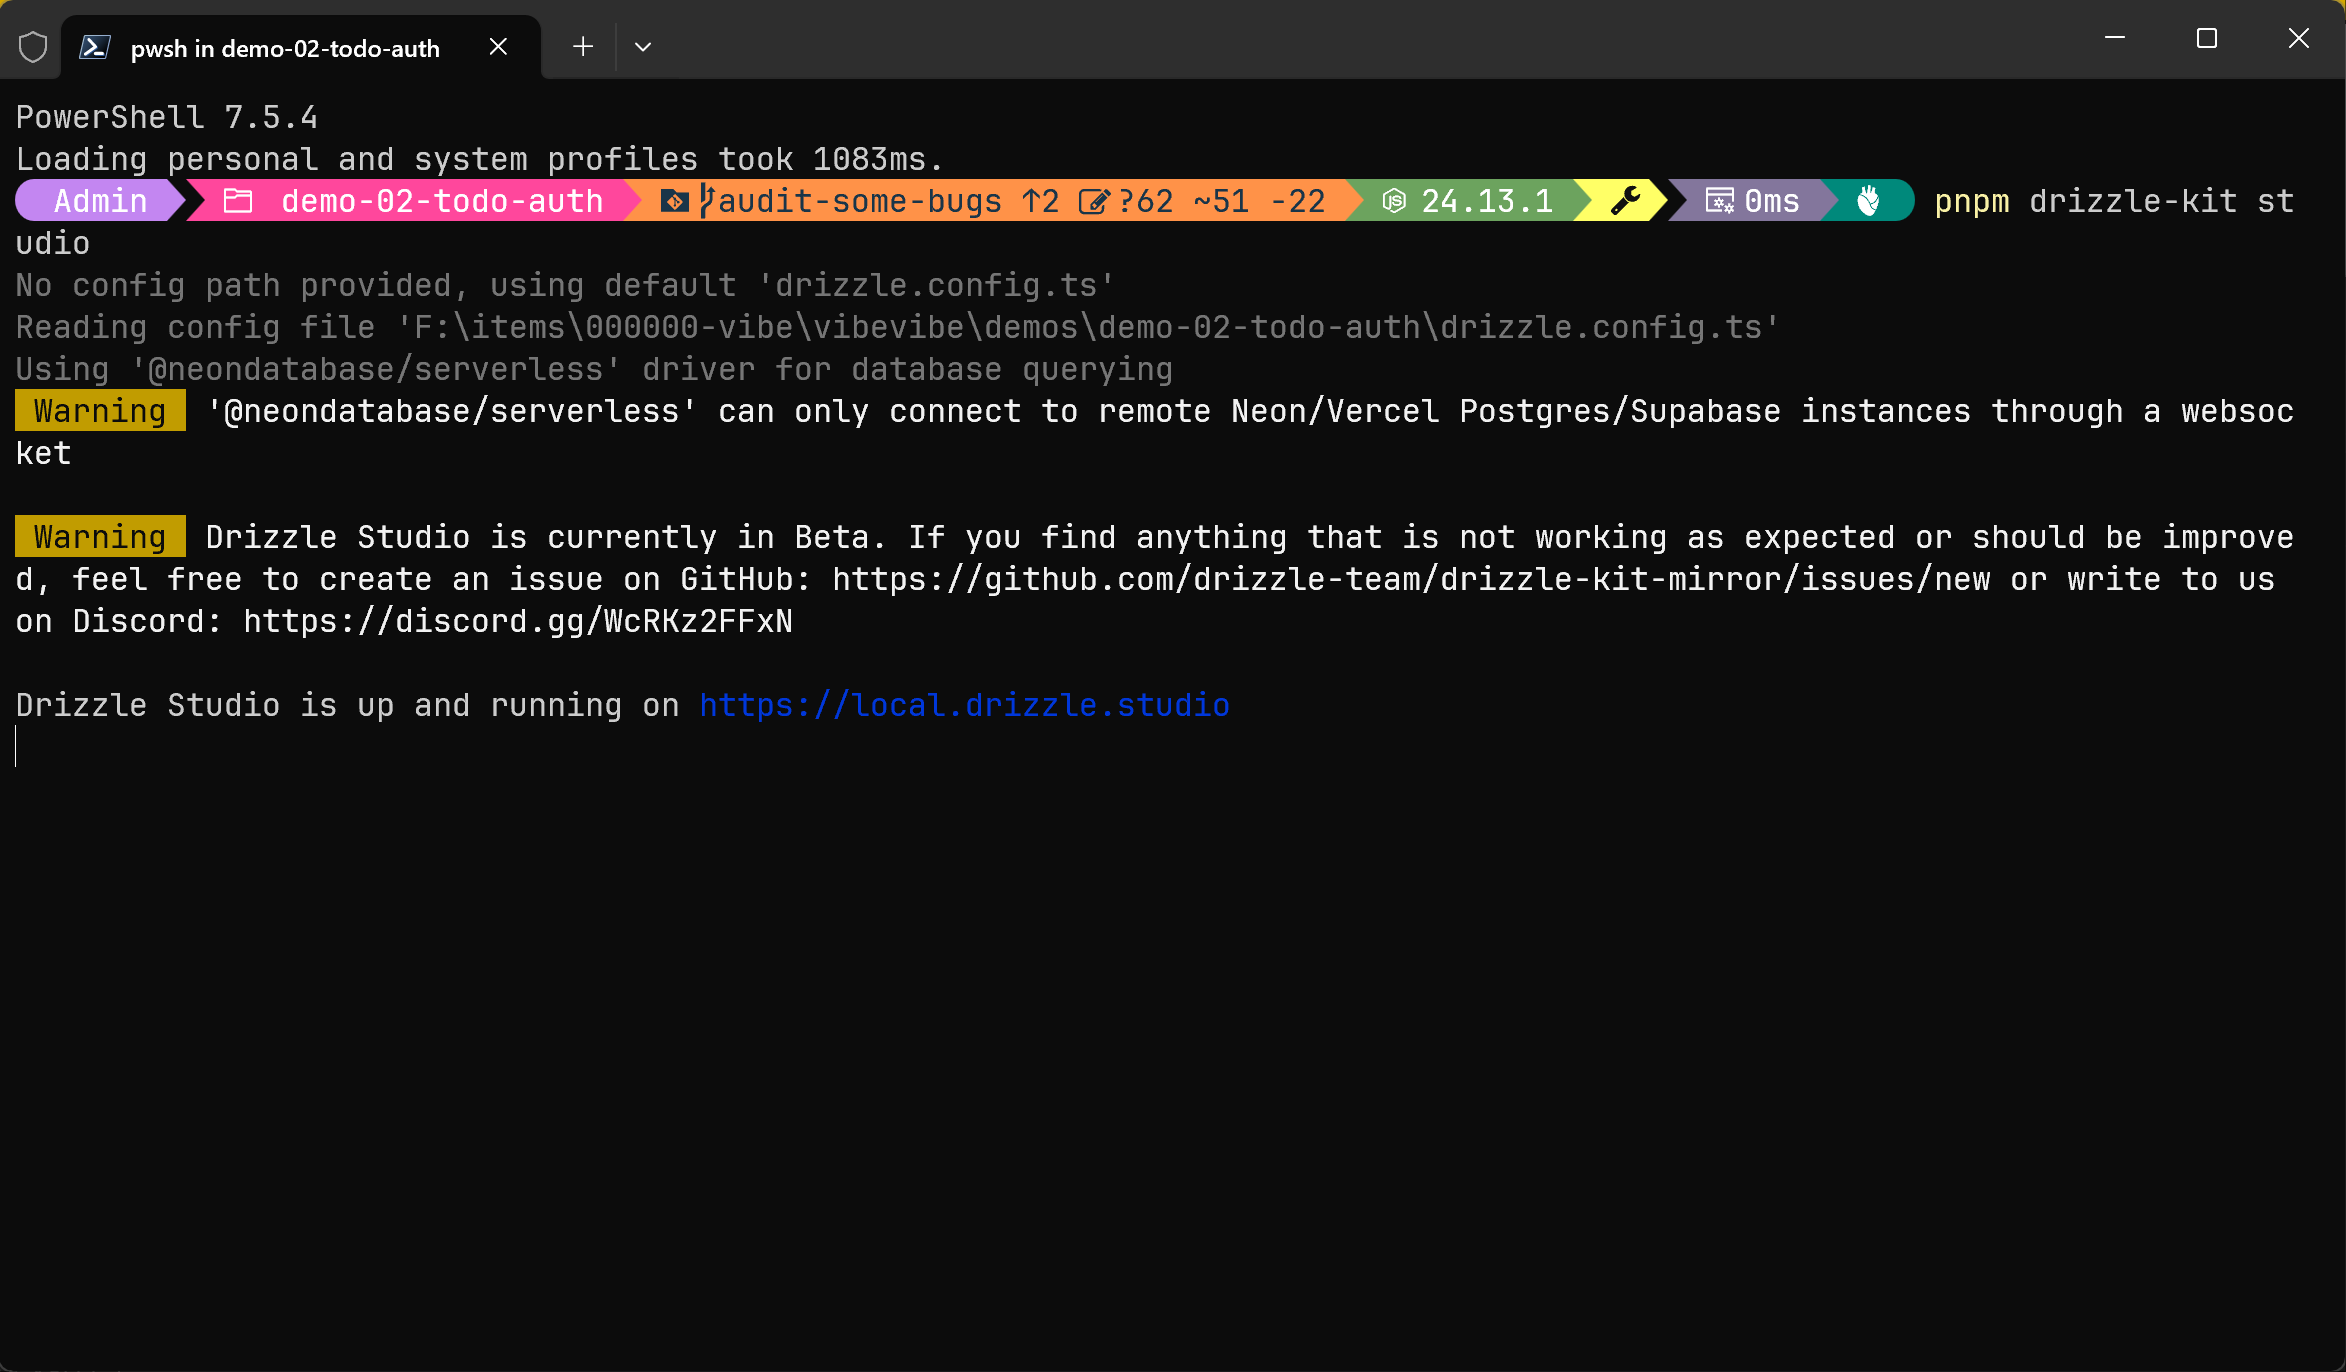
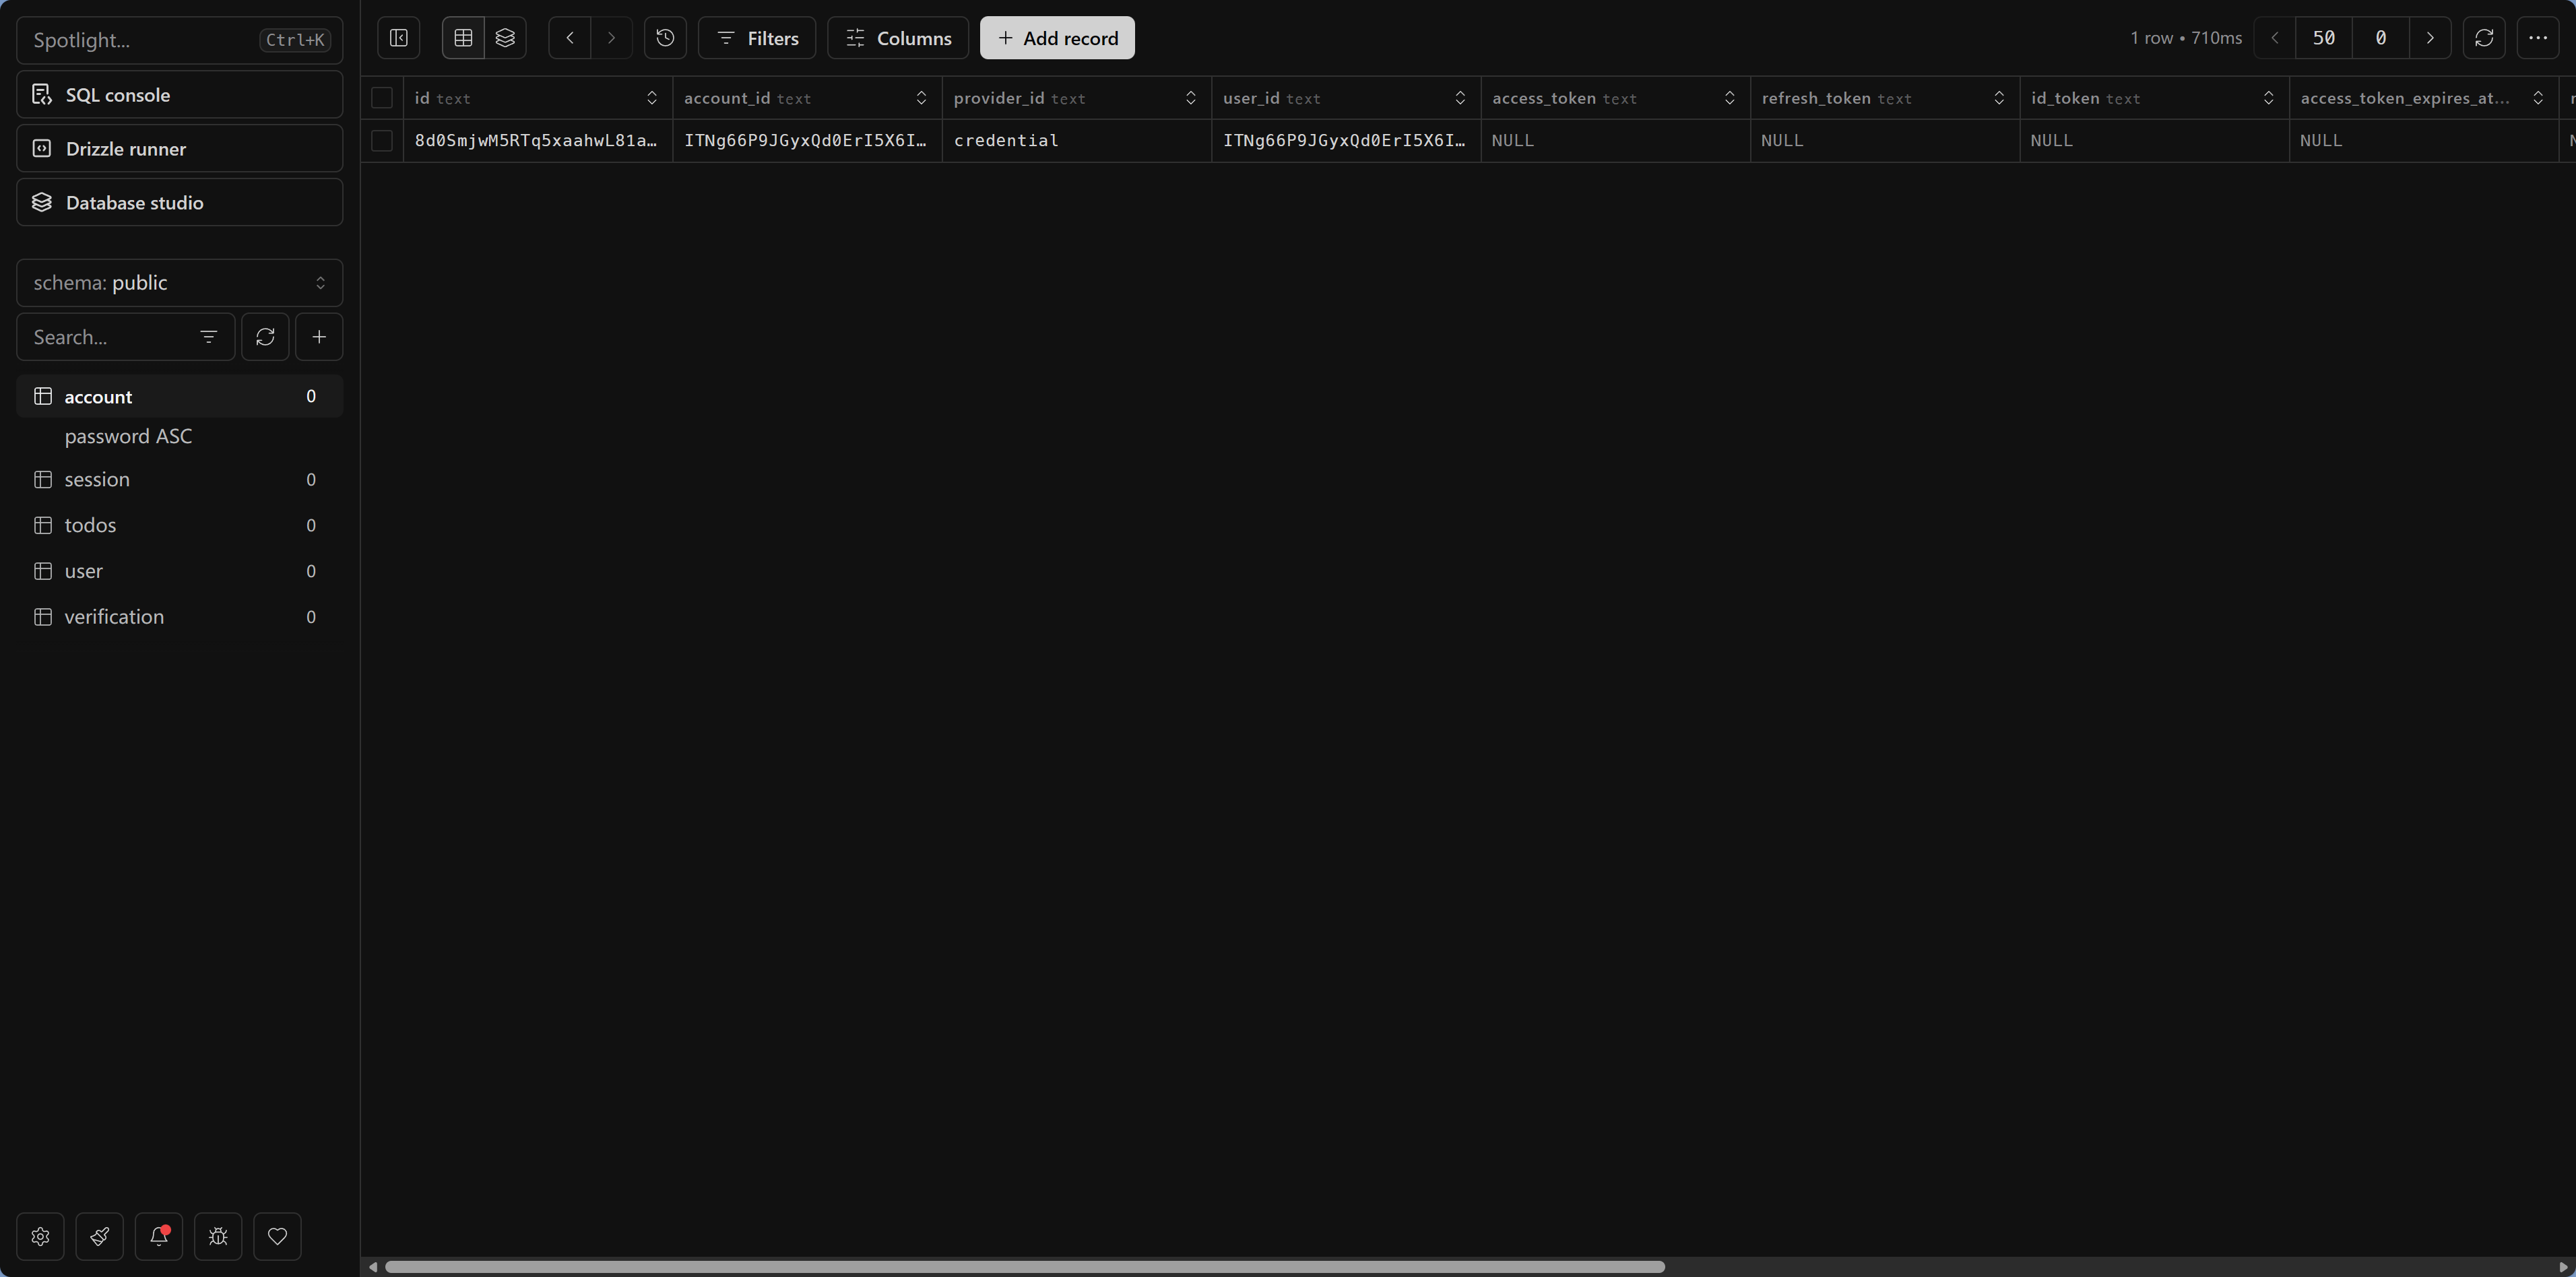
Step 1: Generate the database tables for authentication
pnpm drizzle-kit pushBetter Auth needs four tables: user, session, account, and verification. The AI has already defined them in the schema, so you just need to run push.
Step 2: Test signup
Start pnpm dev, visit /register, enter an email and password, and click Sign Up.
Step 3: Test logout and login
Click logout in the Dashboard, then visit /dashboard again—you'll be redirected to the login page. Log in with the email and password you just used, and you'll be back at the Dashboard.
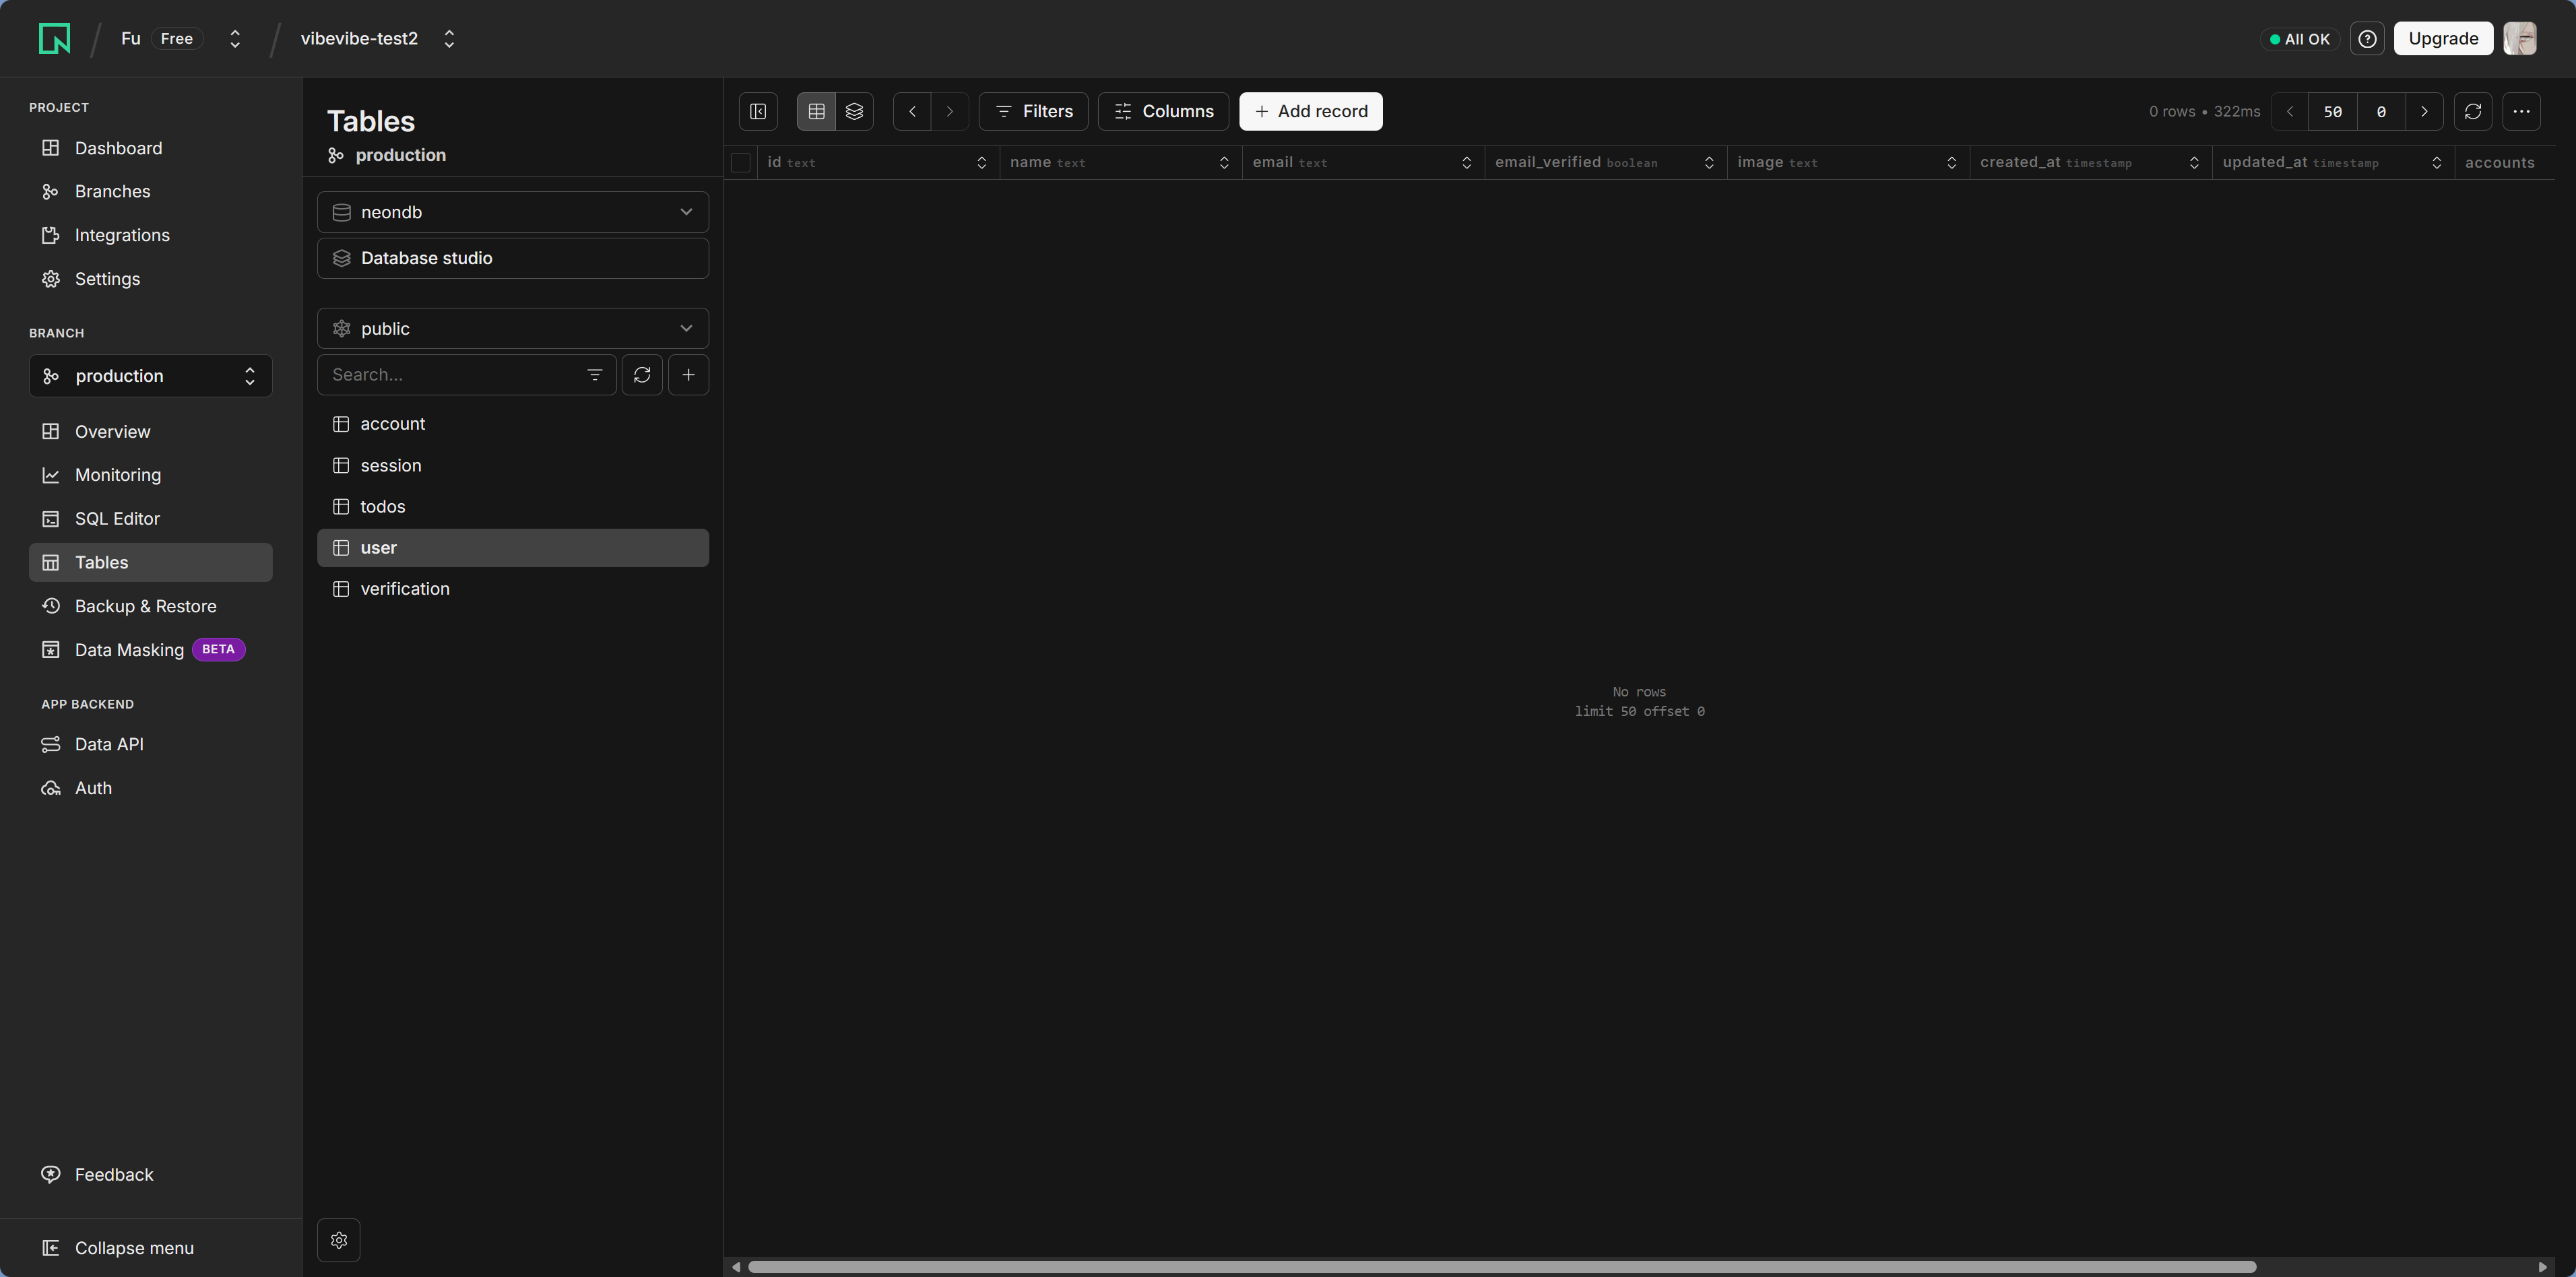
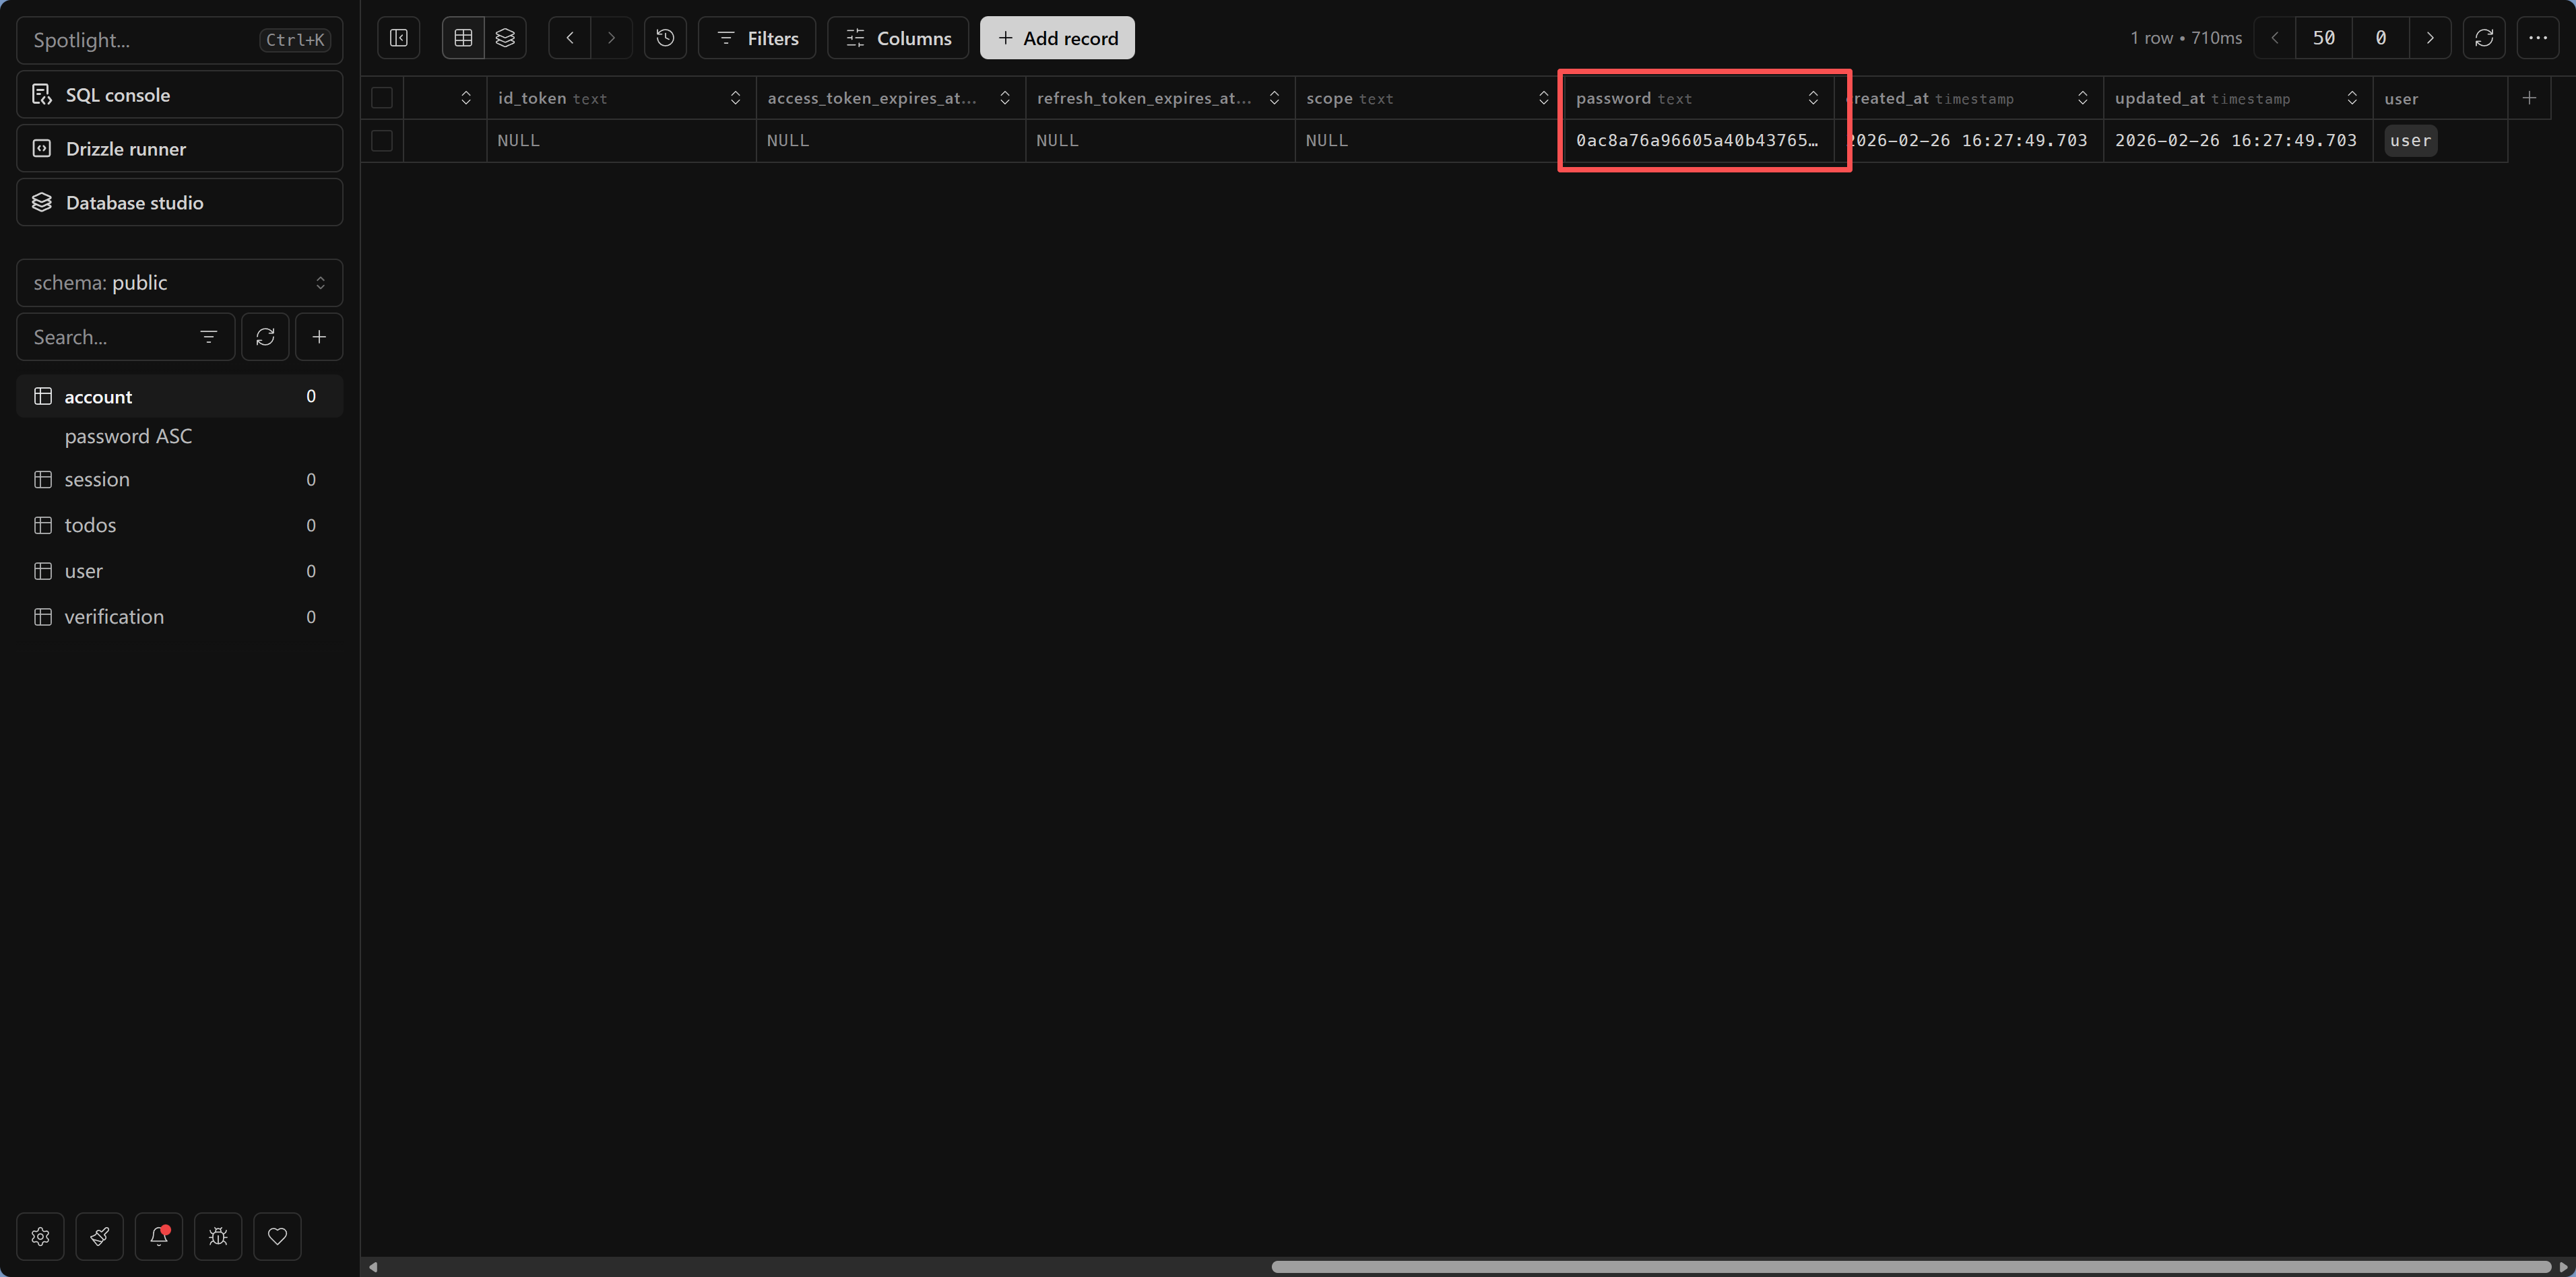
Step 4: Take a look in Drizzle Studio
pnpm drizzle-kit studioOpen the user table and you'll see the user you just registered. Notice that the password field does not store plain text, but a hashed encrypted value—that's what makes it secure.
Common issues
Q: I get a "table does not exist" error during signup? Run pnpm drizzle-kit push to sync the table schema.
Q: After logging in, Dashboard still redirects to login? Check whether the Cookie is being set correctly. In development, make sure you're using http://localhost:3000 instead of 127.0.0.1.
Q: Want to add GitHub/Google third-party login? Tell the AI: "Add GitHub OAuth login to the Better Auth configuration." You'll need to create an OAuth App on GitHub first to get the Client ID and Secret.
What this example teaches you
The user system you just completed includes the core building blocks of authentication:
- Password security: store hashed values, not plain text
- Session management: maintain login state through Cookie + Session
- Route protection: server-side checks so unauthenticated users can't access protected content
- Data ownership: all user data lives in your own database
The following chapters will build on this foundation and cover more security practices: environment variable management, CORS configuration, middleware, and more.
Next step
The user system is up and running. Next, go to Secrets Management and Environment Variables—learn how to protect your API keys and database passwords so secrets never appear in your code.